A fire pit turns your backyard into a space you actually use after dark. It’s one of the cheapest outdoor additions that changes how you spend evenings outside. Ours has been going weekly for three years now, and it’s the best thing we’ve added to the yard.
Here’s everything you need to set one up right.
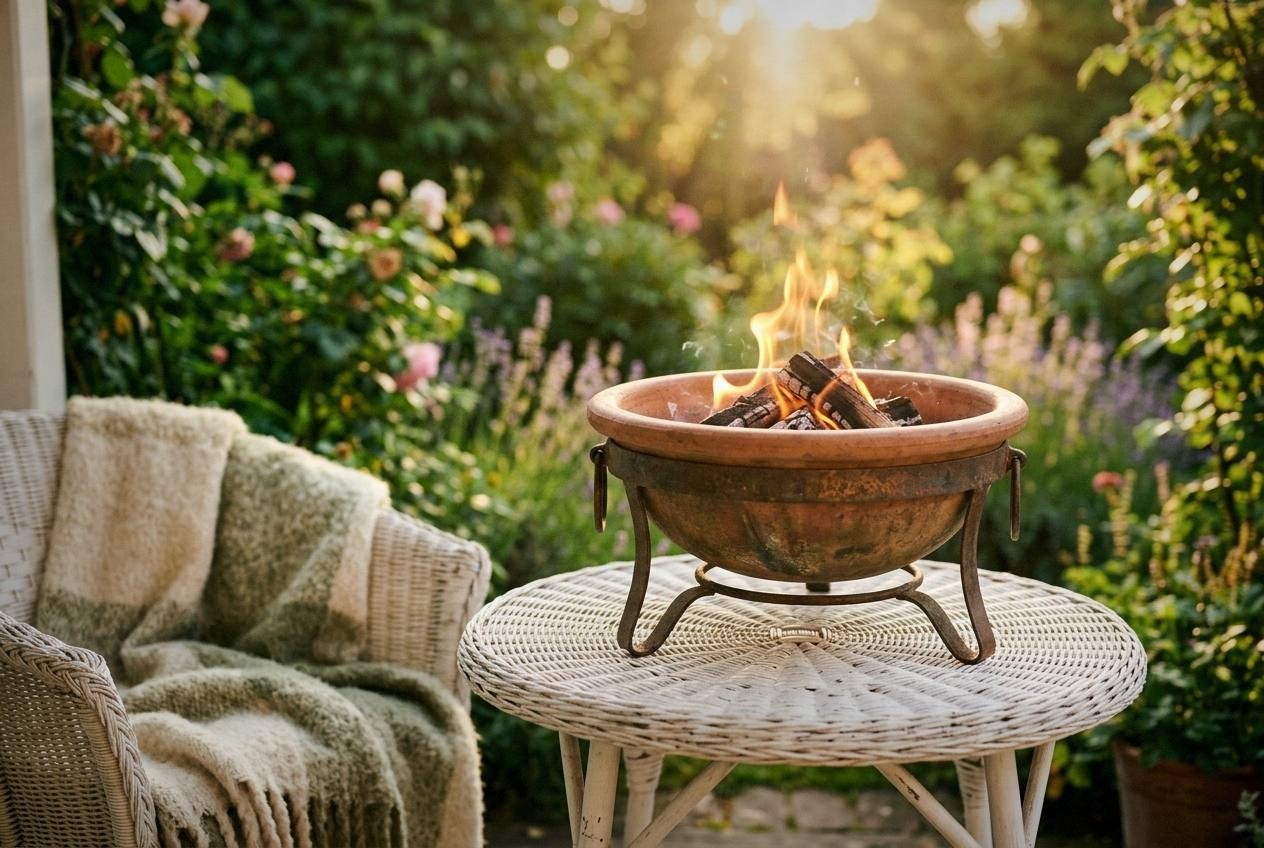
Fire Pit Types Compared
Not all fire pits work the same way. Here’s how the main types stack up:
| Type | Cost | Pros | Cons |
|---|---|---|---|
| Portable steel bowl | $80-$150 | Lightweight, movable, no install needed | Thinner steel can warp after 2-3 seasons |
| Cast iron pit | $150-$400 | Heavy-duty, retains heat well, lasts 10+ years | Very heavy, hard to move once placed |
| Propane gas pit | $200-$600 | No smoke, instant on/off, clean | No crackling sound, needs propane refills |
| Stone/brick permanent | $500-$2,000+ | Beautiful, adds property value, lasts decades | Permanent location, needs level ground |
| Chiminea | $100-$300 | Directs smoke upward, uses less wood | Small opening, limited heat radius |
Best starting point: A 36-inch portable steel bowl pit with a mesh spark screen. You can move it, store it in winter, and upgrade later if you want to go permanent.
Where to Place Your Fire Pit
Placement matters more than the pit itself. Get these three things right and everything else falls into place.
Safety Distances
- 15 feet minimum from any structure (International Fire Code standard)
- 25 feet required in some jurisdictions (check local ordinances)
- 10-foot clearance from overhead branches, pergolas, or awnings
- 15 feet from fence lines as a general rule
- Always check your local fire department website for specific setback requirements
Best Placement Tips
- Wind protection on one or two sides. A fence, hedge, or outbuilding blocks wind and keeps smoke predictable. Avoid wide-open spots where wind swirls.
- Visible from inside the house. If you can see the fire pit glow from the kitchen or living room, you’ll use it three times more often. Tucked behind the shed means forgotten by July.
- Level ground. An uneven pit is a safety risk. Gravel pads are easier to level than bare dirt.
- Away from dry vegetation. Clear a 10-foot radius of dry leaves, mulch, and dead grass.
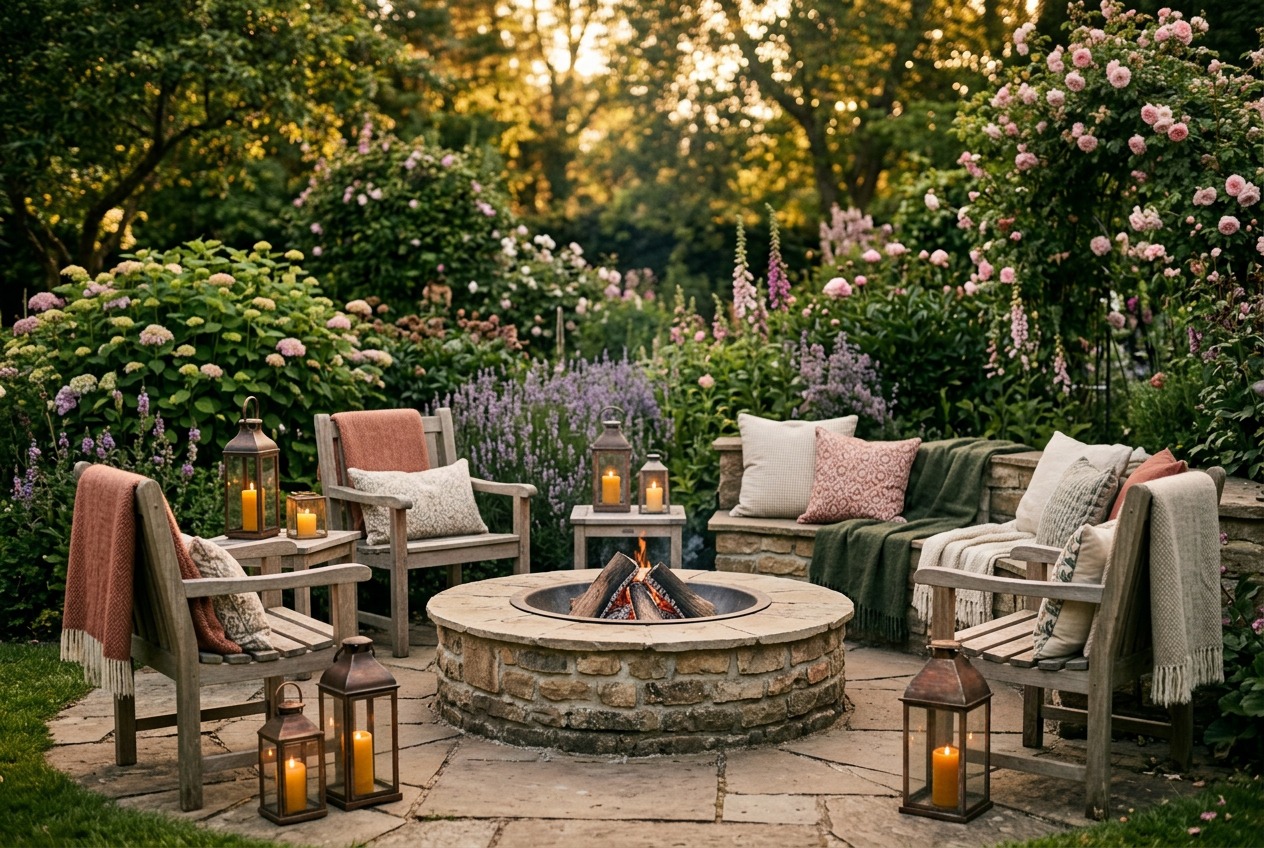
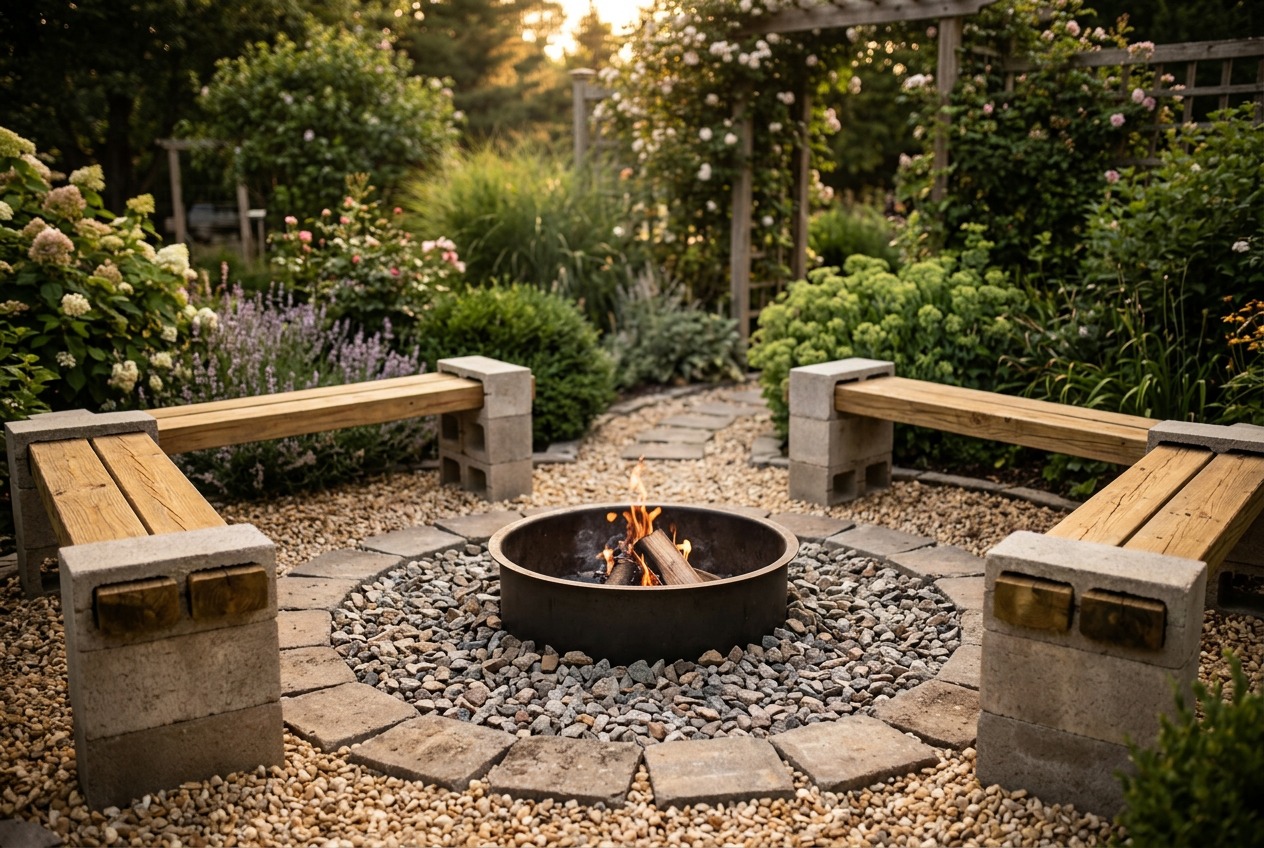
DIY Fire Pit Seating Area Setup
This is what makes or breaks the fire pit experience. The seating area is where people actually spend time.
Ground Surface Options
| Surface | Cost (10ft circle) | Install Time | Maintenance |
|---|---|---|---|
| Pea gravel | $60-$100 | Half day | Rake occasionally, top up yearly |
| Flagstone | $200-$500 | Full weekend | Low, sweep debris |
| Pavers | $300-$600 | Full weekend | Very low |
| Bare grass | Free | None | Burns and dies under heavy use |
| Decomposed granite | $80-$150 | Half day | Compacts well, minimal upkeep |
Pea gravel is the sweet spot for most setups. Dig out the grass in a 10-foot circle, lay landscape fabric to block weeds, and spread about 8 bags of gravel. One Saturday morning and you’re done.
Seating Layout
- Arrange chairs in a loose circle with about 4-5 feet between the chair edge and the fire pit rim
- Low-slung chairs work best. Adirondack chairs lean back at the right angle for watching a fire. Standard patio dining chairs sit too upright.
- 4-6 chairs is the comfortable max for a 36-inch pit. More than that and people in the back can’t feel the heat.
- Keep a storage bin of outdoor blankets near the back door for cooler nights
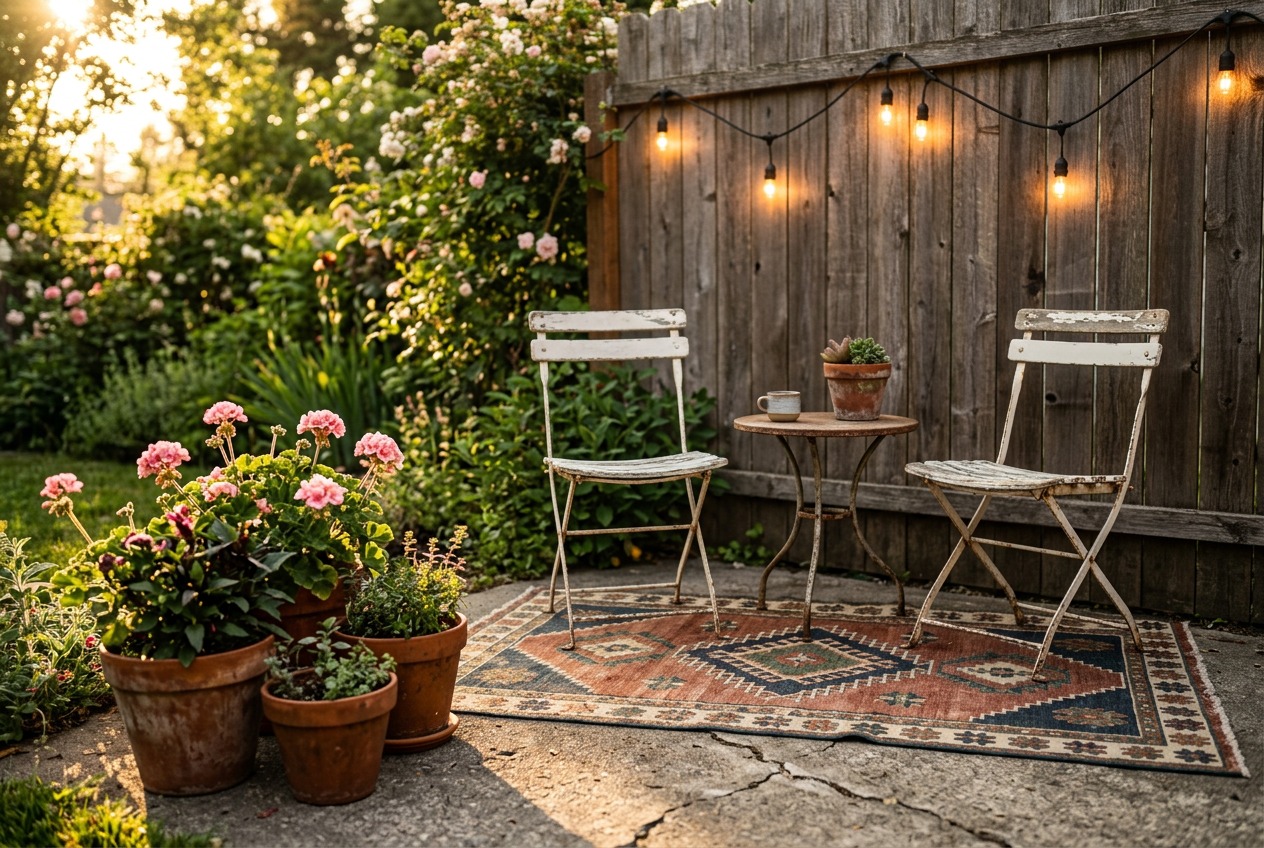
Fire Pit Backyard Aesthetic: Lighting and Ambiance
The fire pit is the anchor. A few additions around it make the whole area feel intentional.
Lighting
- Bistro string lights strung between two posts above the seating area. They don’t compete with the fire but give enough light to see the path back to the house.
- Solar pathway lights along the walkway from the house to the pit. $15 for a pack of 10.
- Skip landscape spotlights. They wash out the fire glow and kill the ambiance.
Finishing Touches
- Stack firewood visually near the pit (a simple wood rack or crate)
- Add a side table or tree stump for drinks
- A few large river rocks around the gravel edge give the area a natural boundary
- Potted perennials or grasses nearby soften the hardscape
How to Build a Good Fire
Three years of weekly fires taught me a few things that save frustration.
Wood Selection
- Use seasoned hardwood only: oak, hickory, or maple dried at least 6 months
- If the wood hisses and steams, it’s too wet. You’ll get smoke instead of flame.
- A half cord stored off the ground under a tarp lasts most of the year
- Avoid softwoods (pine, spruce) for primary burning. They pop, spark, and produce heavy creosote.
Starting the Fire
- Place a fire starter in the center (egg cartons stuffed with dryer lint from cotton loads work perfectly)
- Build a teepee of thin kindling sticks over the starter
- Light the starter and let the kindling catch fully before adding larger wood
- Add 2-3 split logs once the kindling is burning steadily
- No lighter fluid needed. Ever.
Tip: Skip lint from synthetic fabrics. It can produce bad fumes when burned.
Maintaining the Fire
- Keep fires small and steady. 3-4 logs at a time, replaced as they burn down.
- The coal stage is the best part. Steady warmth, low light, just crackling and settling.
- Big roaring fires are too hot to sit near and burn through wood fast.
Fire Pit Safety Checklist
- 15+ feet from structures and fences
- 10-foot overhead clearance from branches
- Garden hose or fire extinguisher within arm’s reach
- Spark screen on the pit during use
- Check wind conditions before lighting
- Clear 10-foot radius of dry leaves and mulch
- Fully extinguish with water before going inside (douse until no hissing)
- Never leave a fire unattended
- Check local burn ordinances and permit requirements
Best Fire Pit Seasons
| Season | Notes |
|---|---|
| Spring | Best season. Cool evenings, no bugs yet. Fire feels perfect at 55-65°F. |
| Summer | Keep fires small. Sit back a bit. Best after 8pm when it cools down. |
| Fall | Second best. Combine with apple cider and blankets. Beautiful with fall foliage. |
| Winter | Great for the committed. Need real cold-weather gear. Clear nights are stunning. |
Fire Pit Backyard Ideas for Small Spaces
Even a small backyard can fit a fire pit setup:
- Use a tabletop propane fire pit for decks or small patios (no 15-foot setback needed since it’s gas)
- Solo Stove or smokeless fire pits work well for closer quarters since they dramatically reduce smoke output
- Corner placement uses dead space. Tuck the pit into a corner with seating on two sides instead of surrounding it
- Skip the gravel pad and use a heat-resistant fire pit mat ($30-$50) on existing patio or deck
Common Questions
Do I need a permit for a backyard fire pit?
Many suburbs allow recreational fires without a permit if you meet setback distances and burn only clean wood. Some towns require a permit or limit burn days. Call your local fire department or check the municipal website before your first fire.
What about the smoke and neighbors?
Dry seasoned hardwood produces far less smoke than green or softwood. A well-built fire with dry oak puts out mostly heat with a thin wisp of smoke. If your fire is billowing white smoke, the wood is wet. Smokeless fire pits (Solo Stove, Breeo) reduce visible smoke by 70-90% through secondary combustion.
How do I clean up ash?
Wait until the ash is completely cold (at least 12 hours). Scoop into a metal bucket, never plastic. Wood ash makes excellent garden fertilizer. A thin layer adds potassium and raises soil pH slightly, which most perennials and vegetables appreciate. Avoid using ash around acid-loving plants like blueberries, azaleas, and rhododendrons.
Can I use a fire pit on a wooden deck?
Not recommended for wood-burning pits. The heat radiating downward can damage or ignite deck boards. If you must, use a fire pit heat shield pad rated for direct contact, and keep it elevated. Propane and natural gas fire tables designed for deck use are a safer choice.