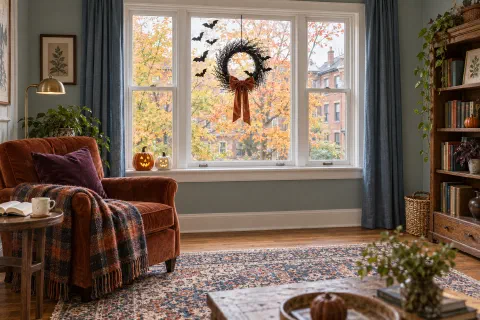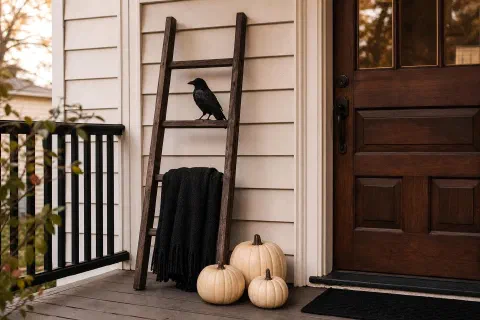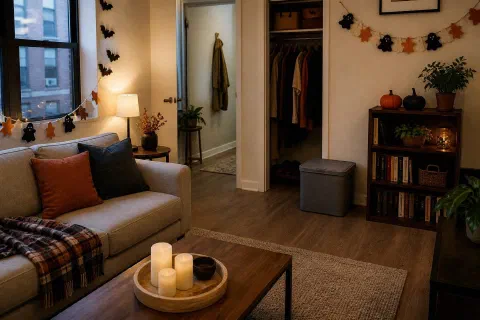
Set a printed black cat cutout next to a molded plastic pumpkin from the seasonal aisle. Same holiday. Two different centuries of manufacturing, and only one of them looks like it belongs on a wall in a room where people live.
That gap is not nostalgia talking. Vintage halloween decor is made of different stuff. It is printed paper and card rather than injection-molded plastic, and it was drawn in black, orange and cream rather than the neon the aisle sells now. That is why it sits in a room quietly instead of shouting from a corner.
| What your eye is actually reading | Seasonal aisle | Printed paper |
|---|---|---|
| Material | Molded polypropylene, glossy | Cardstock and tissue, matte |
| Color | Neon orange, purple, green | Black, orange, cream |
| Surface | One saturated tone and a hard highlight | Halftone printing, visible ink, soft cut edge |
| Where it goes | Free-standing, takes floor space | Flat on a wall, a window, a mantel |
The sibling piece to this one, Cheap Halloween Decor That Doesn’t Look Cheap , lays out three tells: molded orange plastic, cold colored light, and pieces set out one at a time. Paper is the direct fix for the first, and the cheapest of the three by a wide margin.
This article contains affiliate links. If you buy through them, Etheric Echoes may earn a commission at no extra cost to you. As an Amazon Associate I earn from qualifying purchases. Read the full disclosure.
Die-Cut Cardboard, Flat Color, and Halftone Printing
The originals came out of a printing press, and everything good about the look traces back to that.
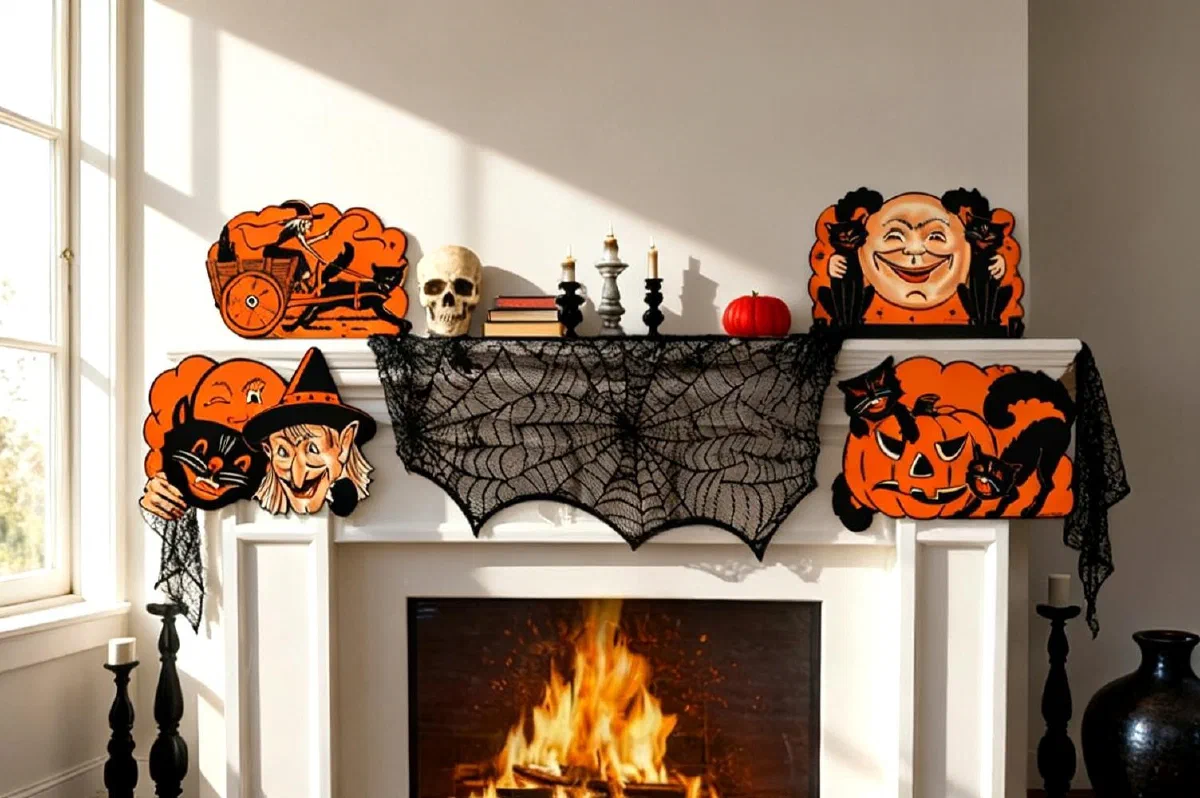
Flat color, laid down in layers. Old presses put down a limited number of ink colors, so the artwork had to be built out of solid shapes. A cat is a black shape with two orange shapes for eyes. There is no gradient, no drop shadow, no rendered fur. Your eye reads a bold silhouette from across the room and a piece of drawing up close, which is what a wall decoration needs.
Halftone printing instead of smooth fill. Where the artwork needed a lighter tone, the press broke it into a grid of tiny dots. Get close to a good reproduction and you can see them. That dot texture is why printed orange looks like a color someone mixed, not one that came out of a pellet hopper.
A cut edge with a little softness to it. Die-cut cardboard has a squared shoulder where the blade went through, and paper fibers catch light along it rather than bouncing it. A molded plastic edge throws a bright white line, and that single highlight is most of what people react to when they say a decoration looks cheap.
Beistle’s Vintage Halloween Cutouts 4-Pack (opens Amazon in a new tab) is the clearest example of all three at once. Double-sided cardstock, roughly 9 inches, with retro moon, black cat and pumpkin designs, at 4.8 stars across about 1,700 reviews, the highest rating on this page. Double-sided matters more than it sounds. Hang one in a window and the neighbors get artwork instead of a blank white back.
For a single piece with some size to it, the Beistle Scary Cat cutout (opens Amazon in a new tab) runs 20.5 inches in black, orange and white, at 4.7 stars across roughly 2,200 reviews. One tall cat over a doorframe does more work than six small things spread across a wall.
For the same look in quantity, Beistle’s packaged Halloween cutouts (opens Amazon in a new tab) run 8.5 by 9.25 inches, 4.6 stars, about 2,300 reviews. Read the end of that listing title, because the pack is described as 2 packs of 4 cutouts, and the count decides whether you are dressing one wall or three.
The period look does not need a history lecture to work. A limited palette, printed texture, and a cut edge give a reproduction the same visual cues people read as old-fashioned, even when the piece is new.
Honeycomb Tissue and the Jointed Skeleton
Two other formats came out of the same catalogs, and both add something flat paper cannot.
Honeycomb tissue is the folded paper that opens into a three-dimensional ball or half-shell and collapses flat again for storage. It is the one vintage format with real volume, and a single honeycomb pumpkin on a shelf breaks up a wall of flat cutouts without adding plastic to the room.
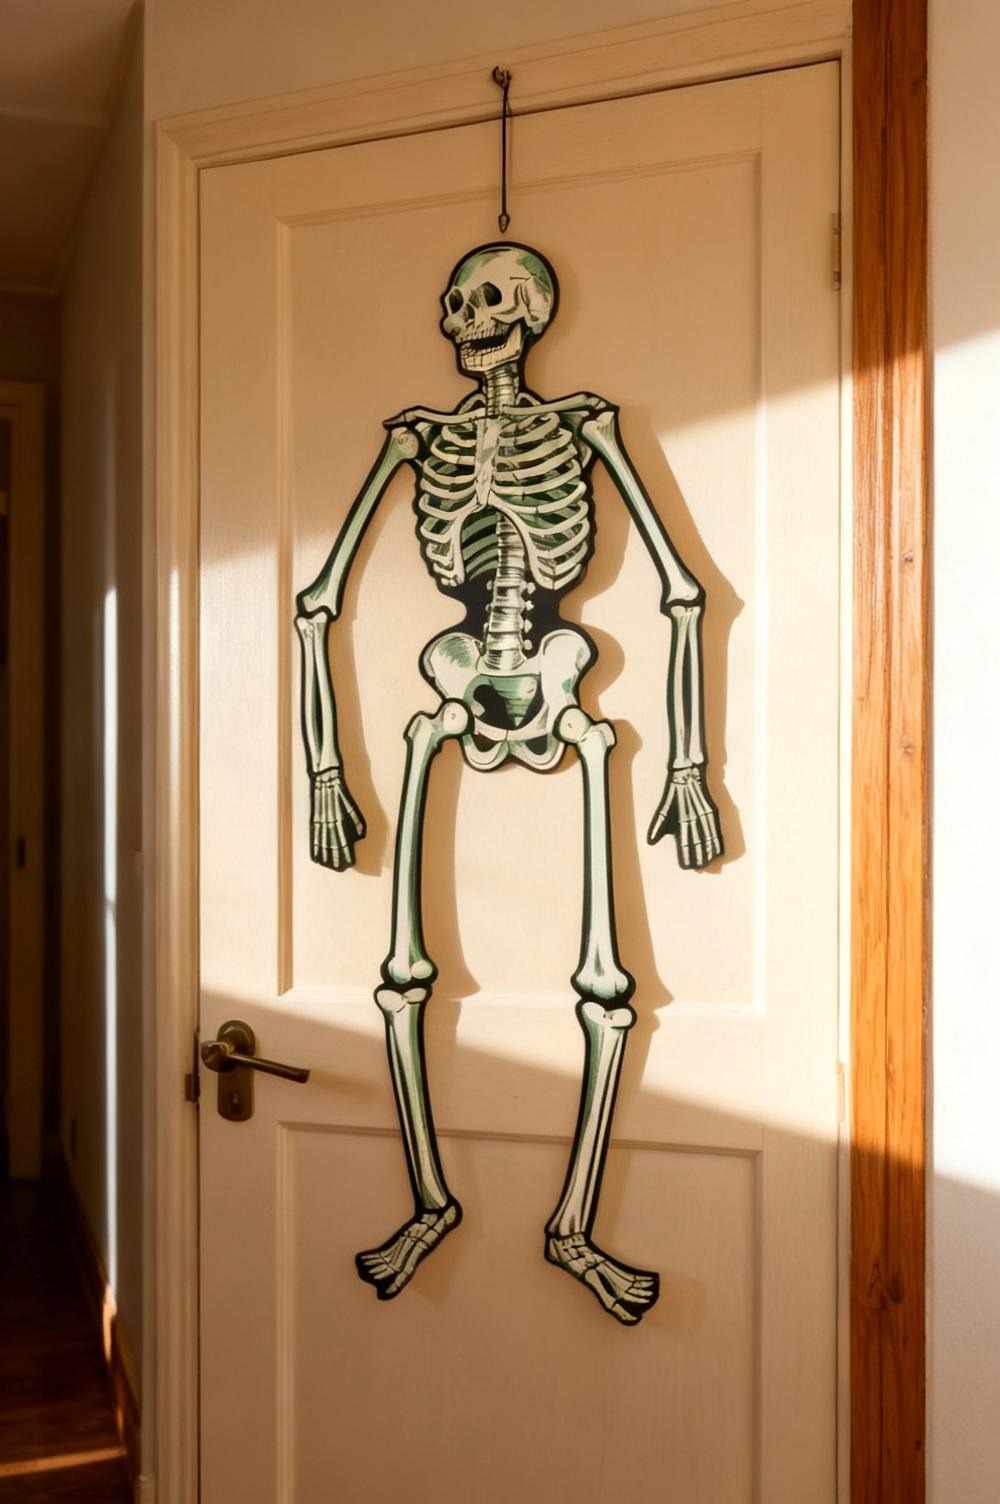
The jointed skeleton is the other one. Paper limbs are riveted at the shoulders, elbows, hips and knees so the whole figure hangs loose and moves when a door opens. Beistle’s 22-inch jointed skeleton (opens Amazon in a new tab) in white and black holds 4.5 stars across about 1,100 reviews. The listing title is plural, so check the pack count on the page before you order. The joints are the entire point. Hang it from one hook at the skull and let the legs find their own position instead of pinning it flat at four corners.
One newer option covers a lot of ground at once. Whaline’s 40-piece vintage Halloween cutouts (opens Amazon in a new tab) carry retro pumpkin, cat and owl artwork in orange and black, and it is the only item on this page holding an Amazon’s Choice badge, at 4.5 stars. Worth saying plainly: it sits at about 200 reviews, where everything else here is between 1,100 and 2,300, so the rating rests on far less evidence. Forty small pieces is also a different job from four large ones. Use them for a window grid or a garland, and buy one large cutout for the wall.
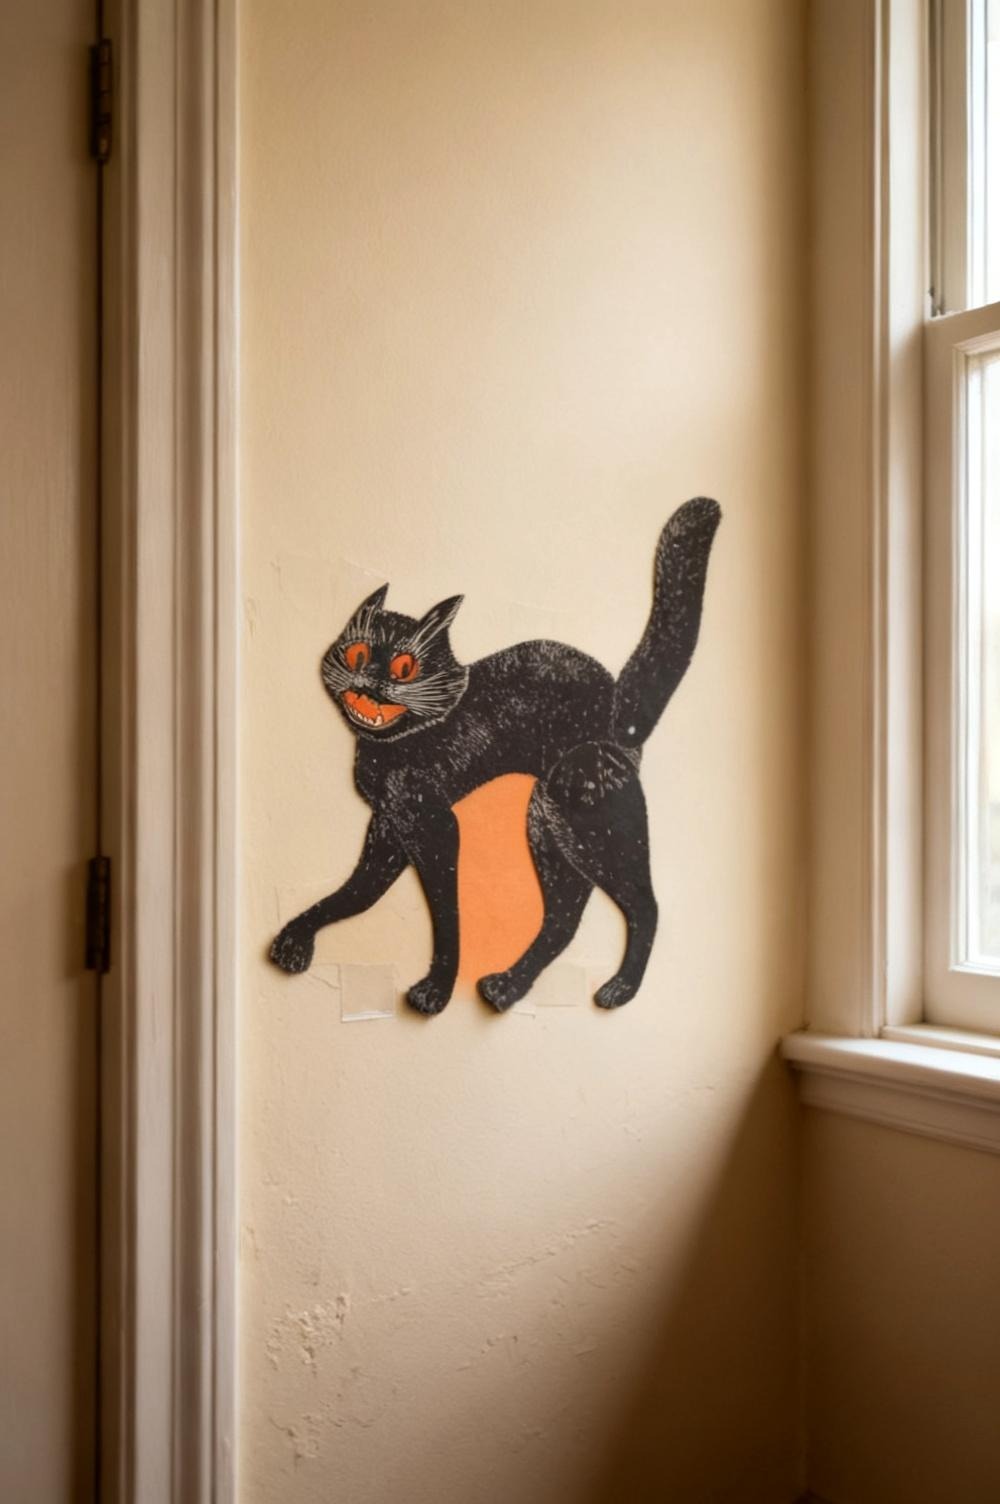
How to Hang Paper Without Wrecking the Wall or the Piece
Paper has one weakness that plastic does not, and it is the hanging. Get this wrong and you either tear the cutout or take paint off the wall.
The Library of Congress guidance on the care, handling, and storage of works on paper is short and it is blunt about adhesives: do not use rubber bands, self-adhesive tape, or glue on paper. It also says to keep exposure to light minimal and to avoid direct or intense light. Those two lines cover most of what goes wrong.
Here is the sequence that works.
- Test the wall first, in a hidden spot. Stick a small piece of whatever adhesive you plan to use behind a door or below a switch plate. Leave it three days, then pull it slowly at a shallow angle. If it lifts paint there, it will lift paint everywhere.
- Put the adhesive on the wall, never on the printed face. Removable putty pressed into a pea-sized ball at each top corner is the friendliest option for card. It comes off the wall clean and it comes off the back of the cutout with your thumbnail.
- Support the weight at the top, not the middle. Two points across the top edge and one low center point stops a large cutout from curling forward. A single center point lets the corners roll.
- Peel from the top when it comes down. Pull down and toward the wall at a shallow angle, slowly. Fast and straight out is what tears card.
Renting changes the calculation. Windows, doors, mirrors, and a mantel front all take tape or putty without any paint risk at all. If your walls are freshly painted or the deposit matters, put the paper on glass and wood and leave the drywall alone. The no-drill picks in Halloween Entryway Decor Ideas for Inside the Door go into the hardware for that in more detail.
Two placement notes. Keep cutouts out of a window that gets hard afternoon sun, because printed orange fades faster than printed black and a piece can go pink in one season. And keep them off a radiator or a heat vent, where card cups and warps.
If you add lights near paper, follow the U.S. Consumer Product Safety Commission’s Halloween guidance : use safety-tested decorative light strands and do not overload extension cords. Paper belongs well away from heat and open flame.
Mixing a Few Pieces With What You Already Own
The temptation is to commit a whole room. Resist it. A room decorated entirely in one theme reads as a display, where three or four pieces set into your ordinary house reads as taste.
Start with what is already black in your house. An iron lamp base, a dark frame, a cast iron pan on the stove. Those are what the palette hangs off, and they were already there. You are adding orange and cream to a black that exists, not building a scheme from nothing.
Put the paper up high and leave the surfaces alone. Cutouts on the wall above a console, on the window glass, over a doorframe. The tabletop underneath stays as it was. That vertical-only rule is why a few pieces can feel like enough.
Give the mantel one soft layer and stop. A black lace cobweb fireplace scarf (opens Amazon in a new tab) at 18 by 96 inches, 4.8 stars, about 1,200 reviews, is the piece that does this. It is not a vintage reproduction and it is not printed paper, but open lace filters light the way old tissue does, and it gives the cutouts above it something to sit against. Let it fall unevenly over the front edge instead of squaring it up.
Odd numbers, three heights. A tall cat, a mid-height moon, a low pumpkin, clustered rather than spread evenly along the wall.
Buy the few non-paper pieces carefully. Paper carries the character, but the objects sitting under it decide whether the room reads cheap. The Halloween pieces worth paying for are the ones with weight and a matte finish.
Warm light only. A purple or green bulb drains printed orange to gray and turns cream muddy, which throws away the exact thing you bought the paper for. Warm white bulbs, or a lamp, or nothing. Never a colored wash across the room.
The Mistakes That Make It Look Like a Costume Shop
- Buying twenty small pieces and no large one. A wall of small cutouts reads as a pattern. One large piece anchors the group and the small ones support it.
- Spacing them evenly. Even spacing is wallpaper. Cluster them, then leave real gaps.
- Mixing in one molded plastic piece. The gloss is where your eye lands, and it undoes the paper around it.
- Adding a fourth color. Black, orange and cream is the palette. Purple and green belong to the modern aisle and they fight the printing.
- Taping the printed face. Adhesive on the front takes ink with it, every time.
- Hard afternoon sun through glass. Printed orange fades first, and it does not come back.
- Lighting it cold or colored. Warm light or none.
Packing It Away So It Keeps Another Year
Paper decorations survive decades, which is why originals from the 1920s still turn up, and they survive because of how they were put away. Flat and unfolded is the rule. Slide cutouts into a rigid folder or an envelope sized so nothing bends, and store the folder flat rather than standing on edge where the card slumps. Collapse honeycomb pieces along their existing folds and never invent a new crease.
Location matters more than the container. That same guidance recommends a cool, relatively dry, stable spot and says to avoid attics and basements, which is where seasonal boxes usually end up. A closet shelf inside the house beats either.
One more habit: take the putty off the back before the box goes away. A year in a warm closet turns leftover adhesive into a stain you cannot lift.
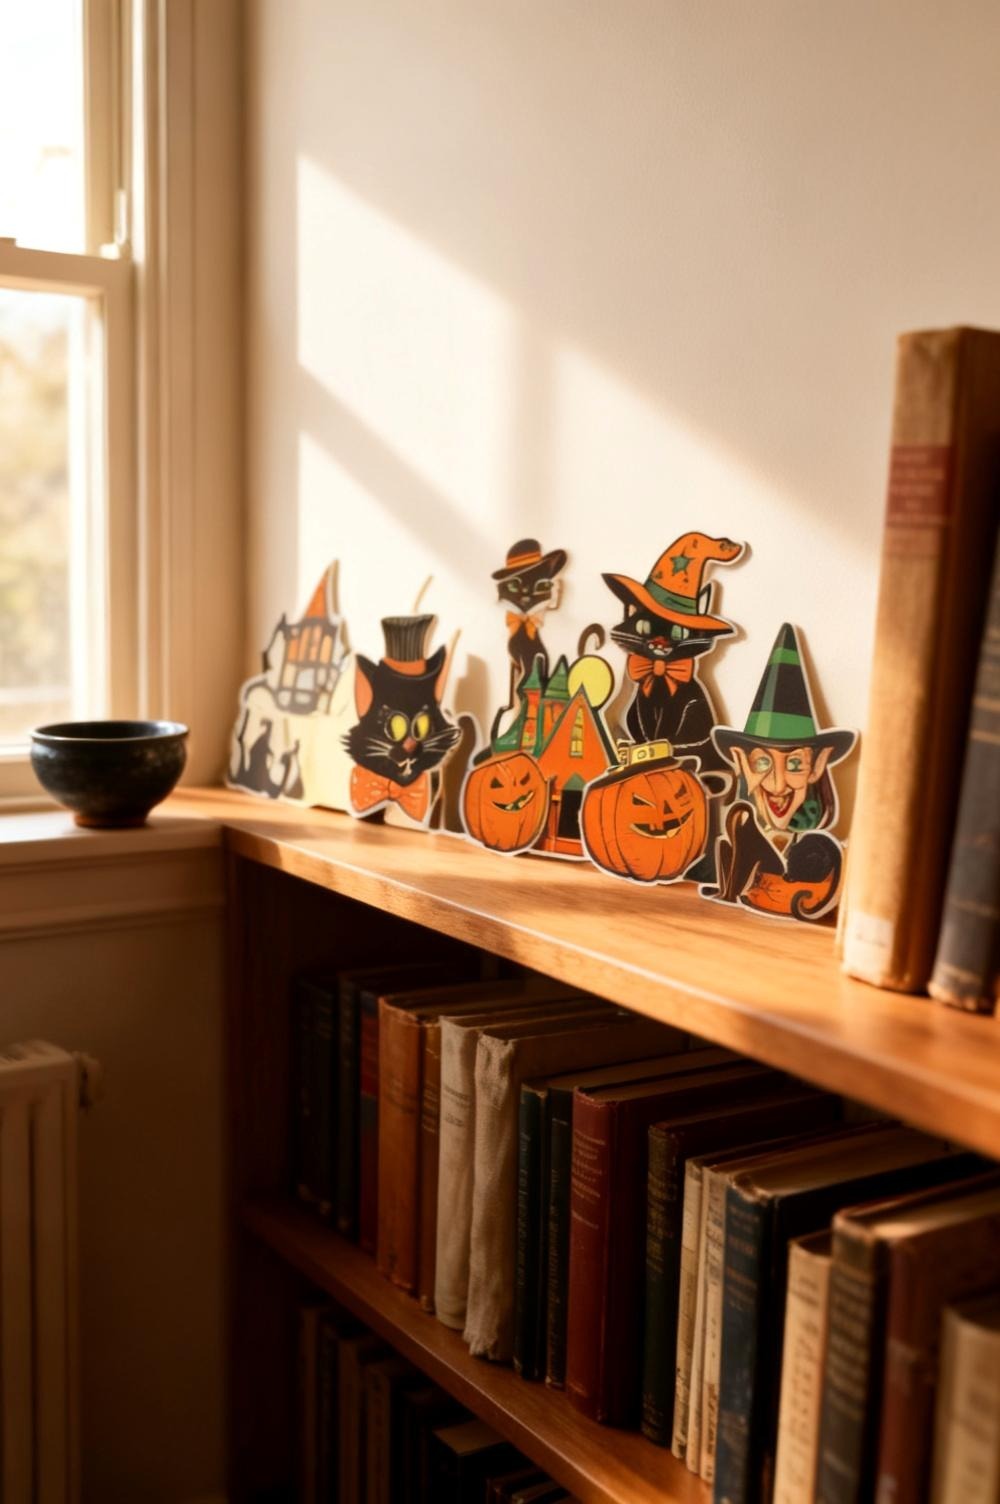
What I’d Actually Buy
Starting from nothing, I would buy one large cutout and one multipack, then look at the wall before adding anything else. Most rooms need four pieces, not forty.
- Beistle Vintage Halloween Cutouts 4-Pack (opens Amazon in a new tab) (4.8 stars, about 1,700 reviews). The highest-rated item here. Double-sided cardstock at roughly 9 inches, with moon, cat and pumpkin artwork, so window placement works from both directions.
- Beistle Scary Cat cutout, 20.5 inches (opens Amazon in a new tab) (4.7 stars, about 2,200 reviews). Black, orange and white, and big enough to be the anchor piece a group needs.
- Beistle packaged Halloween cutouts, 8.5 by 9.25 inches (opens Amazon in a new tab) (4.6 stars, about 2,300 reviews). Listed as 2 packs of 4 cutouts, so confirm the count on the listing before ordering.
- Beistle jointed skeleton, 22 inches (opens Amazon in a new tab) (4.5 stars, about 1,100 reviews). White and black, riveted joints, hangs from one point on a door or a window. The title is plural, so check the pack count.
- Whaline 40-piece vintage Halloween cutouts (opens Amazon in a new tab) (Amazon’s Choice, 4.5 stars, about 200 reviews). Retro pumpkin, cat and owl in orange and black. The only badge on this page, and also the thinnest review history by a long way, so weigh it accordingly. Best used for a window grid or a garland rather than as the main wall piece.
- Halloween cobweb fireplace scarf, 18 by 96 inches (opens Amazon in a new tab) (4.8 stars, about 1,200 reviews). Black lace rather than printed paper, and the soft layer that gives a mantel group something to sit against.
Check current sizes and counts on each listing before ordering, and buy removable putty in the same trip so nothing goes up on tape.
Related
- Cheap Halloween Decor That Doesn’t Look Cheap covers the other two tells, cold colored light and pieces set out one at a time, with the fixes for each.
- Neutral Halloween Decor: 10 Cozy Amazon Finds is the version that stays up into November, and it carries the wall adhesive warning worth reading twice.
- Halloween Entryway Decor Ideas for Inside the Door handles the console, the mirror and the stair rail, with no-drill options for renters.
- Halloween Yard Decor That Works After Dark takes the same palette outside, where the lighting rules do most of the work.