
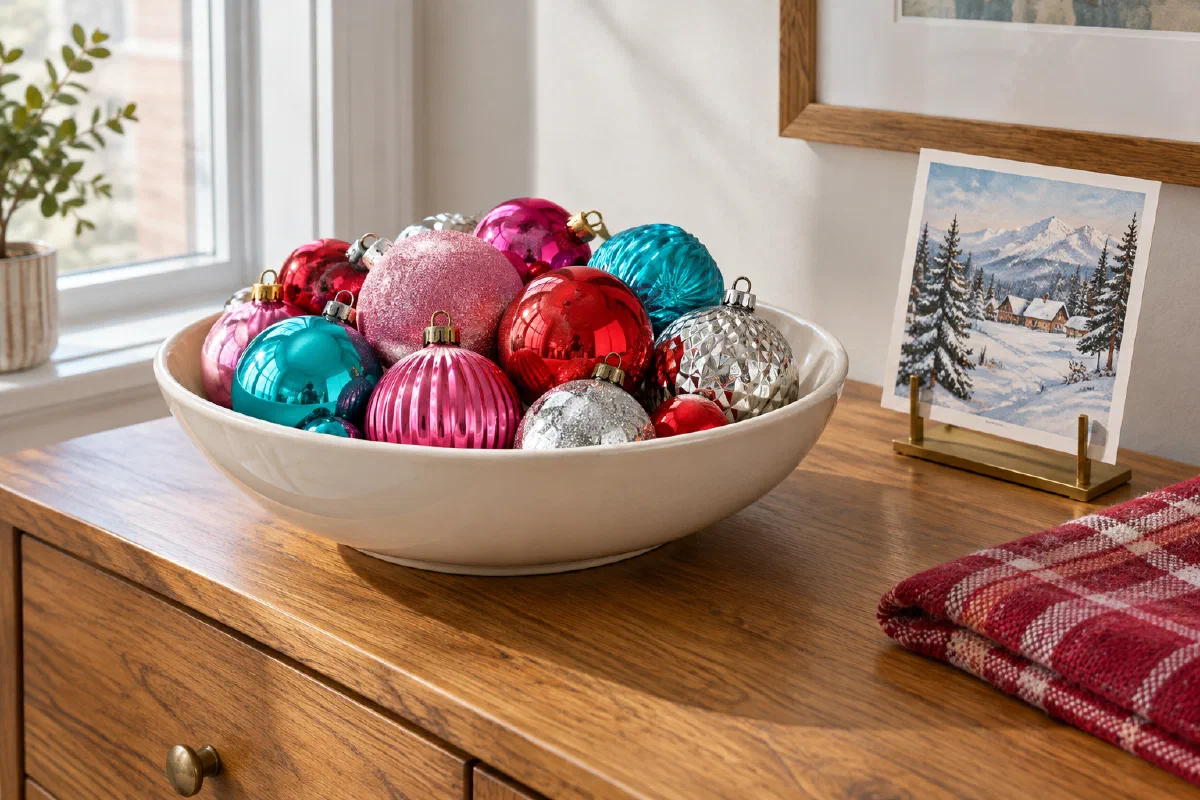
A bowl of jewel-colored ornaments on a wooden sideboard, a winter postcard beside the lamp, and a red paper chain over a doorway can make a small home feel ready for Christmas. You can get that familiar, slightly old-fashioned look with a few pieces you already own.
Choose one display first. Repeat its color elsewhere, then leave the rest of your furniture available for everyday life.
These ideas are vintage-inspired. Ornaments, cards and candleholders need not be antiques; appearance cannot establish age.
Choose a starting point from what you own
| Already in your cupboard | Try this display | Good place for it |
|---|---|---|
| A few colorful ornaments | A shallow ornament bowl | Sideboard or side table |
| Paper scraps and ribbon | A paper chain or honeycomb bells | One doorway or existing rail |
| A Christmas card you love | A small card stand | Dresser or cabinet |
| A patterned cushion or quilt | One seasonal textile swap | Sofa or reading chair |
| Brass candleholders | A tray with flameless tapers | Stable cabinet top |
1. Put colorful ornaments in a shallow bowl
Pink, red, turquoise and silver ornaments look cheerful against dark wood or a cream bowl. Set the largest ornaments in first, then fill the gaps. Turn patterned faces toward the room so you can see them from your usual chair.
Use a bowl shallow enough that the ornaments remain visible above the rim. On a small side table, choose one that still leaves a usable spot for a drink. A folded piece of plain fabric inside the bowl can cushion fragile glass and keep pieces from rolling against each other.
If the display is within reach of children or pets, use shatter-resistant ornaments and keep loose hooks out of the bowl. Save delicate inherited pieces for a protected display.
2. Give a tabletop tree a simple ornament collection
A tabletop tree with red beads and colorful baubles makes a cheerful miniature display. Pick ornaments that share one color, even when their shapes differ. Place heavier pieces closer to the trunk, and leave some branch tips visible.
Use the tree’s existing stable stand. If you want a basket around it, treat the basket as a cover rather than a substitute for the stand. Check that the finished display leaves cabinet doors and drawers usable.
For a very small room, put the tree on furniture you already have rather than adding another table. Our small-space Christmas tree guide covers the footprint choices; this idea is about the ornament treatment.
3. Tie broad ribbon bows onto dining-chair backs
A deep red or forest-green bow gives ordinary chairs a holiday detail without using any dining-table space. Start with one chair to see whether the ribbon shows against its finish. On a slatted chair, tie around a suitable upper slat. Keep the knot on the back, away from the person sitting down.
Cut the tails so they finish above the seat rather than dangling toward the floor. The bow should stay out of the way when someone pulls the chair out or carries it across the room. Avoid a long loop around the entire back that could catch on clothing.
In a small dining corner, decorate only the two chairs most visible from the doorway. Reuse ribbon from last year’s gifts.
4. Display one winter card in a small stand
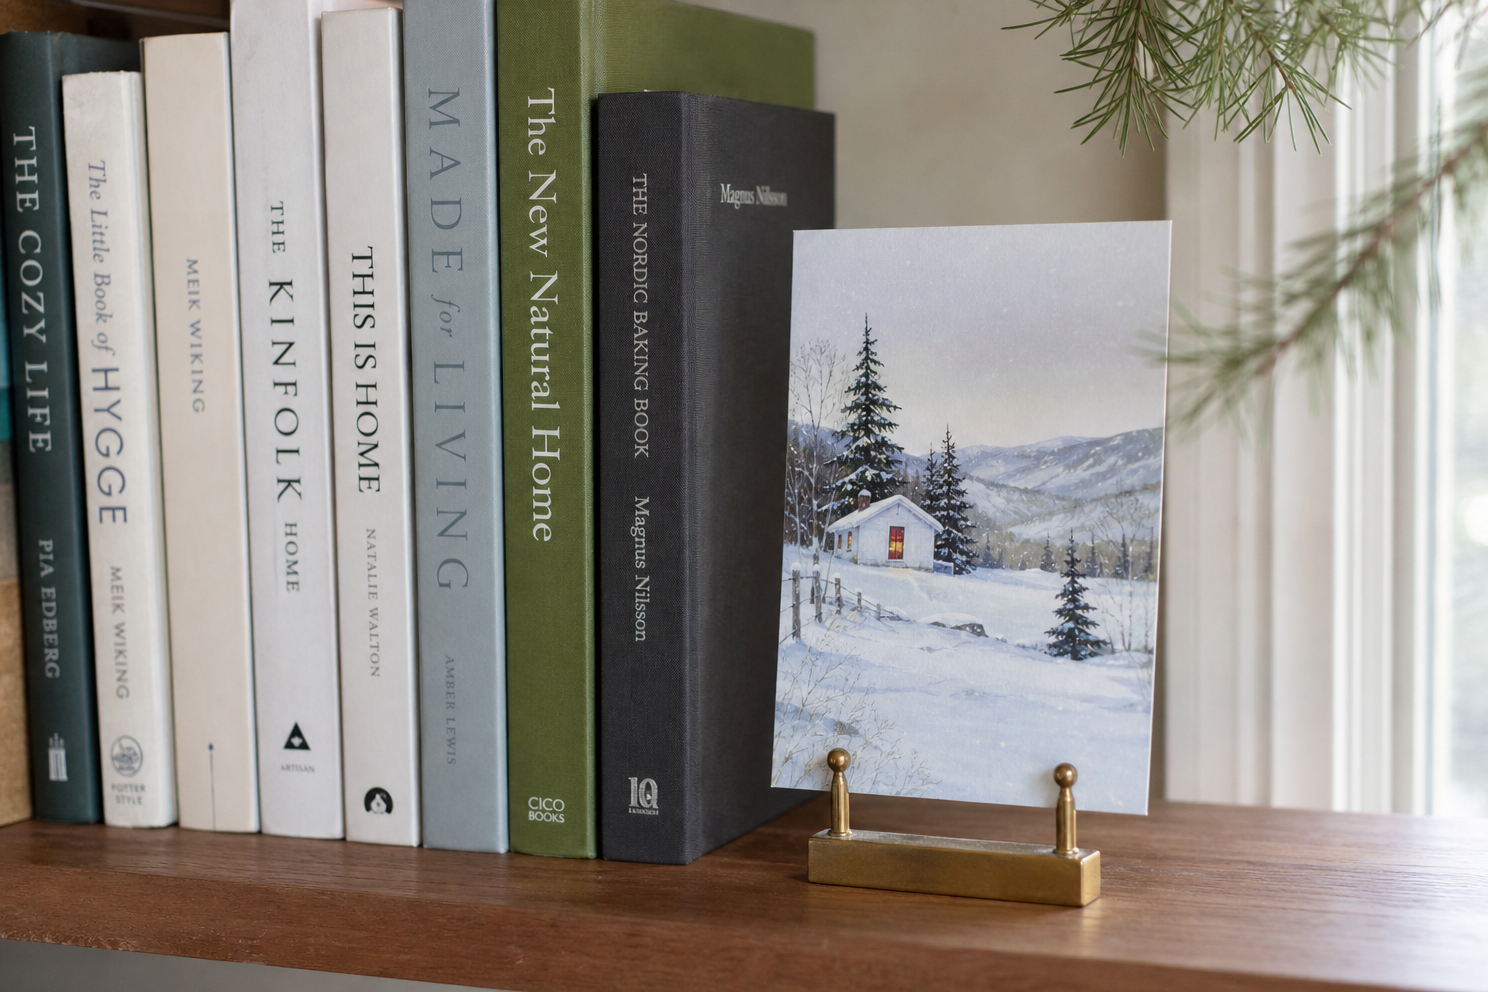
A snowy cottage, robin or old-fashioned Christmas illustration can be enough decoration for a dresser. Put the card in a small stand and angle it toward the room. It needs a clear background more than it needs extra ornaments around it.
Use a card you own, a personal photograph, or a reproduction you have permission to print. If an original card is fragile or important to you, display a copy and store the original. Avoid gluing it onto a frame or putting adhesive directly on its surface.
The pictured card demonstrates placement; its age is unknown. Our Christmas bookshelf guide covers arrangements built around books.
5. Make one paper chain the main decoration
Red and cream paper loops across a doorway have a playful, familiar Christmas feel. Cut the strips to a consistent width, close the first loop, and thread each new strip through the previous loop before fastening it. Glue sticks or double-sided tape keep the joins less noticeable than bulky staples.
Measure the intended span before making the chain. Hold up a short section to check the droop rather than assuming a particular number of loops will fit. Use an existing suitable hanging point or a fixing approved for the surface and the complete decoration’s weight.
Keep the chain above normal head height and away from heaters or a working fireplace. One doorway gives it a clear beginning and end; adding chains to every opening can make a studio apartment feel crowded.
6. Set brass candleholders on a plain tray
Brass-colored holders and red or ivory flameless tapers give a cabinet a soft evening glow. Choose a stable tray, space the holders so their bases sit flat, and let the different heights form the arrangement. The tray makes it easy to move everything when the cabinet needs to be cleared.
Use battery candles that fit securely in the holders. A holder designed for a narrow wax taper may not suit a thicker battery version, so check the fit before planning the display around it. You do not need greenery packed between the bases.
The Consumer Product Safety Commission recommends flameless candles where possible. They are a practical choice for a room already full of paper, textiles and seasonal decorations.
7. Swap in an embroidered cushion or a small quilt
An embroidered cushion, patchwork cover or red checked throw can make a familiar chair feel seasonal. Look through what you own before buying Christmas-specific bedding or cushions. A floral quilt with red and green patches can work just as well as fabric printed with reindeer.
Replace a cushion rather than adding another one to a small sofa. Fold a quilt over the chair back so the pattern shows, with enough fabric tucked away that it does not trail onto the floor. Keep your usual reading seat comfortable.
Repeat a textile color in the ornament bowl or ribbon to connect the displays. A folded cover needs little storage space.
8. Hang a small group of paper honeycomb bells
Cream and red honeycomb bells have a fuller shape than a paper chain, so they work well as one compact hanging display. Open each decoration completely, fasten it as its maker directs, and check that the paper folds sit evenly before hanging it.
Group a few different sizes beside an existing picture rail or another suitable hanging point. Keep them close enough to read as one arrangement, with the longest string shortened so it stays out of the walking route. Choose a spot where doors and curtains cannot brush the paper.
Flat-folding decorations suit a home with little storage. Buy or make only as many as the display needs, and keep their clips in the same envelope when you take them down.
9. Use brown-paper parcels as part of the display
Actual gifts wrapped in brown paper, checked ribbon or reused fabric can bring the same colors into the lower part of the room. Let the ribbon vary, but repeat one red or green across the parcels. Write the recipient’s name directly on a plain tag instead of adding several decorative layers.
Place the gifts under the tree or together on an existing bench where they will not block a doorway. Keep seats and walking routes available. If there are no gifts ready to wrap, choose another idea rather than filling the apartment with empty decorative boxes.
Save usable ribbon in an envelope for next year’s chair bows or wrapping.
Keep the nostalgic look and check the lighting separately
Old electrical decorations need more than a visual check to establish that they are safe to use. You can get a vintage-inspired look from ornaments and paper while using current lighting according to its instructions. The U.S. Fire Administration advises inspecting holiday-light wires and discarding strands with frayed or pinched wiring.
Begin with one contained display and one textile or paper detail. Keep displaced everyday objects in the box your Christmas decorations came out of.