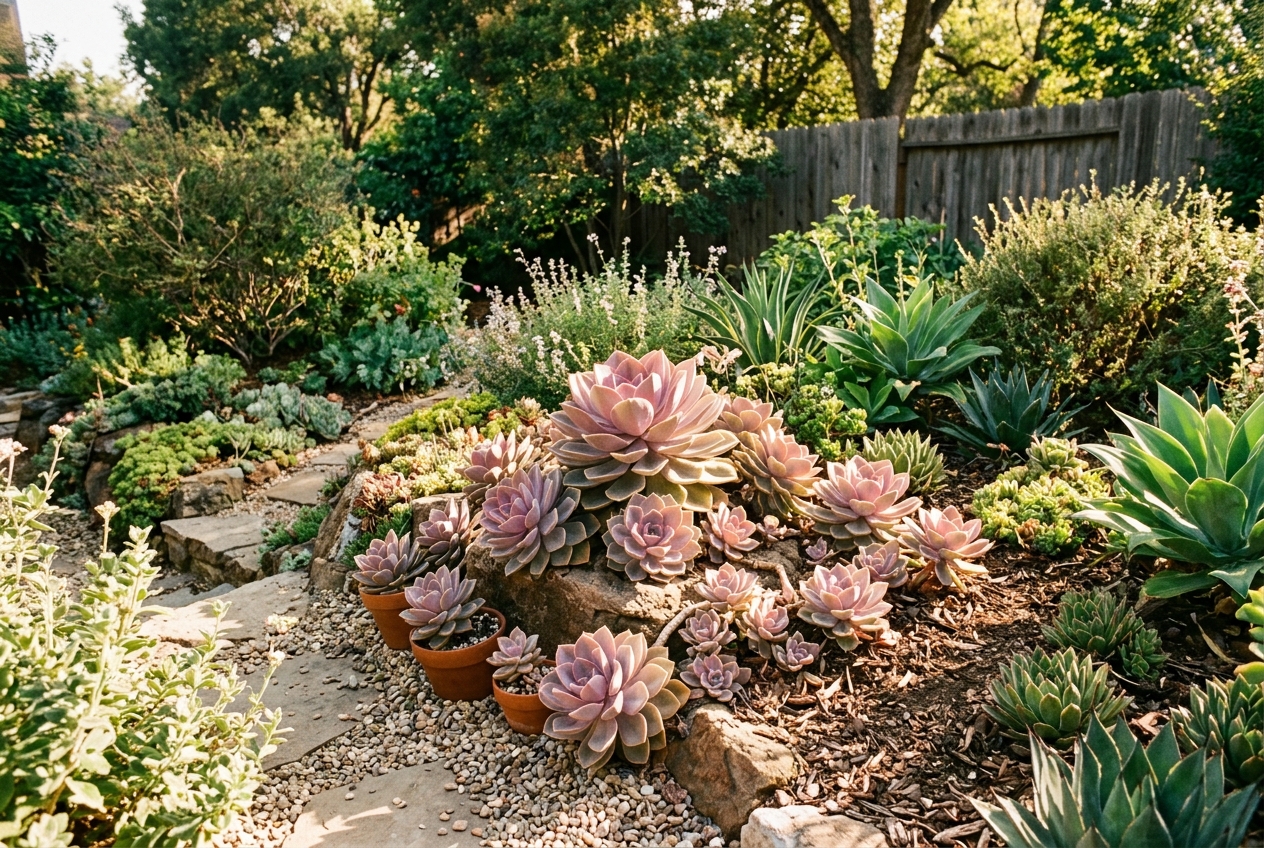
Last March, I bought a single Echeveria ‘Perle von Nurnberg’ at the grocery store for $4.99. It was leggy and sad, crammed in a plastic pot with three other succulents that clearly hated each other. By August, I had 23 healthy plants from that one purchase. Seventeen went to friends, four live on my porch rail, and two anchor a shallow bowl planter by the front door.
Succulent propagation sounds like one of those things that should be complicated. It’s not. It’s genuinely the easiest way to multiply plants I’ve ever tried. You’re not grafting or taking careful cuttings with sterilized tools. You’re basically just setting leaves on dirt and waiting. The success rate varies wildly by species, but even with my worst performers, I’m getting 4-5 new plants from every mature succulent I own.
Here’s what actually works, what doesn’t, and the real timeline from leaf to plant you can gift or fill your own space with.
What You Actually Need (Under $15 Total)
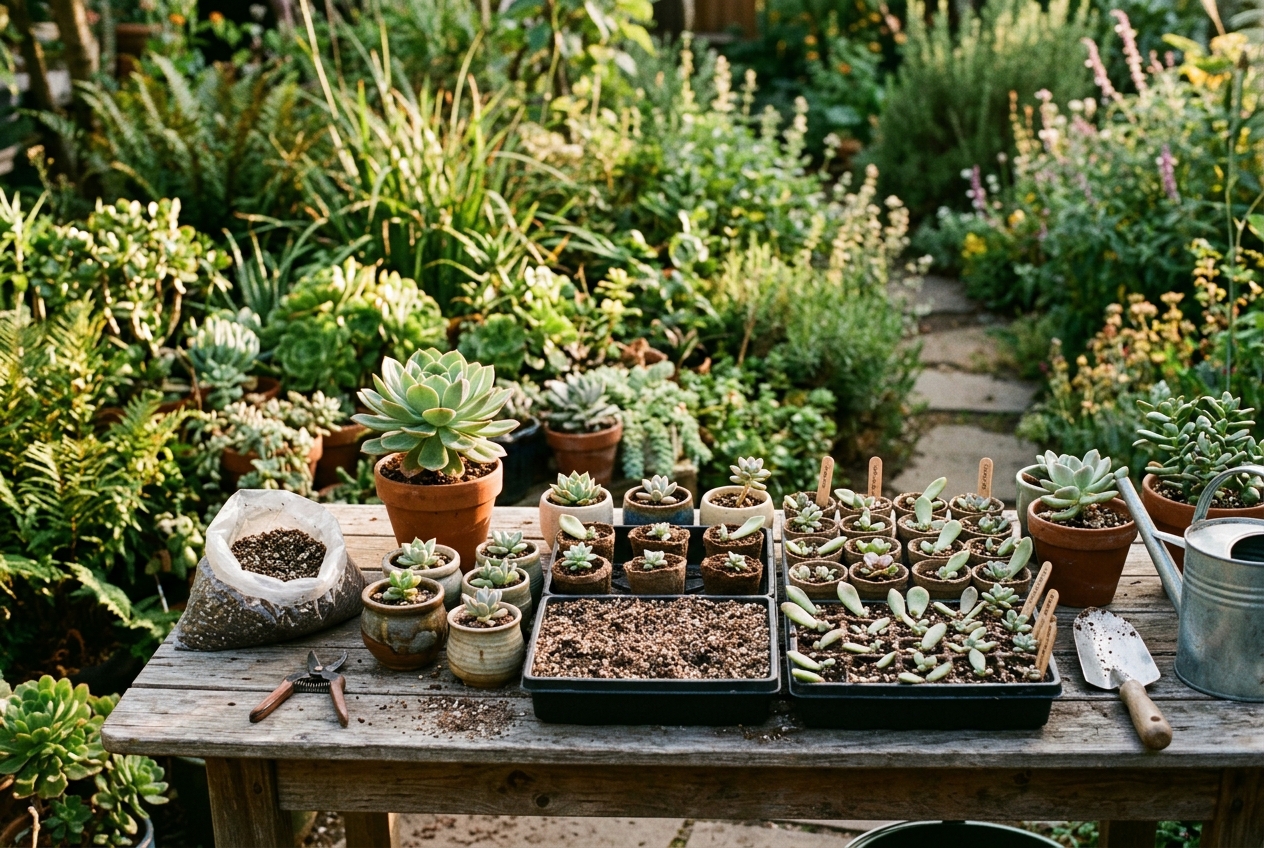
I started with supplies I already had, then added a few things that made a real difference:
Must haves:
- Shallow plastic trays or repurposed takeout containers ($0 if you save containers, $3-5 for seed starting trays)
- Cactus/succulent soil mix, one small bag ($4-6 at any hardware store)
- A bright windowsill or grow light you already own ($0)
Worth buying:
- Perlite to mix into soil for extra drainage ($4 for a small bag, lasts forever)
- Small pots for transplanting, 2-3 inch size (I get 20 for $8 at dollar stores)
I did not buy rooting hormone, misting bottles, heat mats, or humidity domes. None of it mattered. Succulents want to be slightly neglected, which is exactly my gardening style.
The Actual Process (Slower Than You Think)
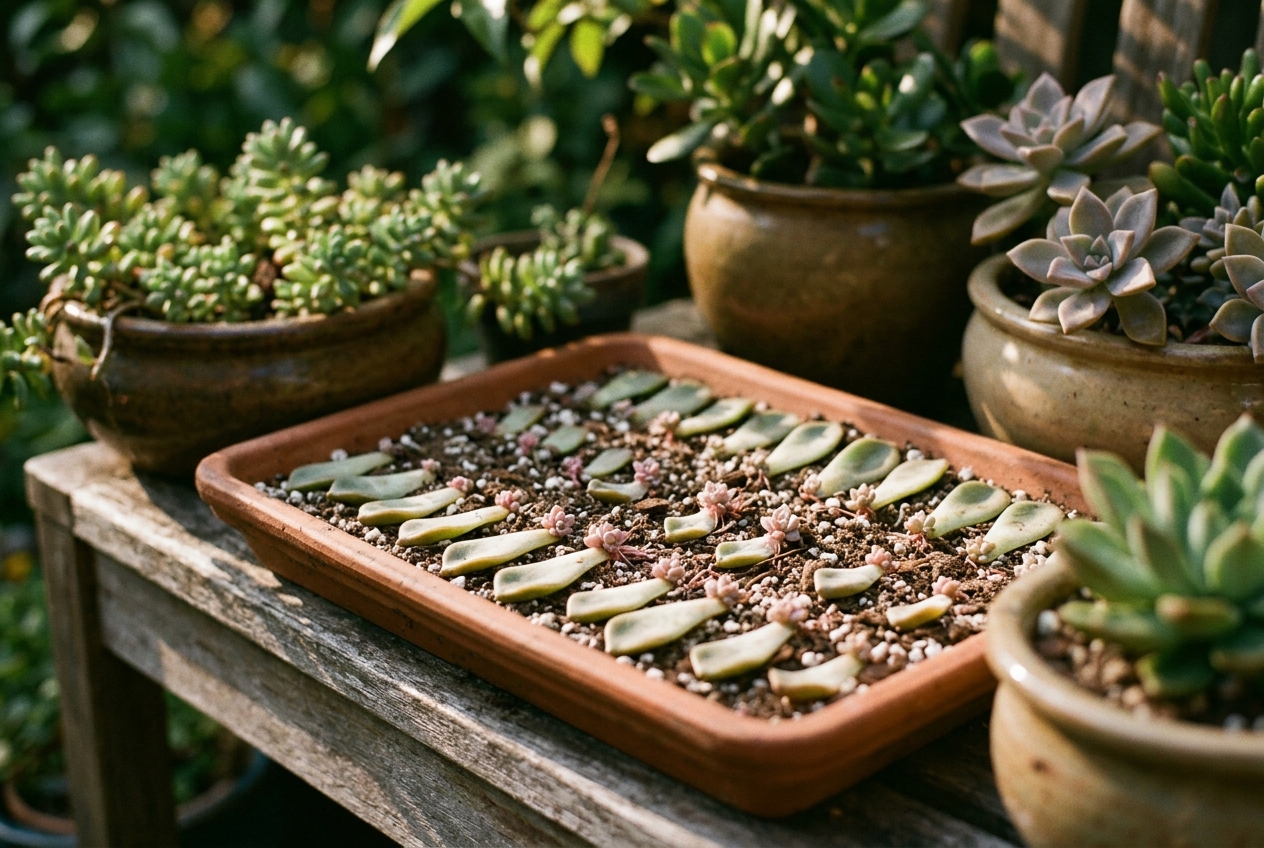
Week 1-2: Harvest and callus
Gently twist leaves off your parent plant. You want the entire leaf, including the little nub where it attached to the stem. If it tears and leaves part behind, that leaf won’t propagate. Don’t worry, you’ll get better at the twist-and-pull motion.
Lay leaves on dry soil in your tray. Do not water. Do not mist. Do not touch them. Set the tray somewhere with bright, indirect light (I use a north-facing bedroom window). The cut end needs to dry and form a callus, which takes 3-7 days depending on humidity. In my house in May, it’s usually 4 days.
This waiting period goes against every instinct. You’ll want to water. Don’t.
Week 3-4: Roots appear
Tiny pink or white roots will emerge from the calloused end. Some leaves will also start forming baby rosettes. Others just make roots. Both are fine. Once you see roots, start watering very lightly. I use a spray bottle to dampen the soil around each leaf once every 3-4 days. The roots need moisture to grow, but too much will rot everything.
Week 6-10: Baby plants establish
The mother leaf will slowly shrivel as the baby plant uses its nutrients. This is normal. When the baby has a rosette about the size of a quarter and roots at least half an inch long, it can survive on its own. The mother leaf will eventually fall off or you can gently remove it.
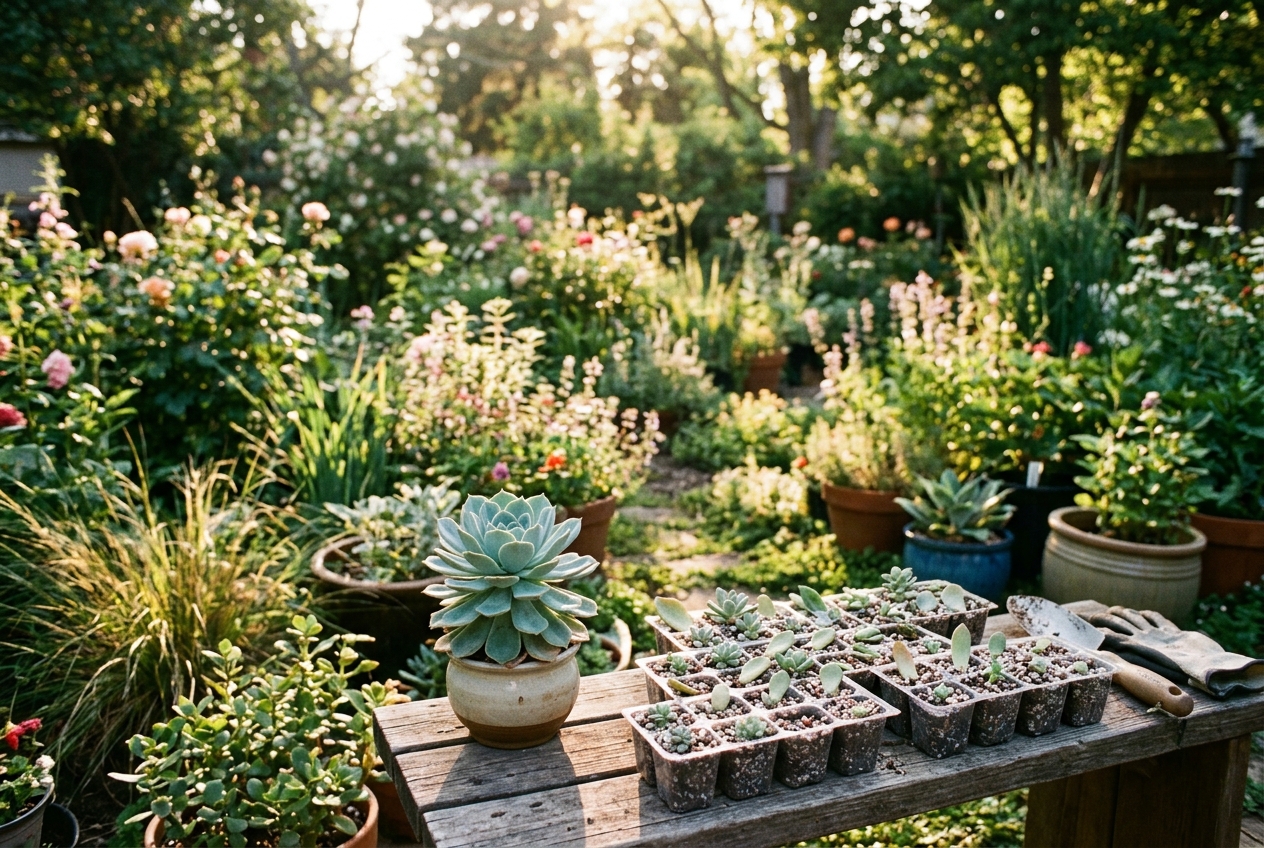
At this point, I transplant into small pots with the same soil mix (3 parts succulent soil to 1 part perlite). Water every 7-10 days, letting soil dry completely between waterings.
Success Rates by Species (My Real Numbers)
I tracked every leaf I propagated last spring. Here’s what actually worked:
80-90% success rate:
- Echeveria varieties (Perle von Nurnberg, Lola, Black Prince)
- Graptoveria ‘Fred Ives’
- Sedum varieties (Burrito, Golden Glow)
These are your reliable producers. If you’re new to propagation, start here.
50-70% success rate:
- Sempervivum (Hens and Chicks, better propagated from offsets)
- Kalanchoe varieties
- Crassula ovata (Jade Plant, branches root better than leaves)
Under 30% success rate:
- Aeonium (propagate from stem cuttings instead)
- String of Pearls (extremely finicky, I gave up)
- Haworthia (offsets are easier and faster)
Some species just don’t want to propagate from leaves. That’s fine. They usually produce offsets or pups you can separate instead, which is even easier than leaf propagation.
What Actually Kills Propagations
After killing probably 40 leaves before I figured this out, here are the real problems:
Overwatering in week 1-2: If you water before the callus forms, the leaf rots from the cut end. It turns translucent and mushy. There’s no saving it. I lost a dozen Echeveria leaves this way before I learned patience.
Insufficient light: Propagations in a dark corner get leggy and weak. They need the same bright, indirect light as mature succulents. I moved my tray from a bathroom windowsill to the bedroom and success rates jumped from 50% to 85%.
Touching them too much: Every time you pick up a leaf to check for roots, you risk breaking those fragile new roots. I check once a week maximum. I don’t move the tray at all for the first month.
Wrong soil: Regular potting soil holds too much moisture. One watering in heavy soil and half my propagations rotted. The cactus/succulent mix with added perlite drains fast enough that overwatering is harder to do.
Propagating from Offsets (Even Easier)
Many succulents produce baby plants (offsets or pups) at the base of the mother plant. These are basically free plants that are already rooted and ready to go.
Wait until the offset is at least one-third the size of the mother plant. Use your fingers or a clean knife to separate it, keeping as many roots attached as possible. If it doesn’t have roots yet, treat it like a leaf propagation: let it callus for a few days, then place it on soil.
I propagated 8 Sempervivum plants this way in April. All 8 survived and are already producing their own offsets. This method has close to 100% success rate and takes half the time of leaf propagation.
The Engagement Loop (Why This Matters Beyond Free Plants)
Here’s what I didn’t expect: propagating succulents became a thing I share with people. I posted a photo of my propagation tray on a neighborhood Facebook group in April, mostly to show what was possible. Six people messaged asking for tips. Three asked if I’d trade propagations.
Now I have a small shelf in my garage with propagations at various stages. When someone admires a succulent on my porch, I can say “I’ll have babies from that one in about two months if you want one.” It’s turned into this ongoing loop of sharing plants, swapping varieties I don’t have, and actually talking to neighbors I’d only waved to before.
My friend Sarah started propagating after I gave her a tray of Echeveria babies in June. She brought me three String of Hearts cuttings in return (which root in water, much easier than String of Pearls). Her daughter’s preschool teacher saw the propagation tray and now Sarah’s supplying plants for the classroom windowsill.
This is the opposite of buying more stuff. It’s slow, it requires patience. But the reward is both the plants themselves and the weird little community that forms around sharing them.
Timeline Reality Check
From leaf removal to a plant you can gift or transplant outside: 10-14 weeks minimum. This is not a quick project. It’s something you start in spring and harvest by summer, or start in summer and have ready for fall.
I started my first propagation tray in March. By June, I had plants big enough to pot up and give away. By August, those gifted plants were producing their own leaves for propagation. The timeline stretches out, but once you have it going, there’s always something at a different stage.
The slowness is actually the point. You can’t rush it, so you stop trying. You check in once a week, water when needed, and otherwise let them do their thing. It’s the same energy as watching seeds germinate or waiting for perennials to fill in. The patience becomes part of the practice.
Starting Your First Tray
If you want to try this, start small. Take 10-15 leaves from a succulent you already own (or buy one $5 plant and harvest from that). Use a container you have, mix some perlite into succulent soil if you have it, and set everything in a bright window.
Don’t water for the first week. Check for roots in week three. Water lightly when you see roots. Wait. In three months, you’ll have more plants than you started with. And you’ll understand exactly how they want to be treated because you watched the whole process happen.
The goal isn’t perfection. Some leaves won’t make it. That’s fine. The ones that do will give you more plants than you know what to do with, which is exactly when it gets interesting. Because then you have something to share, to trade, to give to someone who mentions they’ve been wanting to try succulents but didn’t want to spend money.
That’s when one $5 plant turns into something bigger than just twenty free succulents. It turns into a reason to connect, a tiny practice in patience, and a corner of your home that’s quietly making more life while you’re doing everything else.