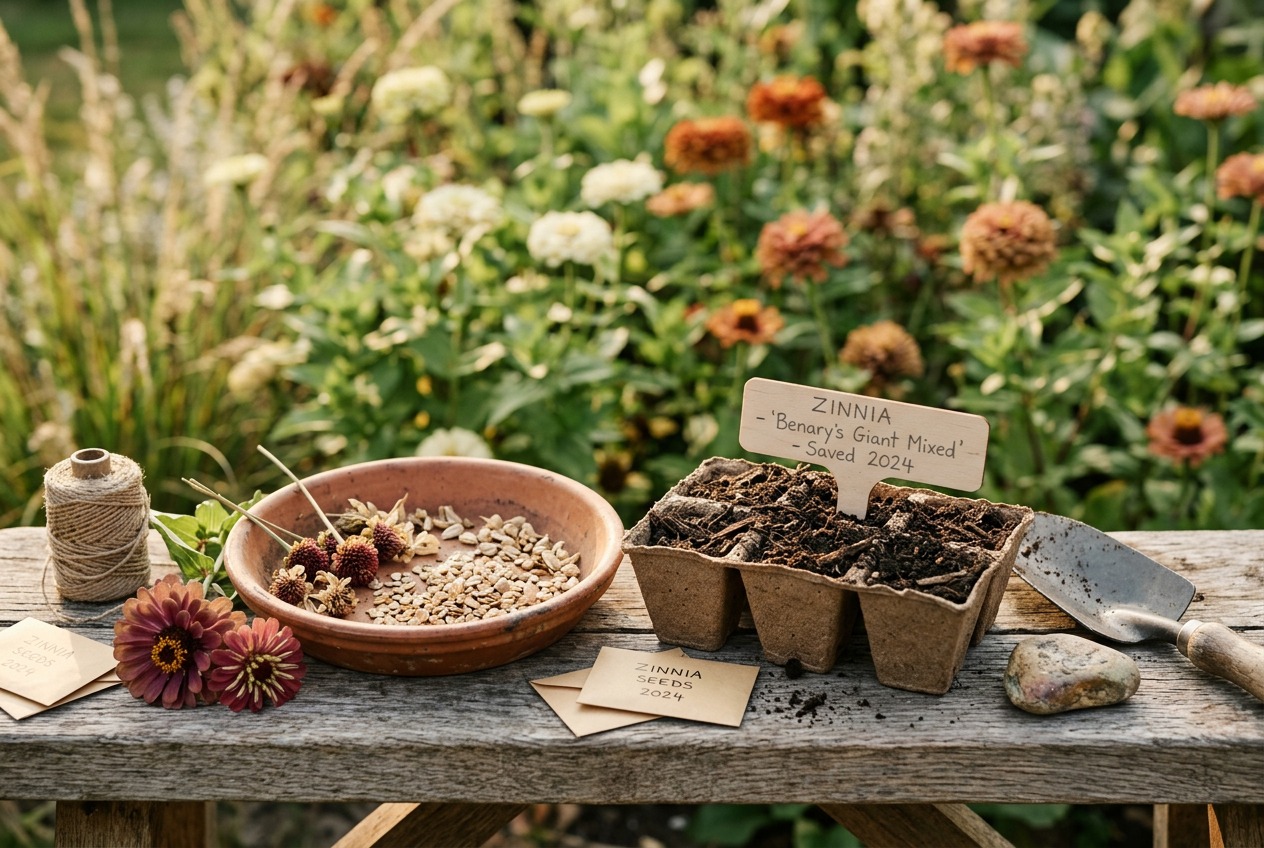
Zinnias are one of the easiest flowers to save seeds from. The seeds are large, obvious, and hard to mess up. If you grew zinnias this past summer, you can grow them again next year for free.
No special equipment. No complicated techniques. Just a little patience and a paper bag.
Why Zinnias Are Perfect for Beginner Seed Savers
Most annual flowers produce tiny seeds that scatter before you can collect them. Zinnias are different. Each flower head holds dozens of arrowhead-shaped seeds, packed tightly in the dried center cone. They stay put until you pull them out.
Zinnia seeds are also big enough to handle without tweezers. Each seed measures roughly 3/8 to 1/2 inch long. You can see them, grab them, and sort them without squinting.
One mature zinnia flower head produces 30 to 75 seeds, depending on the variety. A single ‘Benary’s Giant’ bloom can give you enough seed for a 10-foot row.

When to Harvest Zinnia Seeds
Timing matters. Pick too early and the seeds won’t be viable. Here are the visual cues to watch for.
The petals dry and turn papery. Fresh zinnia blooms have flexible, vibrant petals. When the flower is ready for seed collection, petals become brittle and faded. They crumble when you pinch them.
The seed head turns brown. The center cone shifts from green to tan to brown. A fully mature seed head looks like a small, dry pinecone sitting on the stem.
The back of the flower head feels dry and stiff. Flip the bloom over. If the green calyx behind the petals has turned brown and feels crispy, the seeds inside are mature.
The stem below the head starts to dry. When the plant begins pulling resources away from the spent bloom, the stem section just below the head turns from green to tan.
Most zinnias reach seed maturity 6 to 8 weeks after the flower first opens. In Zones 5 through 7, this usually means late August through early October. In Zones 8 through 10, you may have mature seed heads as early as July.
Leave the flower on the plant until at least two of these four signs are visible. Three out of four is better.
How to Harvest: Step by Step
Step 1: Cut the stem. Use garden snips or scissors. Cut 6 to 8 inches below the dried flower head. The extra stem gives you something to hold and helps with hanging.
Step 2: Check for moisture. If the seed head feels at all damp, or if you harvested after rain, let it dry on a screen or paper towel for 2 to 3 days indoors before processing.
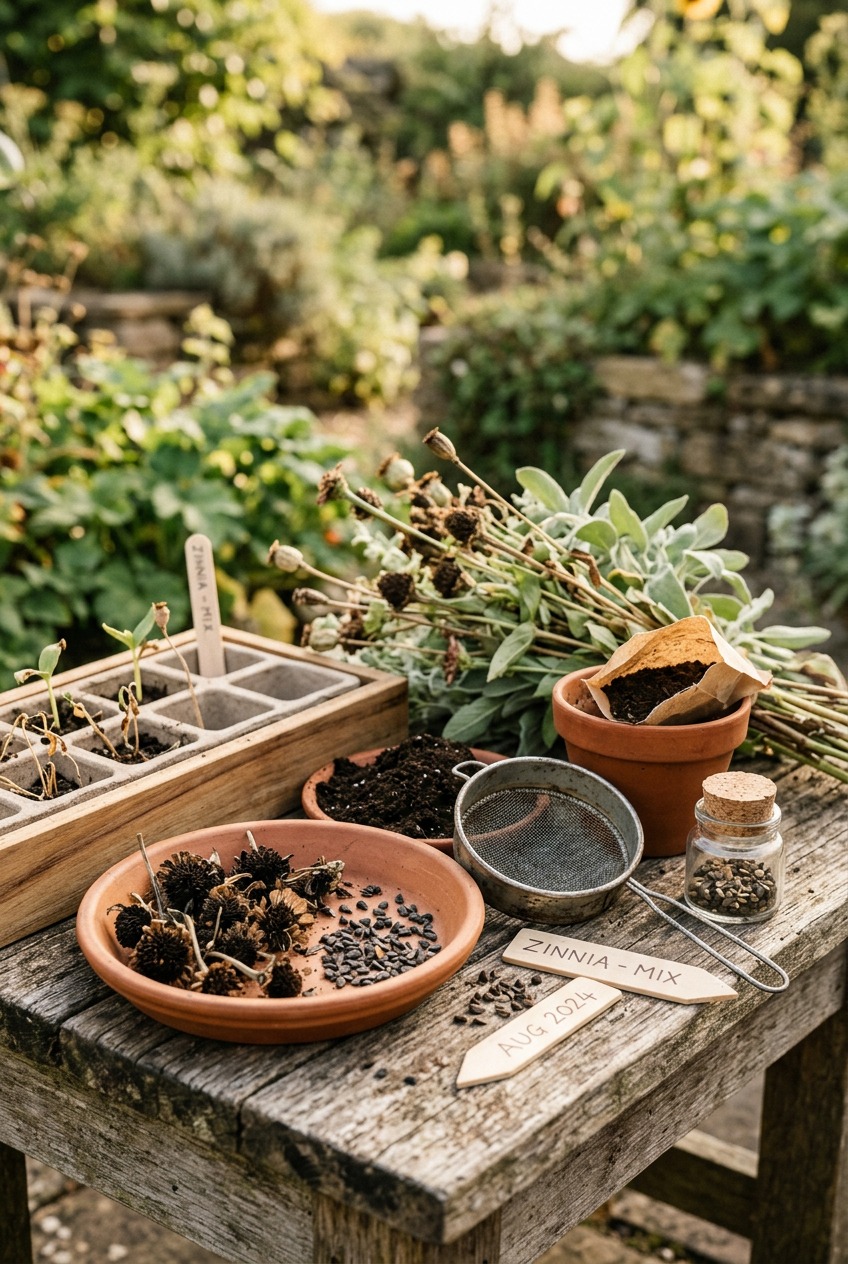
Step 3: Pull the petals off. Grip the dried petals and strip them away from the center cone. Discard the petals. Some people skip this step and just let the whole head dry further, but removing petals speeds up the process.
Step 4: Pull seeds from the cone. Hold the seed head over a paper plate or bowl. Gently twist and pull the arrowhead-shaped seeds free from the center. They should release easily. If you have to yank hard, the seeds may not be fully mature.
Step 5: Sort out debris. Separate the flat, full seeds from the chaff, empty seed casings, and petal bits. A viable zinnia seed feels firm when you press it between your fingers. Flat, papery seeds with no bulk are duds. Toss them.
Drying Seeds Properly
Even seeds that look dry benefit from extra drying time. Residual moisture is the number one killer of stored seeds.
Spread your cleaned seeds in a single layer on a paper plate, paper towel, or piece of newspaper. Place them in a warm, dry room with good air circulation. A spare bedroom, laundry room, or covered porch works well.
Let them dry for 5 to 7 days. Stir or flip them once at the midpoint.
The room should stay between 65 and 75 degrees Fahrenheit with low humidity. Avoid drying seeds in the kitchen, bathroom, or anywhere you run a humidifier.
After a week, test a seed. Try to bend it. A properly dried zinnia seed snaps cleanly. If it bends or feels flexible, give it another 3 to 4 days.
Storage Containers and Conditions
Best containers:
- Paper coin envelopes (cheap, breathable, easy to label)
- Small brown paper bags
- Glass jars with tight lids (only if seeds are fully dry)
- Seed-saving envelopes from companies like Botanical Interests or Southern Exposure
Avoid:
- Plastic baggies (trap moisture and promote mold)
- Open bowls or dishes (invite pests)
- Containers without labels (you will forget which variety is which)
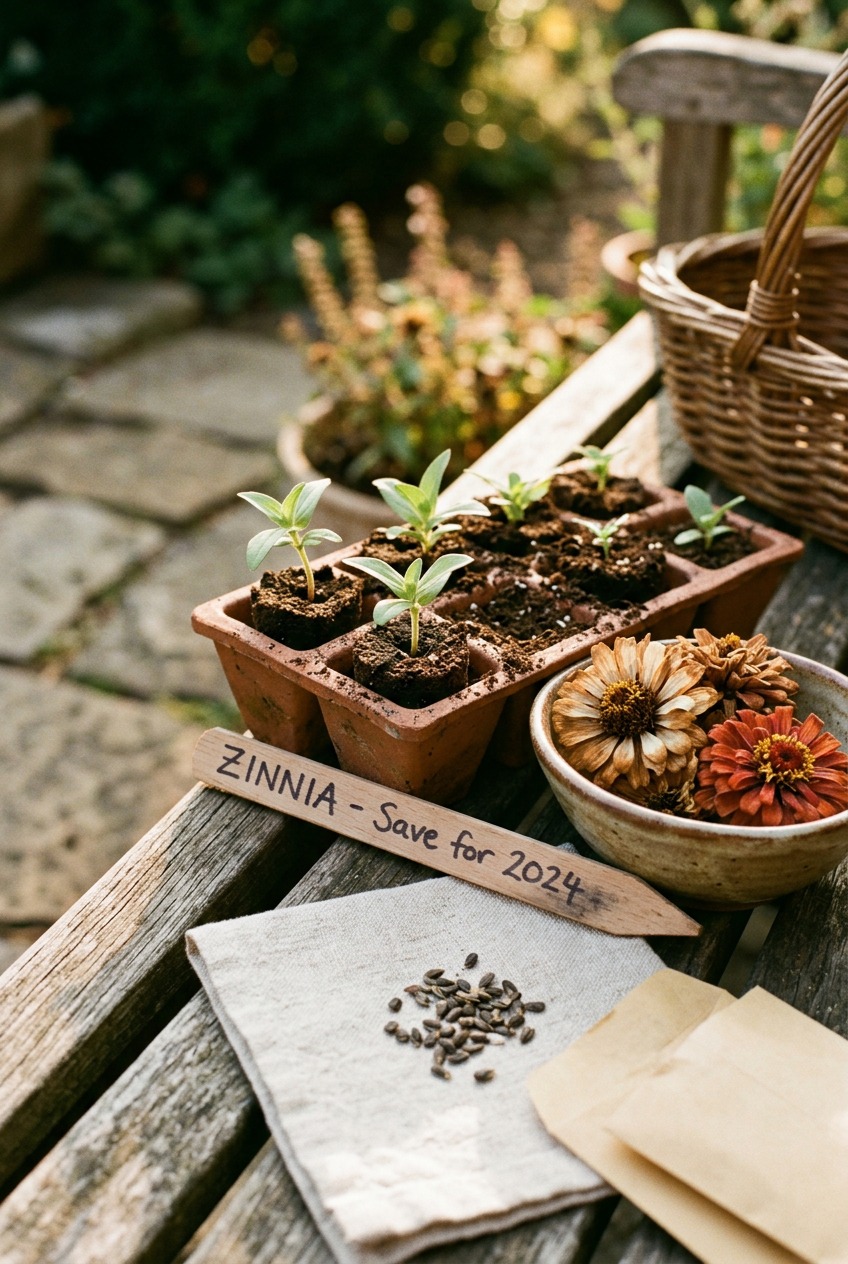
Label every container with the variety name, harvest date, and any notes about the parent plant. “Pink ‘Benary’s Giant,’ harvested 9/15/2025, tallest plant in the row” is the kind of detail you’ll thank yourself for later.
Store your labeled containers in a cool, dark, dry location. A closet shelf, a dresser drawer, or an unheated room all work. The ideal storage temperature is 40 to 50 degrees Fahrenheit. A refrigerator works if you seal the seeds in a glass jar first to prevent moisture absorption.
Avoid the garage, shed, or attic. Temperature swings and humidity spikes destroy seeds faster than almost anything else.
How Long Do Zinnia Seeds Last?
Properly dried and stored zinnia seeds stay viable for 3 to 5 years. Germination rates by age:
- Year 1: 85 to 95% germination
- Year 2: 75 to 90% germination
- Year 3: 60 to 80% germination
- Year 4: 40 to 65% germination
- Year 5+: Below 50%, increasingly unreliable
If you’re planting seeds that are 3 or more years old, sow them thicker than usual. Double your normal seeding rate and thin the seedlings after they sprout.
Which Varieties Come True from Seed
This is where it gets practical. Not all zinnias give you the same flower from saved seed.
Open-pollinated varieties (these come true):
- ‘State Fair Mix’ (tall, large blooms, mixed colors)
- ‘California Giants’ (3 to 4 foot stems, classic dahlia-form)
- ‘Lilliput’ (small, button-shaped, 18 inches tall)
- ‘Cactus Mix’ (quilled petals, unique texture)
- ‘Cut and Come Again’ (prolific rebloomer, good for cutting)
- ‘Envy’ (chartreuse green blooms, reliable from seed)
These are stable. The seeds you save will grow plants that look like the parent.
F1 Hybrid varieties (these won’t come true):
- ‘Benary’s Giant’ series (technically an F1, but reasonably stable from saved seed in practice)
- ‘Queeny’ series
- ‘Profusion’ series (interspecific hybrid, seeds often sterile)
- ‘Zahara’ series (disease-resistant hybrid)
Hybrids produce seeds, but the next generation may look different. Colors shift. Plant height changes. Bloom shape varies. You might get something interesting, or you might get something disappointing.
The exception is ‘Benary’s Giant.’ Despite being an F1 hybrid, many gardeners report that saved ‘Benary’s Giant’ seeds produce flowers very close to the parent. Not identical, but close enough that most people can’t tell the difference. It’s worth trying.
Preventing Cross-Pollination
Zinnias are pollinated by bees, butterflies, and other insects. If you grew multiple zinnia varieties within 500 feet of each other, your saved seeds may produce crosses.
For casual gardeners, this is not a problem. Zinnia crosses usually produce perfectly good flowers. The colors may surprise you, but they’ll still be zinnias.
For gardeners who want seed-true results, grow only one variety or separate varieties by at least 500 feet. Alternatively, you can bag individual blooms with organza drawstring bags before they open, then hand-pollinate with a small paintbrush.
Most backyard growers don’t bother with isolation. The surprise mixes are half the fun.
Quick Reference: Zinnia Seed Saving Timeline
| Task | Timing |
|---|---|
| Let blooms dry on plant | 6 to 8 weeks after opening |
| Harvest dried seed heads | Late August through October (Zones 5 to 7) |
| Dry seeds indoors | 5 to 7 days at 65 to 75°F |
| Package and label | After drying is complete |
| Store in cool, dark location | October through spring |
| Plant saved seeds | After last frost date (or start indoors 4 to 6 weeks earlier) |
One afternoon of seed saving gives you hundreds of zinnia seeds. That’s enough to fill a cutting garden, share with neighbors, and still have a stash for the following year. The whole process takes less time than a trip to the garden center.