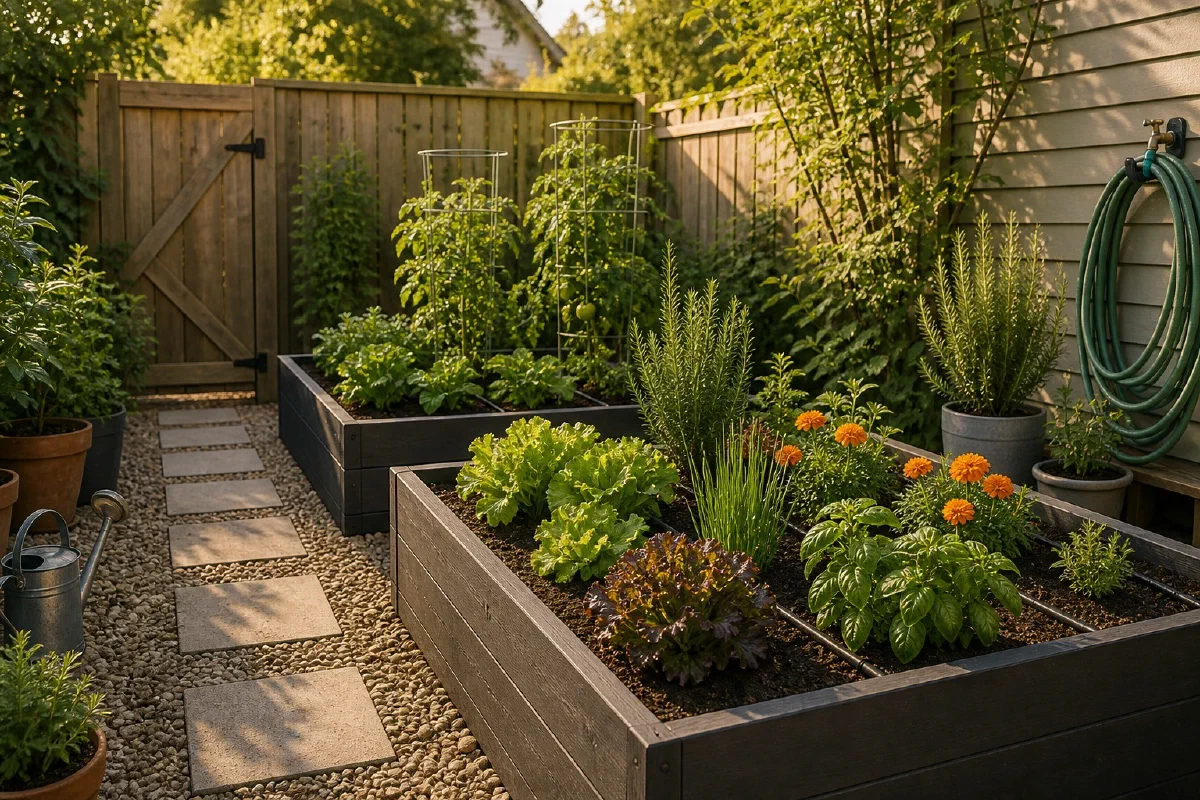
Raised beds are supposed to make gardening easier. Somehow they often turn into a weekend of lumber, gravel, soil math, and a yard that looks half under construction.
You can skip most of that. The best first raised bed garden is usually smaller, simpler, and closer to the house than the plan you saw online.
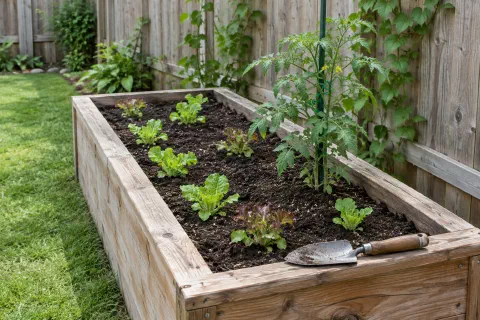
Start with one raised bed in the sunniest useful spot, not a full garden buildout. A simple kit, good soil mix, cardboard underlayer, and easy watering plan matter more than building the perfect layout on day one.
Start With Fewer Beds Than You Think
Start with one or two beds, not a full garden grid.
Two beds can grow herbs, greens, tomatoes, peppers, flowers, and a few experiments. They also teach you how much watering, weeding, harvesting, and soil topping you actually want to do.
A smaller start is not a lack of ambition. It is how you avoid building a garden that becomes another chore pile by August.
If your outdoor space is tight, combine this with container vegetable garden ideas for small spaces so you can decide what needs a bed and what can stay in pots.
Pick the Spot Before You Buy Anything
Stand in the yard with the hose before you order beds.
The perfect sunny spot is not perfect if the hose barely reaches, the wheelbarrow cannot get there, or you never walk past it. Raised beds need sun, but they also need daily convenience.
Clemson HGIC’s raised bed factsheet puts the minimum at six hours of direct sunlight per day, in a well-drained site, preferably near a water source. Six hours is the floor for vegetables, not a comfortable margin.
The light labels are worth knowing precisely, because a spot that falls short of them changes what you can grow. Penn State Extension defines full sun as six or more hours of direct light, part sun as four to six, part shade as two to four, and shade as under two. A four-to-six-hour spot is part sun, which is enough for herbs, lettuce, and kale and tight for tomatoes and peppers.
Look for easy water access, enough room to walk around the beds, and a path you will actually use.
Do the morning and evening check too. A bed that gets blasted all afternoon may need mulch, shade cloth, or tougher plants.
Raised Bed Options That Do Not Require Carpentry
You do not have to build wooden boxes from scratch.
Good low-construction options include galvanized metal beds, cedar kits, composite kits, fabric grow beds, stock-tank style planters with drainage, and simple no-dig mounds edged with logs or stone.
If you would rather build the box yourself, which wood to use for a raised garden bed compares cedar against pressure-treated lumber, gives the thickness to buy, and covers what a university study found about copper, treated wood and the soil.
Choose based on your real constraint. Metal kits are fast. Wood looks classic. Fabric beds are cheap and movable. No-dig beds can work if you want the garden to look softer and less boxed in.
| Option | Setup effort | Moves with you | Best for |
|---|---|---|---|
| Galvanized metal bed | Low, bolts together | No | A fast start and clean lines |
| Cedar kit | Low, bolts together | No | A classic look that weathers gray |
| Composite kit | Low, bolts together | No | Wet climates and no recoating |
| Fabric grow bed | Very low, unfolds | Yes | Renters, and testing a spot for a season |
| Stock-tank style planter | Medium, needs drainage added | No | Deep-rooted crops in a small footprint |
| No-dig mound edged with logs | Low, no frame | n/a | A softer garden look that blends in |
Clemson’s factsheet notes that mounded beds without sides are a legitimate option, shaped with a rake to about 4 to 8 inches high with sloped sides, so the box itself is a choice rather than a requirement.
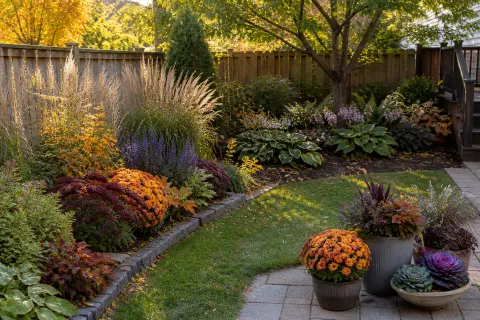
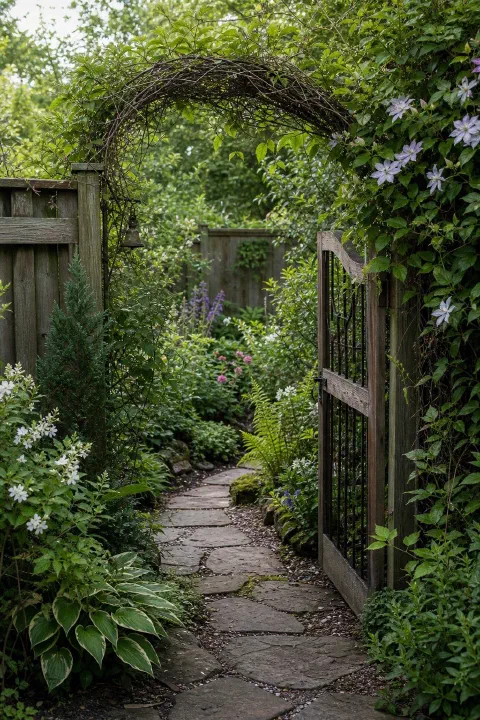
If you like a looser garden look, chaos gardening with scatter seeds and cottage garden ideas on a budget can help the raised beds blend into the yard instead of looking like a hardware-store display.
The Soil Plan That Prevents Regret
Do not fill deep beds entirely with expensive bagged potting mix unless that is truly the right product for the bed.
For most outdoor raised beds, you want a raised bed mix or a balanced blend of screened topsoil, compost, and organic matter. Potting mix is useful for containers, but large beds need structure and mineral content too.
Compost is the part people overdo. Clemson puts the working range at 10 to 20 percent of the total volume of soil in the bed, and notes that too little organic matter and too much composted material both cause problems later.
If the bed is deep, use appropriate bulk material in the lower layer only if it will not rot badly, steal nitrogen, or collapse. Then keep the top growing zone consistent and rich.
How to Fill a Raised Bed With Topsoil and Compost
The math is easier when you do it in this order, and it saves a second trip to the yard.
- Measure the bed and work out the volume. Length times width times depth, then take 10 to 20 percent of that as your compost target.
- Put down cardboard or a couple of layers of newspaper over the grass inside the frame. It smothers what is under it and breaks down on its own.
- Rough in the bulk layer first, if you are using one. Screened topsoil or a bulk raised bed blend goes in and gets raked roughly level.
- Add the compost on top, not mixed through the whole depth. Ten to twenty percent of the total volume, spread across the surface where the roots actually feed.
- Mix the top few inches only with a fork, so the growing zone is consistent and the layers below stay put.
- Water it in and let it settle for a few days. A new bed sinks. Topping it up before you plant is easier than topping it up around seedlings.
- Mulch after planting. A new raised bed dries out faster than the ground around it, and bare soil loses moisture fast in July.
Paths, Hose Access, and the Stuff People Forget
Leave more path than you think you need.
Clemson recommends beds about 3 to 4 feet wide so you can reach the middle without stepping in, with paths sized for the tools you actually carry.
You should be able to kneel, carry a watering can, pull a hose, and harvest without stepping into the bed. If you use a wheelbarrow, measure that too.
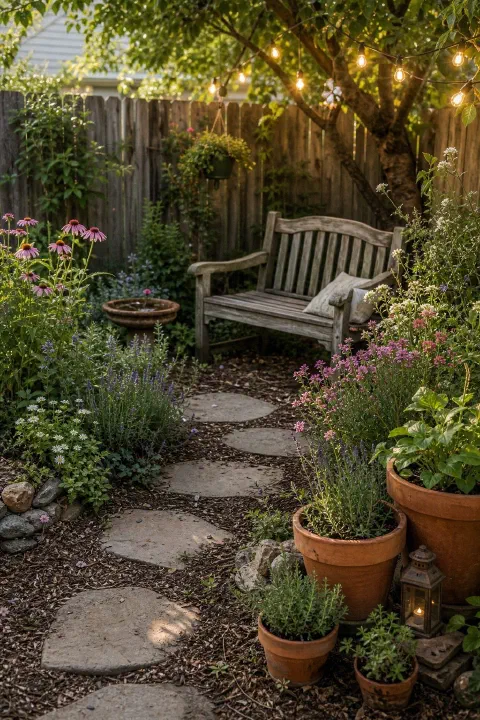
Put a small landing zone nearby for tools, a harvest basket, plant tags, and gloves. This can be a bench, a crate, or even a flat paver by the bed.
For easy outdoor storage, the outdoor storage fix that makes a small patio feel twice as usable pairs naturally with a raised bed setup.
What to Plant the First Season
Make the first season rewarding.
Choose a few crops you will actually use: basil, parsley, cherry tomatoes, peppers, lettuce, kale, bush beans, marigolds, zinnias, and compact cucumbers if you have a trellis.
Skip giant experiments until you understand the space. Pumpkins, sprawling squash, and too many tomato plants can overwhelm a new bed fast.
If you want flowers mixed with food, read start a wildflower garden from seed and 10 easy cottage garden perennials for low maintenance beds before filling every inch.
The goal is not to prove you can build a garden. It is to grow something you can keep up with.
Care Through the First Season
A new bed needs more attention than the same bed will need next year, and almost all of it is water.
- Expect to water more than you think. Clemson notes that raised beds dry out more quickly than in-ground beds and need more irrigation in dry spells. Plan the drip line or soaker hose as part of the build, not as a July rescue.
- Top up the soil once, in late summer. Organic matter keeps decomposing, so the level drops. A bag of compost raked into the surface resets it.
- Weed the paths, not just the bed. Weeds at the edges host the insects that find the plants next.
- Refresh the mulch before the hottest stretch. Two inches of straw or leaves does more for a new bed than an extra watering.
- Leave the roots in at the end of the season. Cutting plants off at soil level instead of pulling them keeps the soil structure you just paid for.
What I’d Buy First
- One 2x4 or 4x4 raised bed kit if you are testing the layout.
- A deeper bed for tomatoes, peppers, carrots, or mixed vegetables.
- Cardboard, compost, and quality raised-bed soil before decorative edging.
- Drip line or a soaker hose before midsummer heat arrives.
What to Read Next
- Lazy garden watering setup for raised beds because water is the job a new bed hands you every week.
- Container vegetable garden ideas for small spaces if you want to know what belongs in a bed and what belongs in a pot.
- Cut flower seeds that give you the most bloom for a small bed when the vegetable bed is settled and you want flowers from the same space.
- Cottage garden from seed on a small budget for filling the gaps without buying nursery plants.