Every yard has a place that tells on the rest of the drainage.
It stays muddy after rain. Grass thins out. The mower leaves tracks. Mulch floats away. You keep trying to make it look normal, and the wet spot keeps winning.
A rain garden can turn that problem into a planted basin that slows water, gives it somewhere to go, and looks intentional instead of soggy.
Make sure it is the right kind of wet spot
A rain garden is not a pond. It should collect water during and after rain, then drain within a reasonable time.
If water stands for days, if the area smells sour, if it is near a septic field, or if runoff is coming from a neighbor’s property in a way you cannot control, get local advice before digging. Drainage problems can cross property lines and building codes.
A simple rain garden is usually best for roof runoff, driveway runoff, or a low lawn spot that gets wet after storms but eventually drains.
Keep it away from foundations. Many extension services recommend at least 10 feet from the house, but local soil and slope matter. When in doubt, ask your local extension office or stormwater program.
Watch where the water already moves
Do not design the garden from a photo. Design it from the next rain.
Go outside during or right after a storm and notice where water enters, where it sits, and where it leaves. A good rain garden catches water before it becomes a muddy mess, then releases overflow safely.
Use this planning check:
| What you see | What it means |
|---|---|
| Water rushes through one path | Add stone, swale, or inlet protection |
| Water sits in a shallow low spot | Good rain garden candidate if it drains |
| Water moves toward the house | Do not dig until drainage is corrected |
| Soil stays wet for days | Choose wet-tolerant plants or seek advice |
| Downspout dumps in one place | Extend or guide flow into a basin |
The garden should solve a water pattern, not create a deeper puddle.
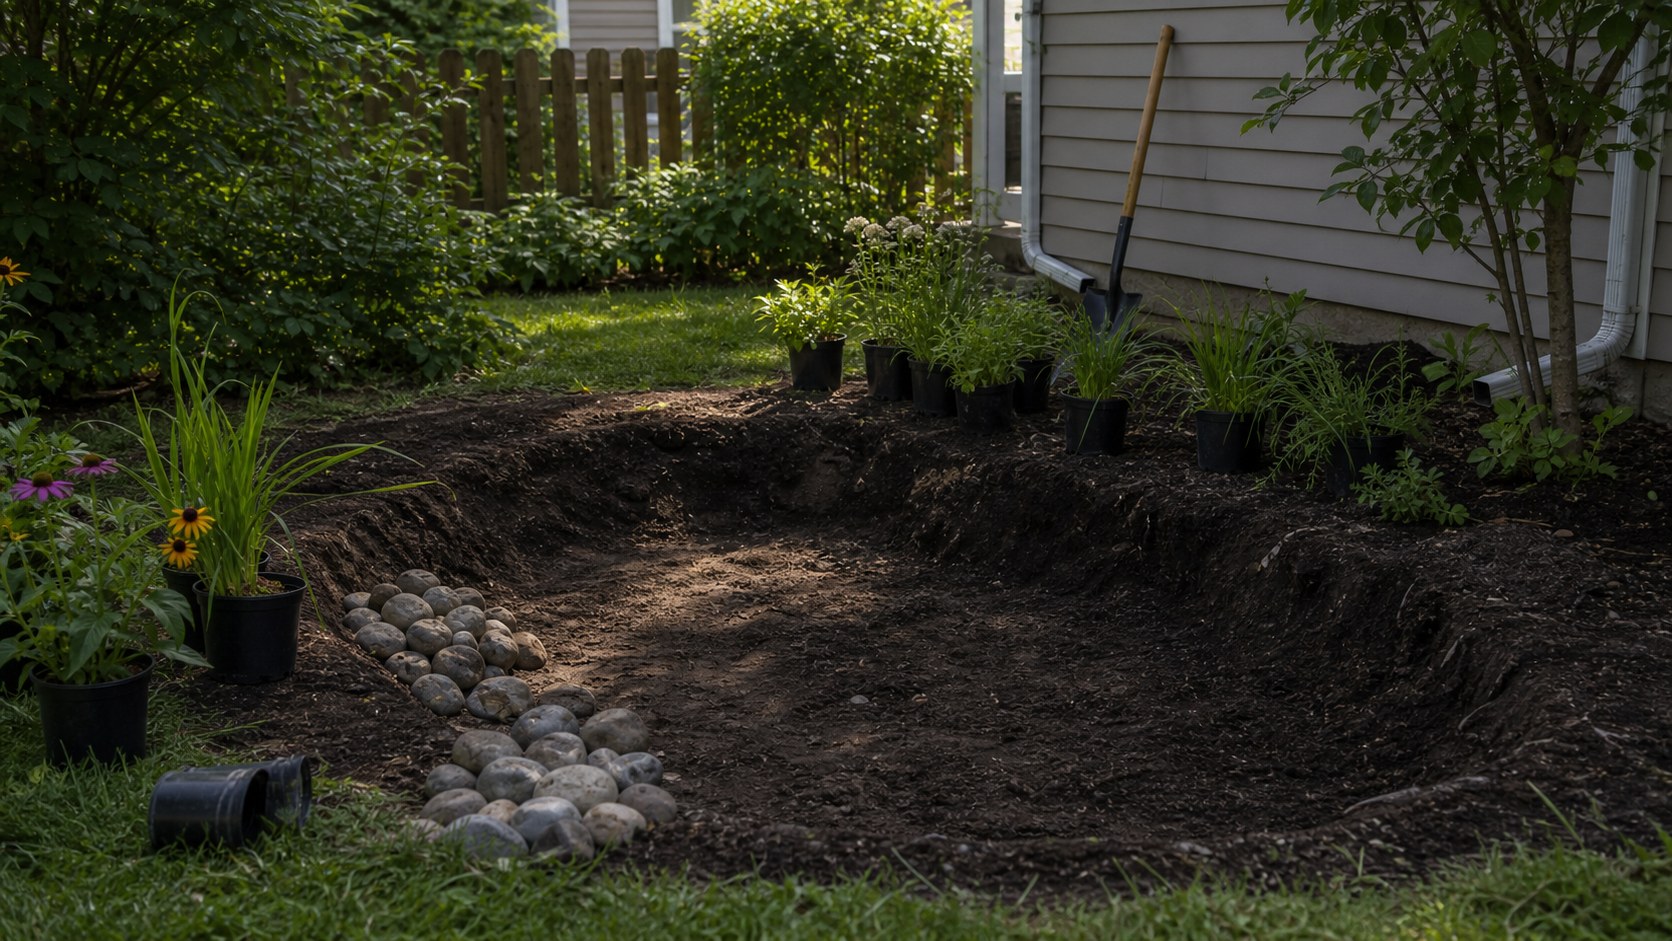
Shape the basin with a gentle edge
Rain gardens usually look best when the basin has a soft, natural shape rather than a perfect circle.
Use a hose or rope to outline the area. Wider is usually better than deeper. A shallow saucer shape is easier to plant, maintain, and make attractive than a steep hole.
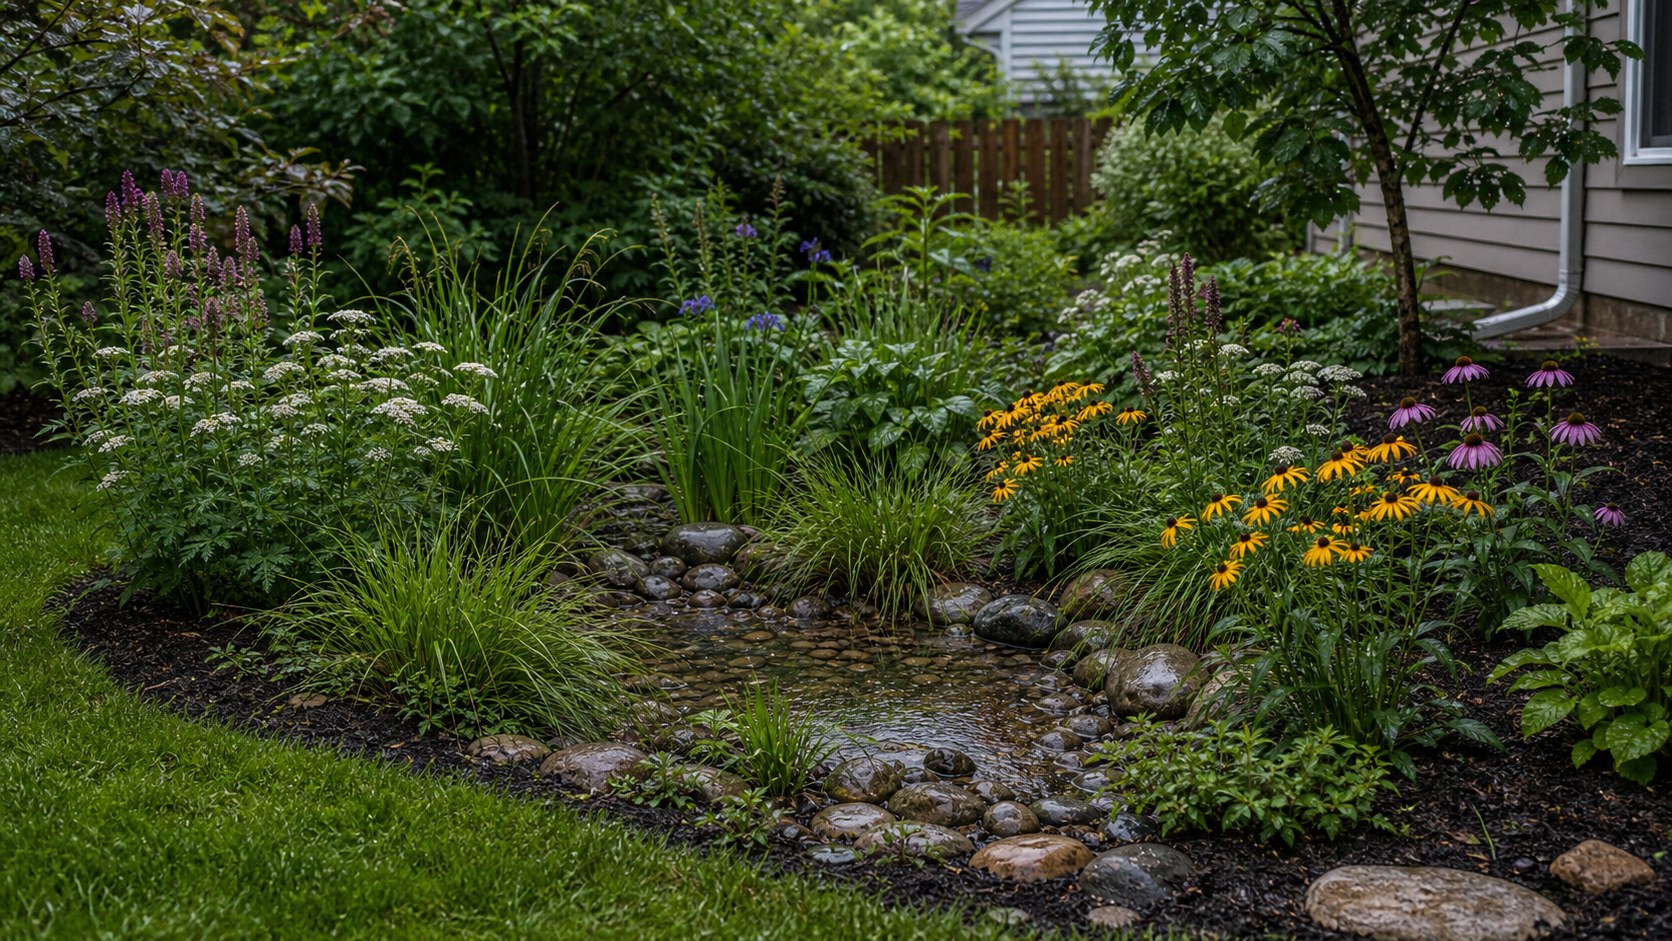
The lowest part of the basin can hold the most water-tolerant plants. The slope and upper edge can hold plants that like moisture but do not want wet feet all the time.
Stone can help the garden look intentional from day one. Use river rock or flat stone at the inlet where water enters, a few larger stones for structure, and mulch or groundcover between plants to reduce erosion.
Plant in moisture zones
The best rain gardens are layered by water tolerance.
Put the toughest wet-foot plants in the bottom. Put flexible plants on the sides. Put drier-edge plants around the rim.
Exact plant choices should match your region, but this structure works in many yards:
| Rain garden zone | Plant role |
|---|---|
| Bottom | Moisture-loving sedges, rushes, iris, swamp milkweed where native |
| Middle slope | Black-eyed Susan, bee balm, cardinal flower, blue flag iris where suitable |
| Upper edge | Switchgrass, little bluestem, coneflower, asters, goldenrod |
| Visual anchor | One small shrub or grass group if space allows |
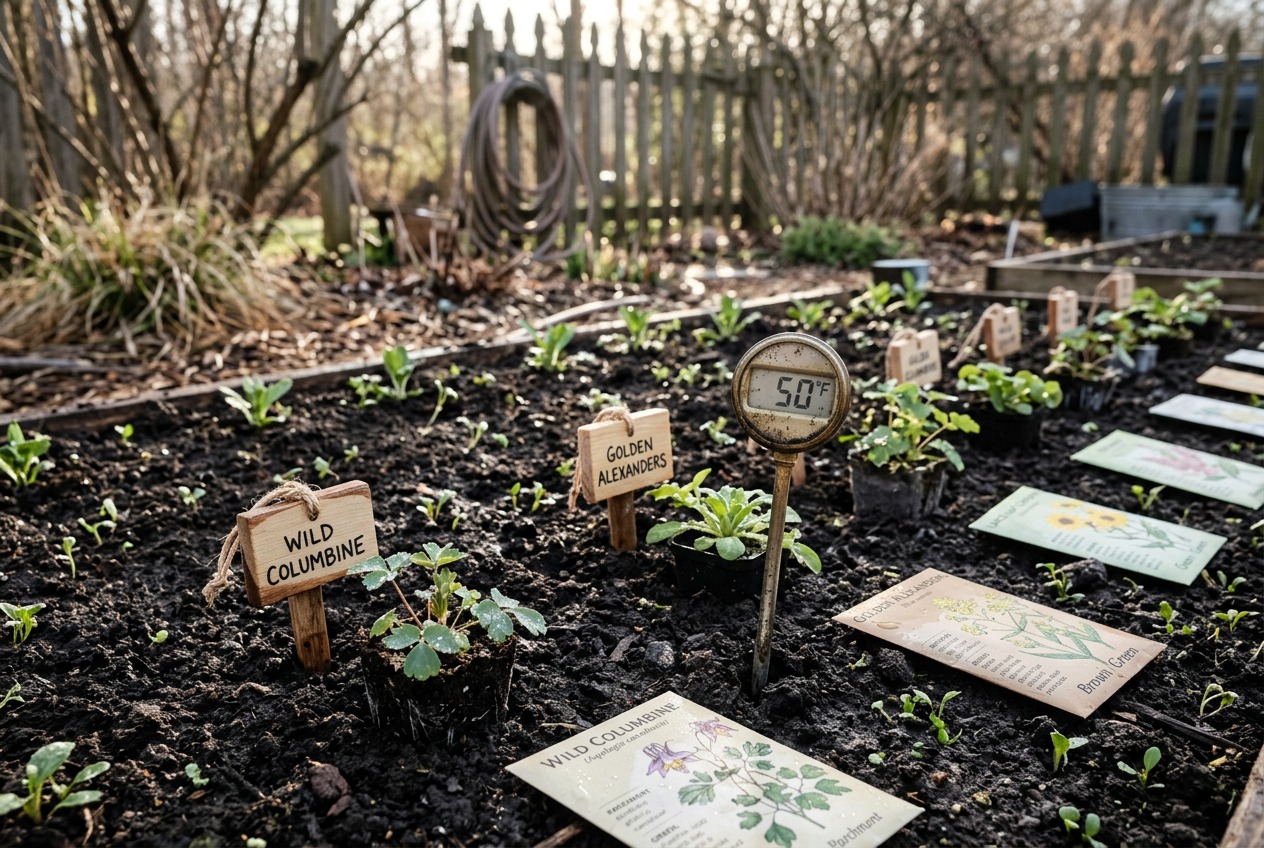
Native plants are often the best starting point because they support local wildlife and handle local weather swings better once established. Check your county extension list before planting aggressively.
Use grasses and sedges so it does not look empty
A rain garden can look sparse in its first year if it is built only around flowers.
Grasses and sedges give it structure while flowering plants fill in. They also help the basin look good after blooms pass.
Try repeating one grass or sedge in groups through the garden. Repetition makes a functional drainage area look designed instead of patched together.

Plan the overflow before planting
Every rain garden needs a plan for heavy storms.
Water should have a safe place to go when the basin fills. That may be a lower lawn area, existing drainage path, dry creek bed, or stormwater-approved outlet. It should not run toward the foundation, neighbor’s house, sidewalk ice zone, or a place where erosion will get worse.
This is the unglamorous step that makes the garden work.
Avoid the common mistakes
The biggest rain garden mistakes are usually practical:
- Digging too deep
- Placing it too close to the house
- Using plants that hate wet soil in the basin
- Forgetting where overflow goes
- Leaving bare soil exposed to wash away
- Expecting it to look full in the first month
- Using only flowers and no structural grasses
Start with water, then shape, then plants. The pretty part lasts longer when the function is right.
Let the wet spot become the feature
A wet patch of lawn can feel like a failure. A rain garden can feel like a choice.
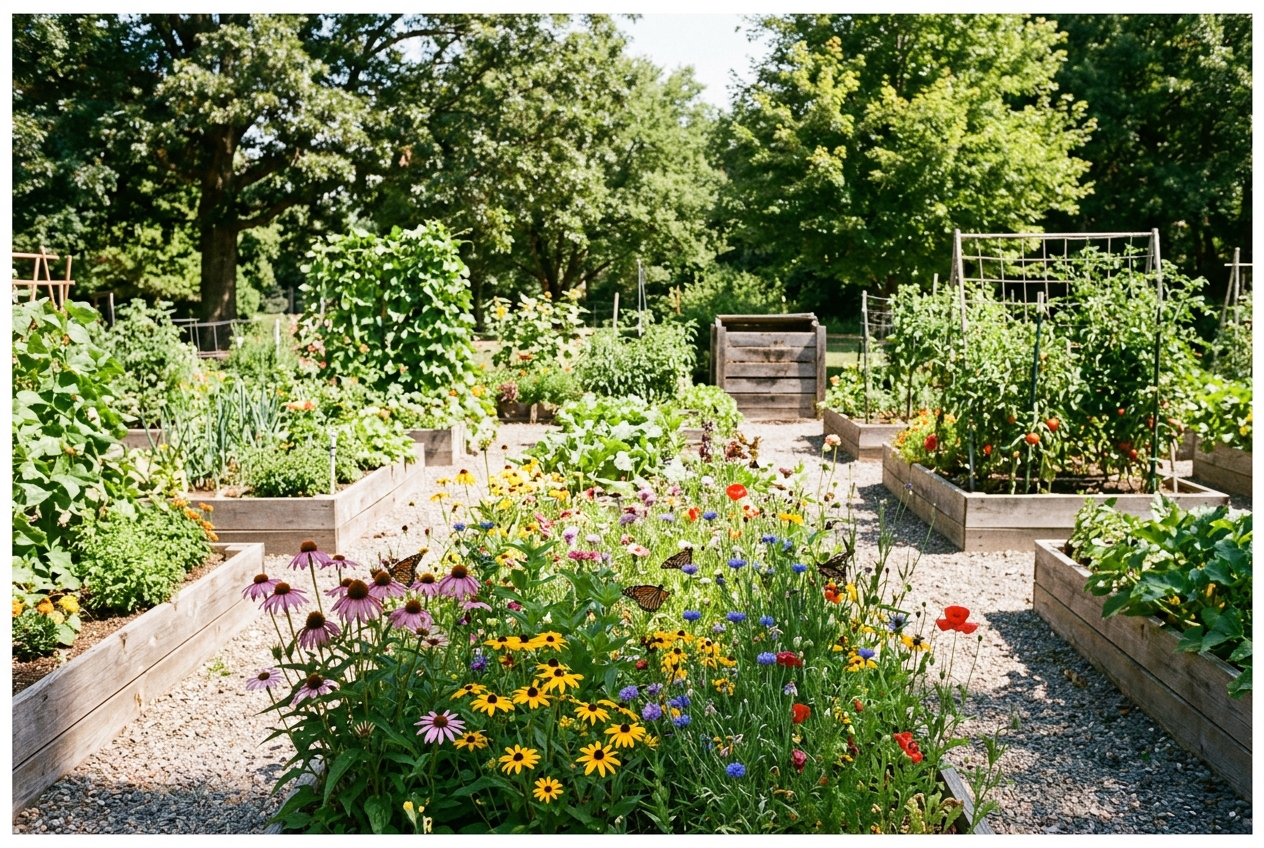
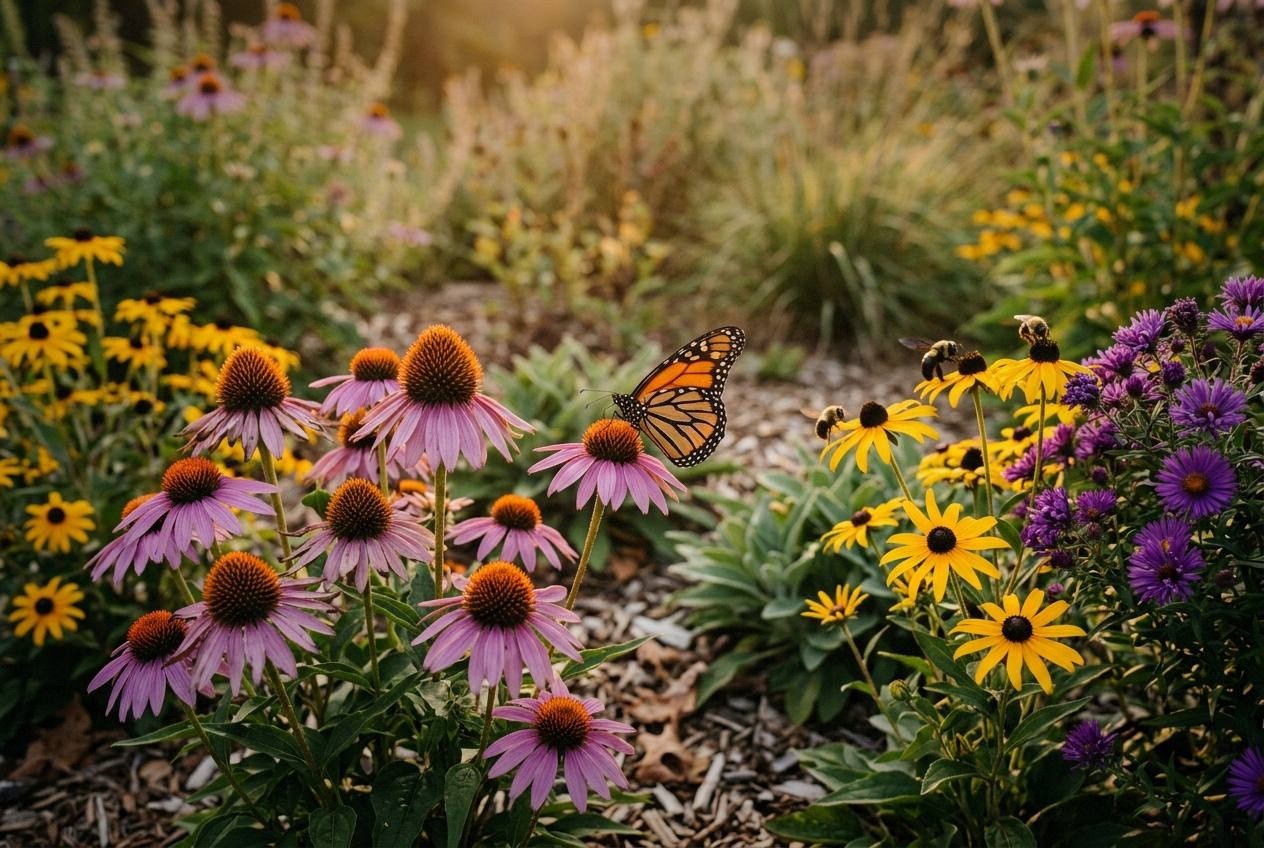
Once the basin is shaped, edged, planted, and mulched, the same low spot that used to look muddy starts to look useful. It can pull butterflies, soften runoff, add late-season color, and make the yard feel more alive after rain.
The trick is not hiding the water. It is giving the water somewhere beautiful to pause.