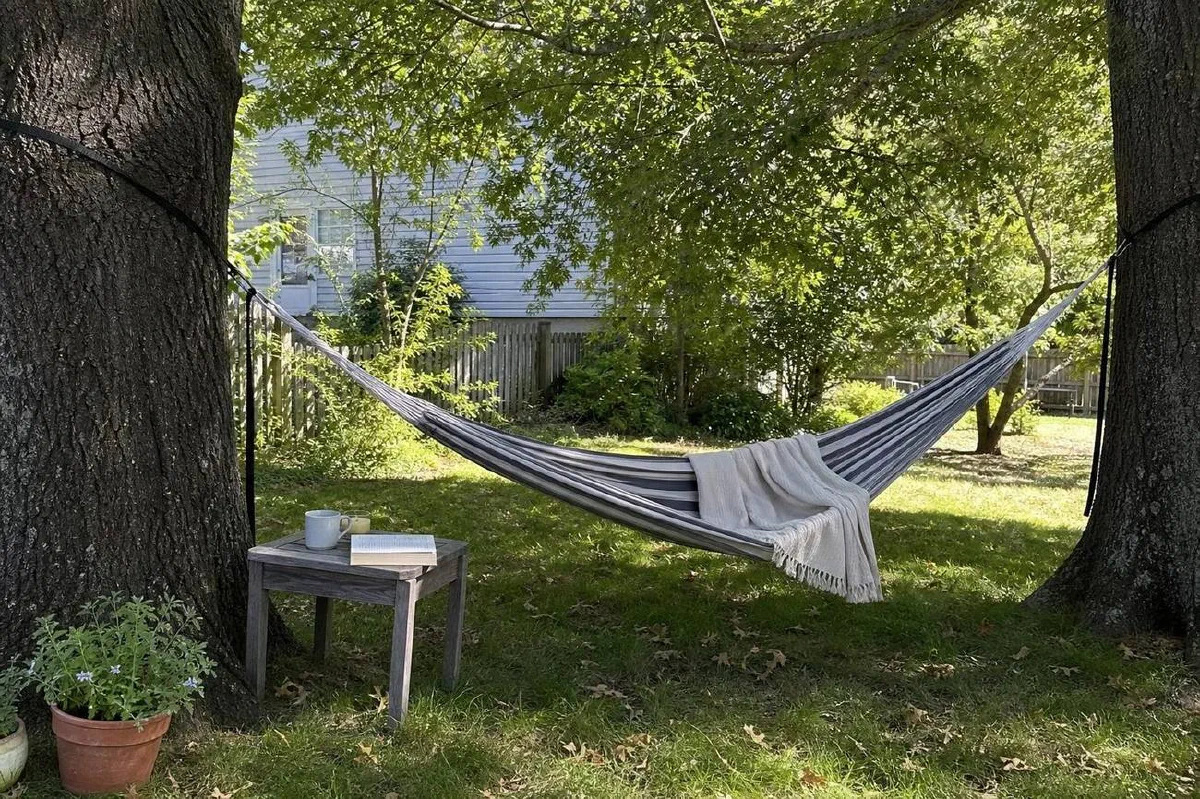
A backyard hammock that sits unused isn’t a problem with the hammock. It’s a problem with the spot.
The hammock spot people actually return to has five things: the right anchors at the right distance, afternoon shade, clear soft ground beneath, a sense of privacy, and a small surface for a mug or a book within arm’s reach. Get any one of those wrong and the hammock becomes lawn ornament. Get all five right and a $40 hammock from any hardware store becomes the favorite seat in the yard.
These five steps work whether the hammock hangs between two trees, between a tree and a post, or on a freestanding stand. The principles are the same.
Step 1: Pick the Right Anchors
The two anchors need to be 12-15 feet apart, at least 4-6 inches in diameter if they’re trees, and capable of holding 300 pounds without flex.
Trees: Live, healthy trees with trunks at least 6 inches in diameter at the anchor point. Common species that work: oak, maple, ash, hickory, pine. Avoid: dead trees, leaning trees, hollow trees, fruit trees (most are too small or fragile), and trees with bark that scars easily (birch, sycamore).
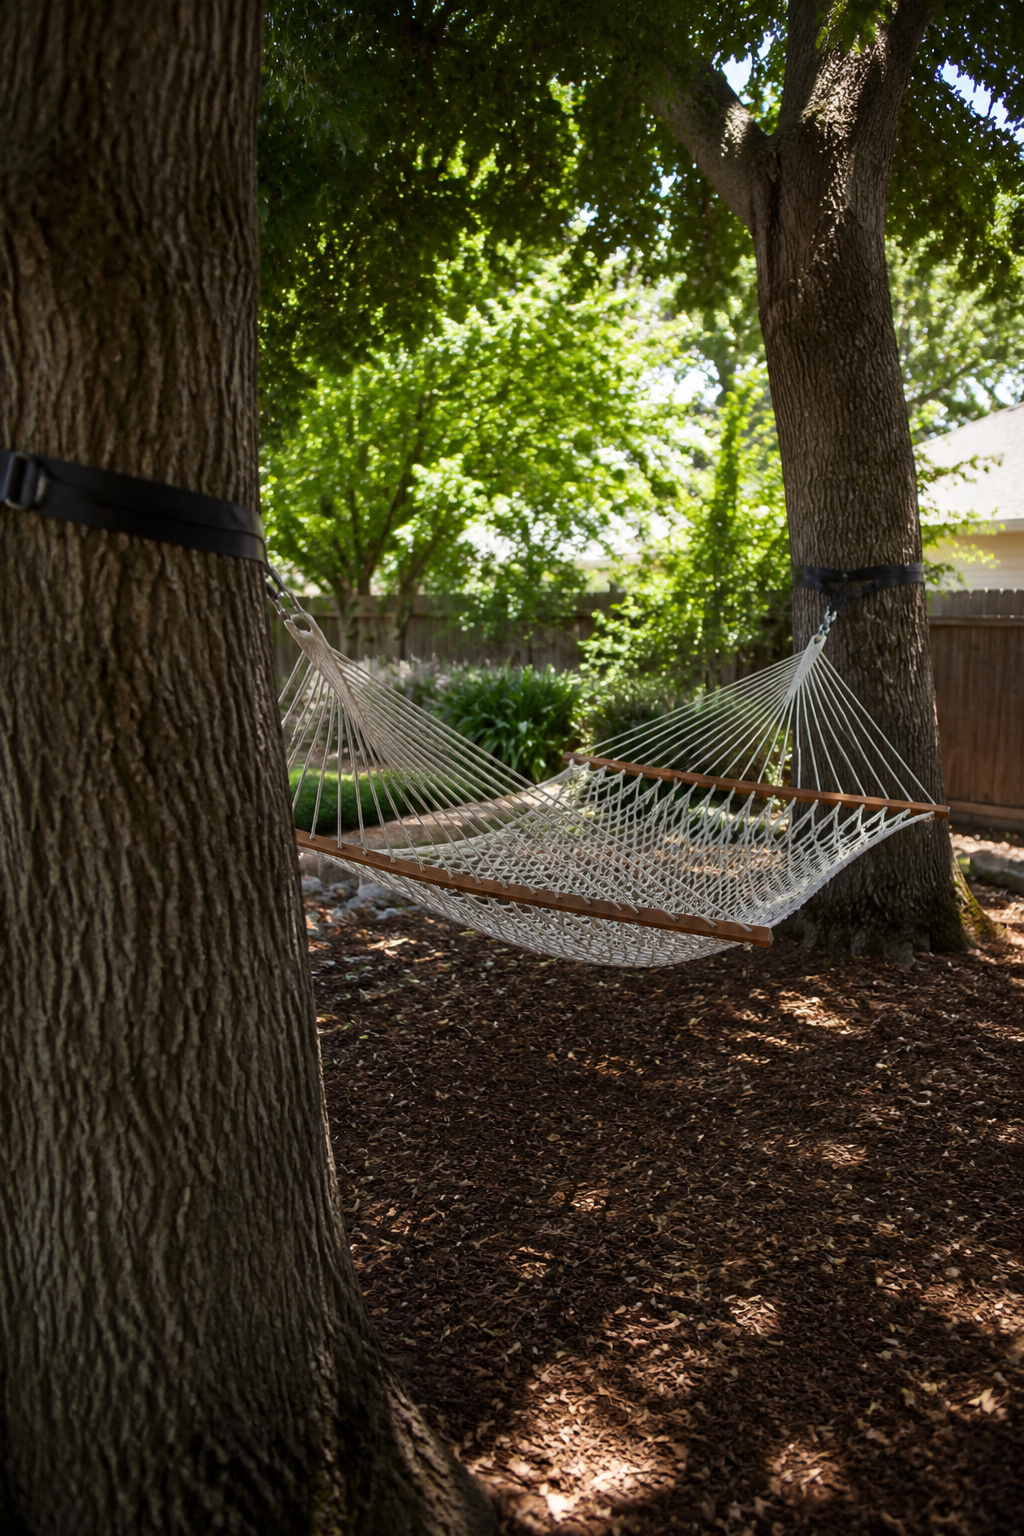
Use tree straps, not rope. Rope cuts into the bark and damages the cambium layer. UGA Extension’s shade and street tree care guide describes what that pressure does: ties, chains, tight guywires, wire, and string can crush the cambium and leave a girdling wound. Wide flat tree straps (2 inches or wider) spread the load across the trunk instead of concentrating it in one line. ENO Atlas straps are the standard; any equivalent 2-inch nylon strap works.
Posts or structures: A 6x6 cedar post sunk 3 feet into concrete will hold a hammock indefinitely. Pergola posts work if they’re at least 4x4 and braced. A porch post works if you’re sure of the structural rating; many porch posts are decorative and won’t hold a hammock plus a person without flex or damage.
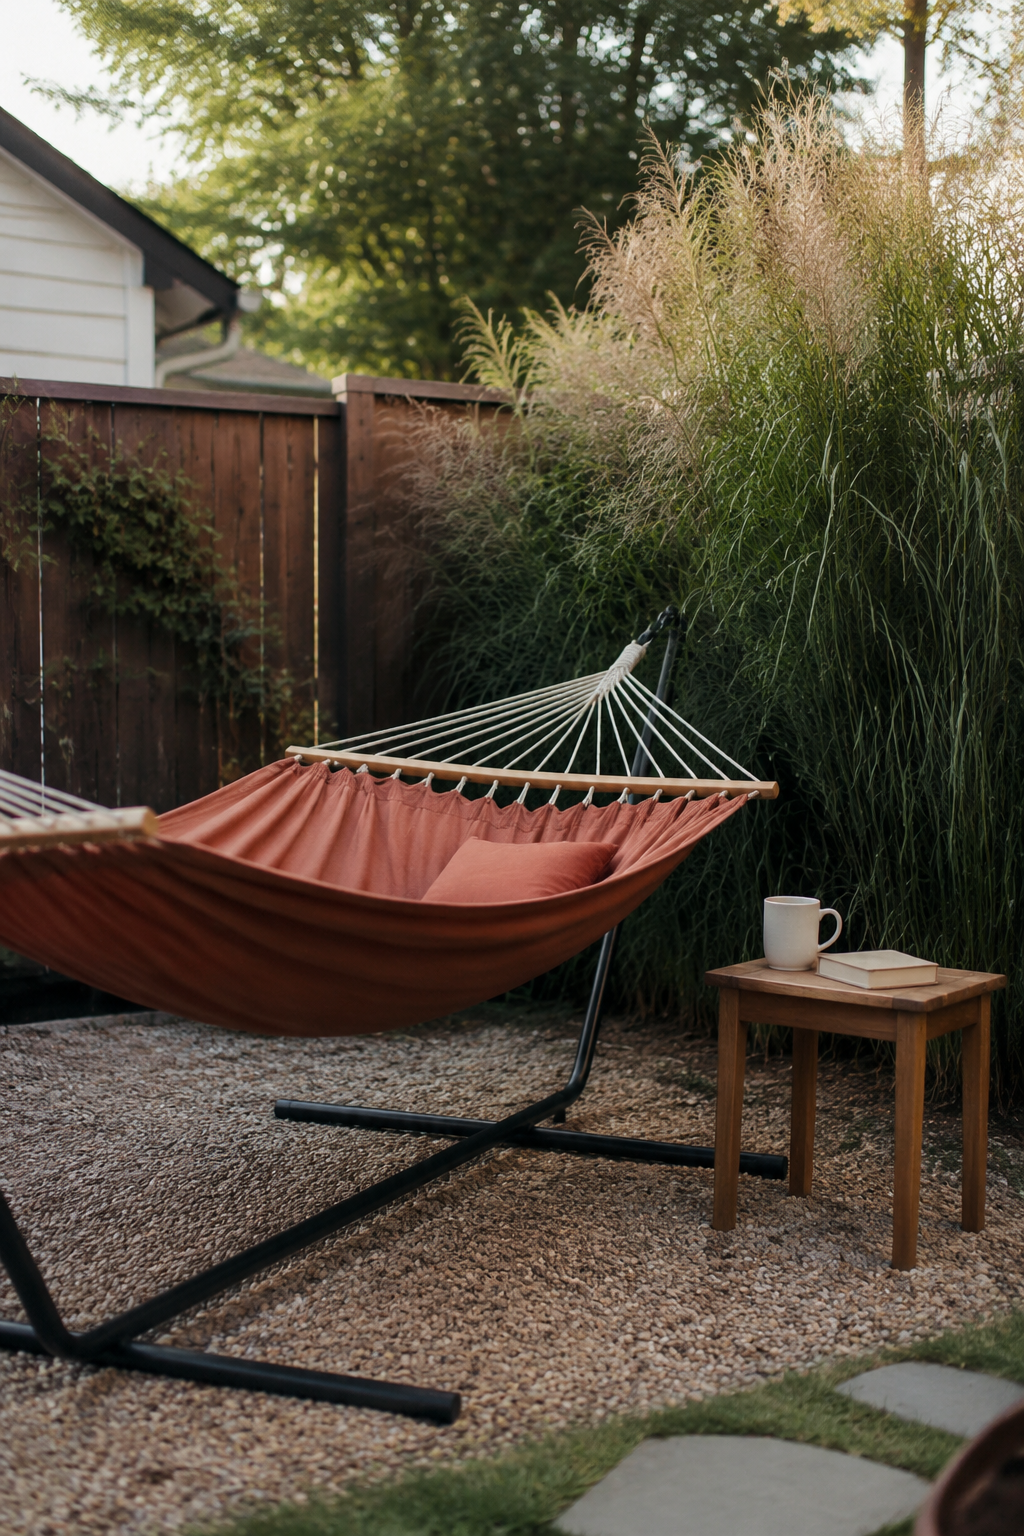
Stands: If trees aren’t available, a freestanding hammock stand is the cleanest solution. Steel stands rated for 450 pounds are widely available for under $150. The 9- or 12-foot stand sizes fit most hammocks.
Distance: Most rope hammocks are 13 feet end to end. The anchors should be 12-15 feet apart, allowing 1-2 feet of slack for the natural curve. Too close and the hammock sits too low; too far and it stretches too tight. Measure before you hang.
Step 2: Get the Sun and Shade Right
Afternoon shade is the single biggest comfort factor.
A hammock spot in full sun from 10am to 6pm becomes unusable by noon in summer. The same spot in dappled afternoon shade is usable from morning through evening. Pick a spot under a tree canopy that filters light, or set the hammock on the east side of the house so morning sun gives way to afternoon shade by 2pm.
If no natural shade exists, install a shade sail or a canvas canopy. A 10x10 shade sail mounted on three posts costs around $80 and creates an instant shade pocket. A canvas patio umbrella moved to the right spot achieves the same.
The other consideration: wind. A hammock that catches strong wind swings too aggressively to relax in. A spot with some wind protection (against a fence, near a hedge, in a courtyard) holds up better in storms and breezy afternoons.
Step 3: Clear the Ground Beneath
The ground under the hammock needs to be soft, level, and free of anything sharp.
A hammock that hangs over a brick path, a stone patio, or a tangle of tree roots makes the user nervous about falling, and that anxiety alone keeps the hammock unused. The ideal surface is grass, mulch, pine needles, or sand. The minimum: nothing within 3 feet of the hammock’s lowest hang point that would hurt to land on.
A simple ground prep:
- Pull weeds and rake debris from a 4x10-foot area beneath the hammock
- Spread 2-3 inches of mulch, wood chips, or river stone if the ground is uneven
- Optionally add a small outdoor rug or jute mat under the side table for visual definition
The ground prep doesn’t need to be elaborate. It needs to feel intentional, not like the hammock was thrown into a random corner of the yard.
Step 4: Add Privacy
A hammock in the middle of an open lawn, visible from every window and the neighbor’s yard, doesn’t get used. A hammock in a corner that feels private gets used daily.
Privacy doesn’t require a fence. Options that work:
- A row of tall ornamental grasses (Pampas, Miscanthus, Northern Sea Oats) planted along the most exposed side
- A trellis with climbing vines (jasmine, clematis, climbing hydrangea)
- A single large shrub or small tree positioned between the hammock and the sight line
- A simple bamboo or reed screen attached to a post
- An existing fence or hedge as one boundary
The goal isn’t full enclosure. It’s a sense of “this is a separate small room within the yard.”
Step 5: Add the Side Table and the Mug Rest
A hammock without somewhere to put a drink is a hammock that doesn’t get used past the first ten minutes.
The side table needs to be:
- Within arm’s reach from the hammock, usually 18-24 inches from the edge
- Stable: not a wobbly stool or a folding TV tray
- Weather-resistant: teak, cedar, metal, or treated wood; not particleboard
- Low: about the same height as the hammock when occupied (around 18-24 inches off the ground)
The minimum item: a place for a mug or a glass.
The upgrade: a small wooden tray with a mug, a book, a phone face-down, and a small candle or solar lantern. The tray turns the hammock spot into a complete reading nook rather than just a place to lie down.
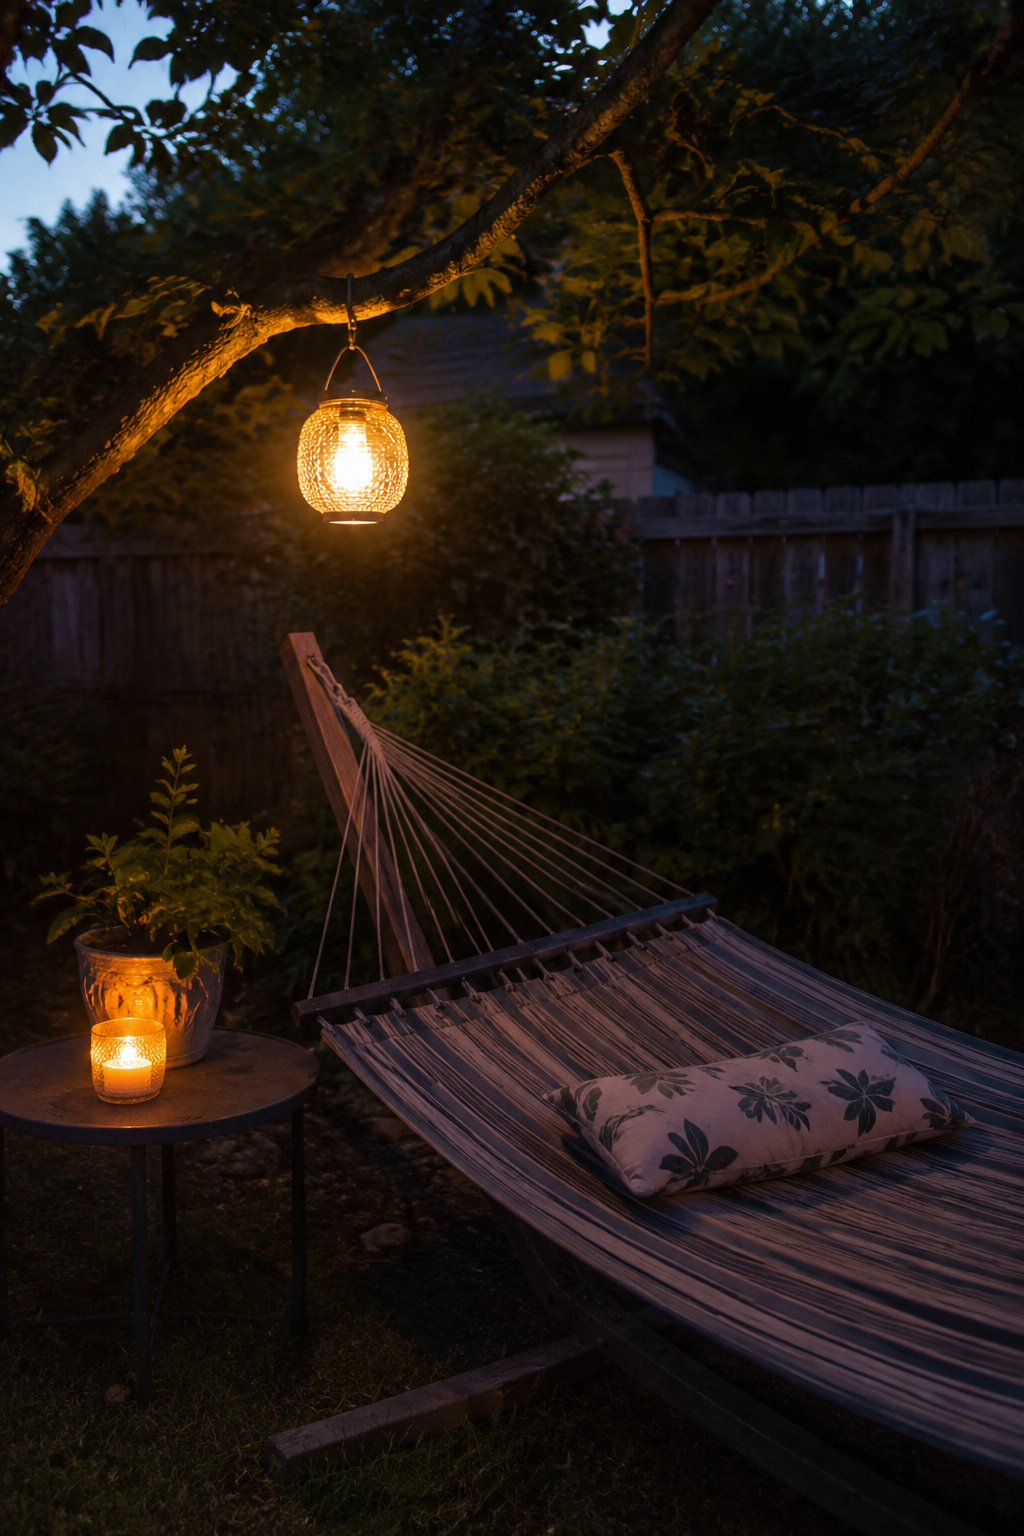
For the post-sunset hours, add a small solar lantern hung from one of the anchor trees or set on the side table. The hammock spot used in the dark needs a single small light source, and cordless is the point, because a hammock spot is rarely anywhere near an outlet. The Department of Energy’s Energy Saver guide lists solar-powered outdoor lighting alongside LED fixtures for pathways, steps, and porches, and notes that many outdoor fixtures include automatic daylight shut-off and motion sensors. Put the panel where it catches real daylight, though, because a panel sitting in full canopy shade will not keep up.
Which Hammock to Buy
| Hammock | What it suits | What it needs |
|---|---|---|
| Two-person rope hammock ($30-60) | The standard backyard choice. Cotton rope is softer; polyester rope is more weather-resistant. | Two anchors 12-15 feet apart |
| Brazilian fabric hammock ($60-120) | More enveloping and warmer, so it suits spring and fall | Shorter ones need anchors 8-12 feet apart |
| Hammock with a built-in stand ($150-300) | The right choice when no good anchor trees exist | About 10 feet of level ground |
| Hanging chair or pod chair ($80-200) | Where a full hammock will not fit | One overhead anchor and about 6 feet of clearance |
Skip the cheap nylon backpacking hammocks for permanent backyard use. They sag, tear at the seams, and don’t read as a finished spot. They’re great for camping. For a backyard daily-use hammock, spend the extra $20-40 for a real rope or fabric hammock.
Hammock Care and Winter Storage
The fabric is the part that takes the weather, so that is the part worth looking after.
- Take the fabric portion down and store it when not in use in winter or during heavy rain.
- Wash it with mild soap and water.
- Re-treat a rope hammock with a UV-protective spray once a year.
With that routine, a quality hammock lasts 5-10 years, and the anchors you set in step one keep working either way.
The Setup Cost
Total cost for a complete hammock spot in a typical backyard:
- Hammock: $40-60
- Tree straps: a pair of wide flat 2-inch nylon straps
- Small wooden side table: $30-60
- Mulch for the ground: one bag
- Solar lantern: $15-25
- Privacy planting (if needed): $30-100
Total: $150-275 for a complete, weather-ready, daily-use hammock spot. The investment pays back the first week of summer mornings.
FAQ
How far apart should hammock posts or trees be?
12-15 feet apart for a standard 13-foot rope hammock. Some Brazilian-style fabric hammocks are 9-10 feet end to end and need closer anchors (8-12 feet apart). Always measure the hammock before installing.
What’s the best hammock for a small backyard?
A hammock with a built-in stand (9-foot model) takes about 10 feet of length and fits in most yards. For tighter spaces, a hanging chair on a single overhead anchor uses about 6 feet of clearance.
What to Read Next
- Small Patio Ideas When You Barely Have Room : layout thinking for tight outdoor spaces where every piece has to earn its footprint.
- Cozy Patio Ideas for Small Spaces : seven calm layouts if the hammock is part of a bigger seating plan.
- String Light Patio Ideas : the evening lighting that goes with the solar lantern on the side table.
- How to Build an Outdoor Reading Nook Under a Tree : the same tree, set up for reading instead of napping.