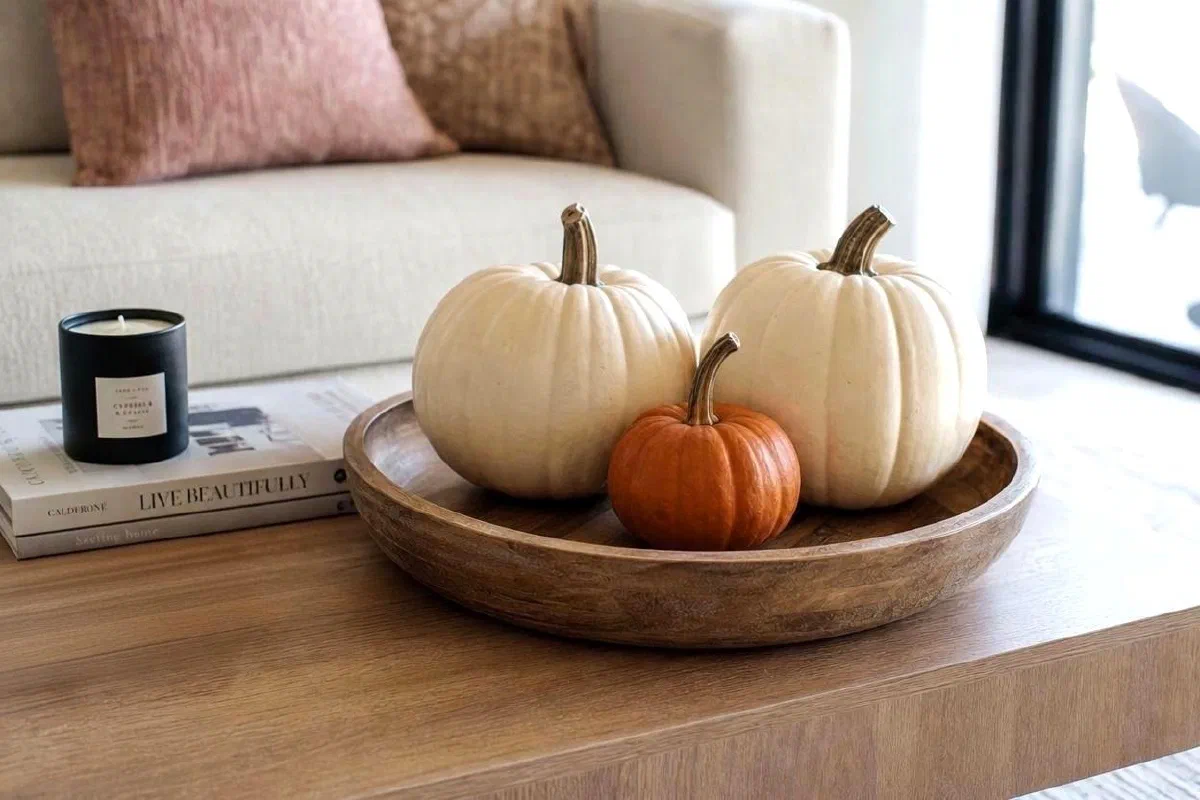
Carving a pumpkin in an apartment means a sink full of guts, a trash bag that smells by morning, and a display that starts collapsing in a few days. Painted pumpkin ideas skip all of that. You wipe the skin, put on one color or a few marks, and the pumpkin still looks like a pumpkin from the doorway.
People search this because they want fall on a shelf, not a craft night. One cream pumpkin next to a book and a candle does more in a small room than a row of faces.
If you already styled the room for fall, this is the last object, not a second project. The apartment fall setup with no mantel covers trays, shelves, and windowsills. This page is only the painted pumpkin.
Painted pumpkins for apartments
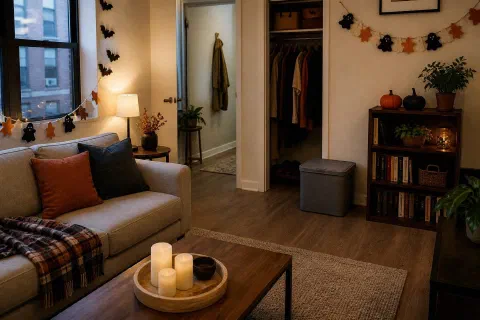
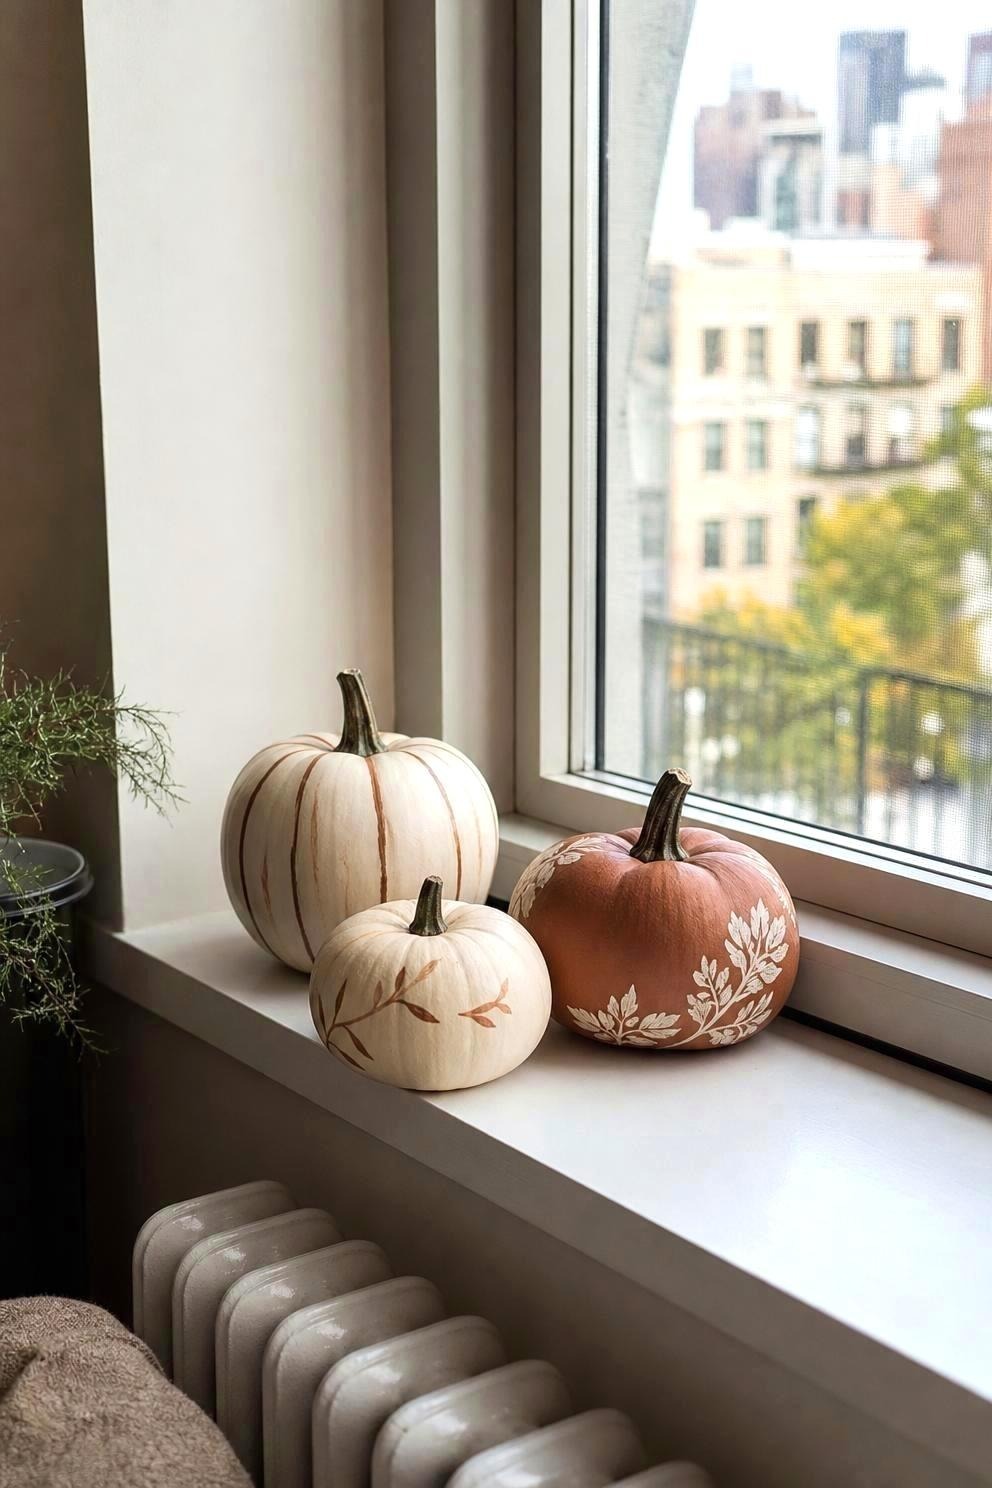
An apartment does not give you a porch rail, a mantel, or a spare sink. It gives you a shelf, a coffee table, maybe a windowsill. Painted pumpkins for apartments have to live on those surfaces without taking over the room.
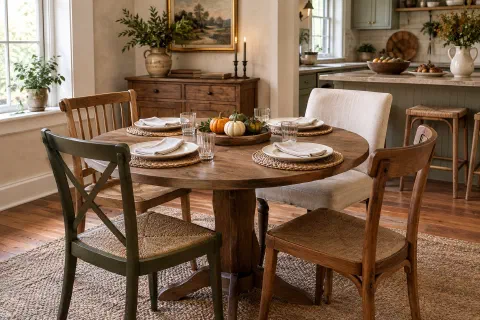
Use pumpkins in the 4 to 8 inch range indoors. Anything over 10 inches eats a coffee table. Three small ones grouped on a tray beat one large one in the middle of the room. The bigger painted pumpkins go outside.
| Surface | What fits | What fights the room |
|---|---|---|
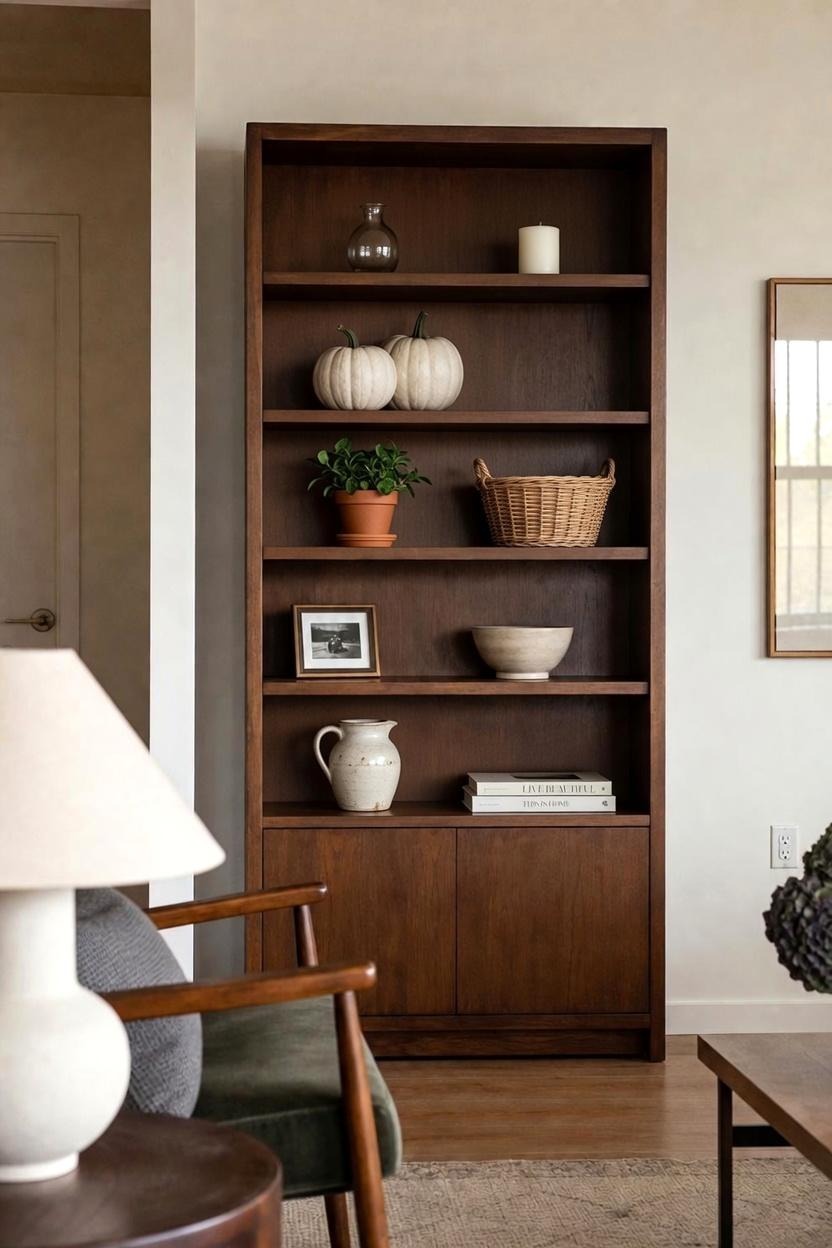
| Bookshelf, one cleared shelf | Two 4 to 6 inch painted pumpkins | A carving-size pumpkin that hangs off the edge |
| Coffee table tray, about 12 inches | Two painted, one left orange | A scatter of minis with no tray |
| Windowsill | One 5 inch pumpkin, maybe a second smaller | A line of five that blocks the light |
| Narrow console | Three in two sizes, all on one side | A row that leaves no place for keys |
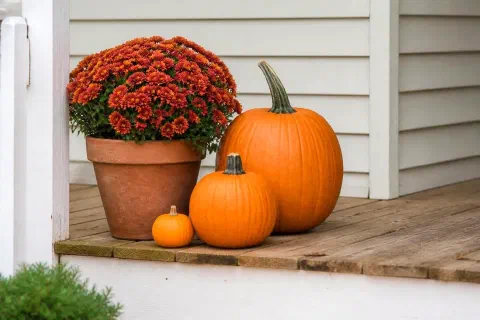
| Front step | Two 8 to 10 inch painted pumpkins on one side | A pile in front of the door |
Keep the color count low. Cream, black, or a dull rust, plus one real orange if you want. Five colors on a 30-inch shelf reads as leftover craft supplies, not fall.
Faux foam is the apartment default if the display has to last past Halloween. A real pumpkin in a warm room starts to soften. You notice it faster when you walk past it every time you get a glass of water. After October the faux ones go in the same bin as the apartment Halloween setup.
Do not carve in a rental sink if you can help it. Paint is the whole point.
Larger painted pumpkins outside
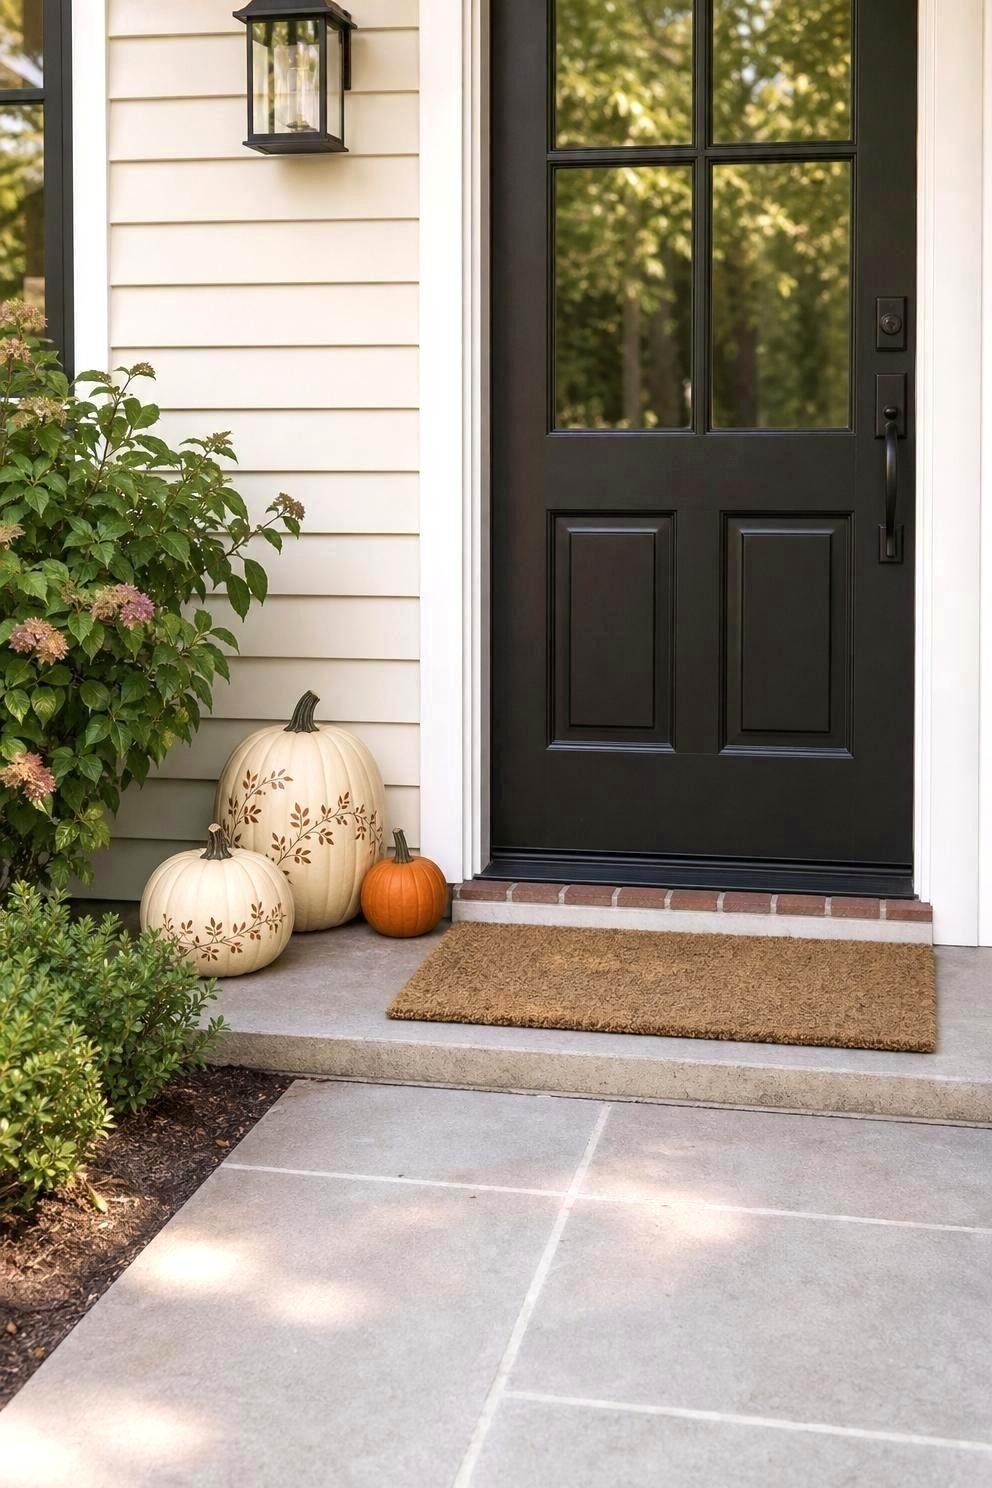
Most people put the bigger ones by the door. That is the right place for an 8 to 10 inch painted pumpkin. Same cream coat and a simple leaf pattern as the indoor set, just scaled up.
Group them on one side of the step, off the mat. You still have to walk in.
Cheap painted pumpkin ideas
Cheap painted pumpkin ideas are not a different style. They are the same finish with paint you already own, or one cheap bottle, on pumpkins that are small enough to group.
You do not need a craft kit. You need one color, a cheap brush or a paint pen, and two or three pumpkins.
- One color, whole pumpkin. Acrylic craft paint, two thin coats. Cream or black. Let it dry on newspaper on the floor or the balcony, not on the table you eat at.
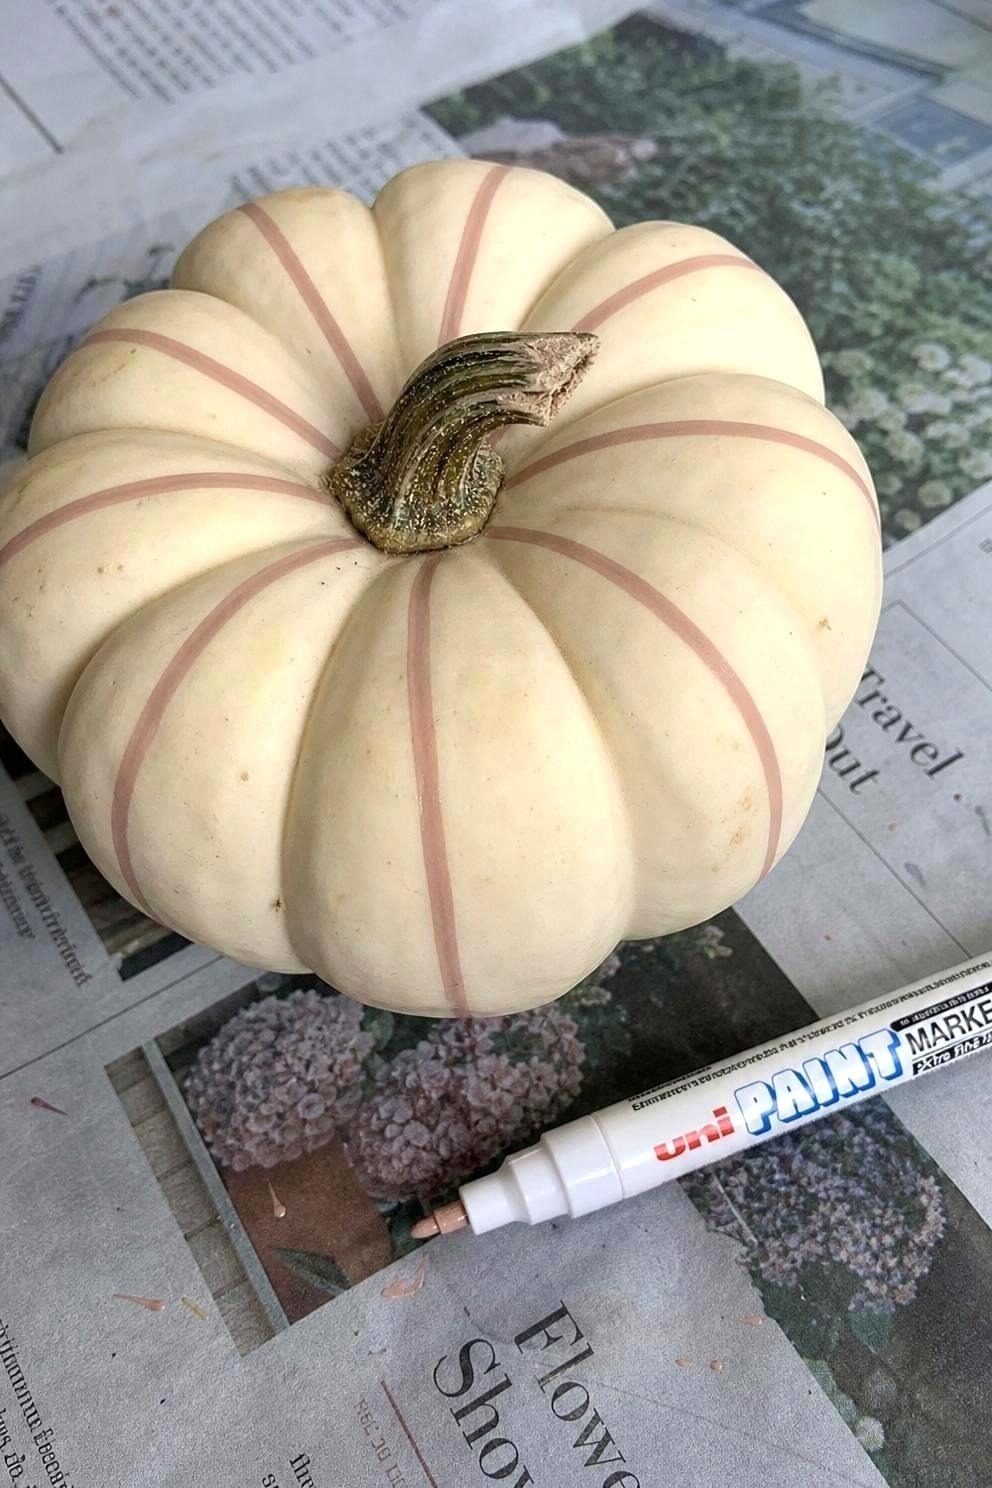
- Paint pen marks, not a face. One stripe, a few dots, a small moon. If you start drawing eyes you will want a knife. Stop earlier than you think.
- Dry brush over orange. Dip the brush, wipe most of the paint off on paper, then drag it over the ribs so the orange still shows. It looks more expensive than a solid coat because the color is not flat.
- Paint three small instead of one large. Grocery-store minis cost less than a carving pumpkin and they fit a shelf. Paint two, leave one.
- Use leftover wall sample. If you have a sample pot of cream or greige from a wall test, that is pumpkin paint. It is already the color of your room.
Paint pens instead of a face
A paint pen is the cheap version of carving. It takes two minutes and you can stop after one stripe. Full faces belong on a porch you walk past at night. On a shelf they look busy.
The cheap tell is gloss. Craft paint that dries shiny looks like plastic, which is the same problem as cheap Halloween decor that looks cheap. Matte or satin. If the bottle says glossy, skip it or dust a matte sealer over the dry coat.
Which paint to use on a pumpkin
The paint has to stick to a waxy skin, dry without smelling up the room, and stay matte.
Acrylic craft paint is the all-over coat. Two thin layers beat one thick one, because a thick coat peels when the pumpkin shrinks. Shake the bottle. If it has sat since last Halloween, it may be gummy. Toss it.
Paint pens are for marks. Oil-based or acrylic paint pens both work on a wiped, dry pumpkin. Foam faux pumpkins take them without a wipe. Real pumpkins need the wipe or the pen skips.
Spray paint belongs outside. On a balcony, yes, with newspaper under it and a still day. In a hallway, no. The overspray lands on baseboards and you will be wiping paint off a rental wall.
Skip watercolor, washable kids’ paint, and anything that stays tacky. Those never cure on a pumpkin.
You do not need a primer. You do need a dry surface. Wipe a real pumpkin with a damp cloth, then let it sit until the skin is not cool to the touch. Paint on a wet pumpkin beads up and you will chase drips around the ribs.
How to paint a pumpkin
- Wipe the pumpkin. Real ones pick up field dirt in the ribs. Faux foam usually needs nothing.
- Set it on newspaper. Leave the stem up.
- Paint the body, not the stem, unless you want the stem the same color. Two thin coats of acrylic, or one pass with a paint pen for marks.
- Let it dry fully before the second coat. An hour in a warm apartment is usually enough for craft paint. Overnight is safer if the coat was heavy.
- Group them after they are dry. Two sizes, one tray or one shelf. Step back to the doorway. If it looks like a craft table, take one pumpkin away.
That is the whole method. The front porch pumpkin grouping guide is about sizes and keeping real pumpkins off wet concrete. Indoors, the grouping rule is the same: odd numbers, mixed sizes, one cluster. The paint is what changes.
Faux pumpkin or real: which option lasts
A real painted pumpkin is still a real pumpkin. Paint does not stop rot. It only changes the color while the fruit is sound.
Iowa State Extension stores cured pumpkins at 50 to 55 degrees, in a single layer, not touching. An apartment is warmer than that, and a windowsill can be hotter. Treat a real one as a two-to-three-week object, not a November leftover.
Clemson’s pumpkin picking notes are worth a look if you are buying real ones to paint. Carry them in your arms, not by the stem. A broken stem is how a real pumpkin starts to go.
Faux foam or fabric is the one you keep. Fabric-covered pumpkins already look quieter than glossy orange plastic. If you paint foam, use a light coat so it does not stay tacky. The small velvet set compared in the cozy fall living room finds is the reuse path: no paint required, or a paint pen mark if you want them to match a cream shelf.
If you only have room for two pumpkins, make them both faux, or make one real and plan to toss it when it softens.
Mistakes to avoid when painting pumpkins
- Painting a full face, then hating it, then carving anyway. Marks, not faces.
- One thick coat. It peels. Two thin coats.
- Glossy craft paint on a pumpkin you can see from the sofa. Matte.
- A 12-inch pumpkin on a 24-inch coffee table. Size down.
- Spray paint in the kitchen. Balcony or skip.
- Setting a wet pumpkin on a book or a wood tray. Newspaper first.
- Leaving a real painted pumpkin on a warm windowsill for six weeks. It will collapse. The paint will not save it.
What to Read Next
- Apartment fall decor with no mantel needed is the shelf, tray, and windowsill system these pumpkins sit in.
- Apartment Halloween decor in one storage bin is where the faux pumpkins go when October is over.
- Cheap Halloween decor that doesn’t look cheap is the material test if glossy orange still bothers you.
- Front porch pumpkin ideas covers count, three sizes, and real pumpkins outdoors.