
A wet October night takes more Halloween displays than darkness ever will. The ghost stayed lit. The ghost just ended up in the neighbour’s hedge.
So start with the pieces that can be wet and still be fine: a weighted urn, one securely tied door piece, a group of uncarved pumpkins lifted off the ground, and a bin by the door for everything else. Add fabric, paper, and anything tall only where a roof or a wall shelters it. That plan survives an ordinary rainy week without you rebuilding the yard every morning.
Most October nights in the eastern half of the country are damp even when they are not raining. Dew soaks a gauze ghost by midnight. Leaves hold water against anything sitting on them. The damage is slow and boring, which is exactly why the guides skip it.
Compare What Survives a Wet October
| Material | Wet weather | Wind | What actually happens |
|---|---|---|---|
| Polyester and nylon fabric | Good | Fair | Water beads off, dries fast, needs a tie at every grommet |
| Gauze and cheesecloth | Poor | Poor | Sags, stains, and never regains its shape |
| Untreated wood, cardboard, paper | Poor | Poor | Swells, delaminates, and slumps |
| Coconut coir and grapevine | Fair | Good | Holds up wet but grows mould if it stays damp |
| Uncarved pumpkin and gourd | Good | Fair | Fine until a hard freeze, then the rind fails |
| Expanded foam props | Good | Poor | Water gets in, so it gets heavier while staying light enough to fly |
| Metal and wire frame | Good | Good | Rust is the only real risk, and it takes a season |
The pattern is not expensive versus cheap. It is whether the material was designed to get rained on. A department store skeleton can outlast a handcrafted prop by a month if the skeleton is moulded plastic and the prop is papier mache.
The Ground Is Damp Even When the Sky Is Not
The bottom of a prop is the one surface with no air moving across it. Mulch, bare soil, wet concrete, and a lawn after rain all hand moisture straight back into whatever touches them, and ground contact blocks the drying route: water wicks in from below and cannot evaporate out.
The fix is a dry layer. Set every ground piece on a cedar board, a slate tile, a brick, a plant saucer, or a slice of log. Lift it by an inch or two and you have cut off the wick.
The same rule explains why damp decor stored in a bin goes mouldy over the winter. The EPA’s guidance on mould and moisture is plain about the mechanism: mould will not grow without moisture, wet items should dry within 24 to 48 hours, and porous materials that have gone mouldy are often beyond saving. A gauze ghost folded away wet in November is a spring problem.
Anchoring Everything, Because Wind Finds the Loose Piece
Wind is what turns decor into a projectile, and it does not take a storm. The National Weather Service states that isolated wind damage becomes possible once winds are sustained at 40 to 50 mph, and that high winds blow objects around. A flat sheet of fabric is a sail long before that number. Its wind warning and advisory guidance draws the lines you should actually act on: a wind advisory means outdoor objects should be secured, a high wind watch means secure loose items now, and a high wind warning means take action.
Rank the display by how much it would hurt if it flew. A plastic skeleton is annoying. A metal stake, a ceramic urn, or a glass lantern is a hazard.
- Guy lines: use zip ties or paracord from a grommet to a fixed point. Fishing line and twine stretch and then snap.
- Ground stakes: use an 8 to 10 inch tent stake driven in at an angle, not the 4 inch hooks that come in a pack of light clips.
- Weight: put sandbags, patio blocks, or water-filled bases inside the frame, at the lowest point, not on top.
- Trees: tie to the trunk with a wide strap rather than wire, and never around a thin ornamental trunk you would like to keep.
The five second test: push the piece twice. If it rocks, moves at all, or lifts on one side, wind will do worse. Add weight at the base before you add a third tie.
How to Weight Down Cheap Props Without Spending Money
The single most effective free fix is also the least attractive: a plastic grocery bag filled with gravel, knotted, and hidden inside the base of the prop. Fill it two thirds so it still moulds to the shape.
One warning, and it comes up every year. A bag of sand or water left sitting in the yard absorbs rain and gets heavier rather than staying put, and a split bag leaves grit across the path. Gravel in a doubled bag, or a patio paver laid across the feet, both behave better outdoors.
The Damp Problem Inside a Carved Pumpkin
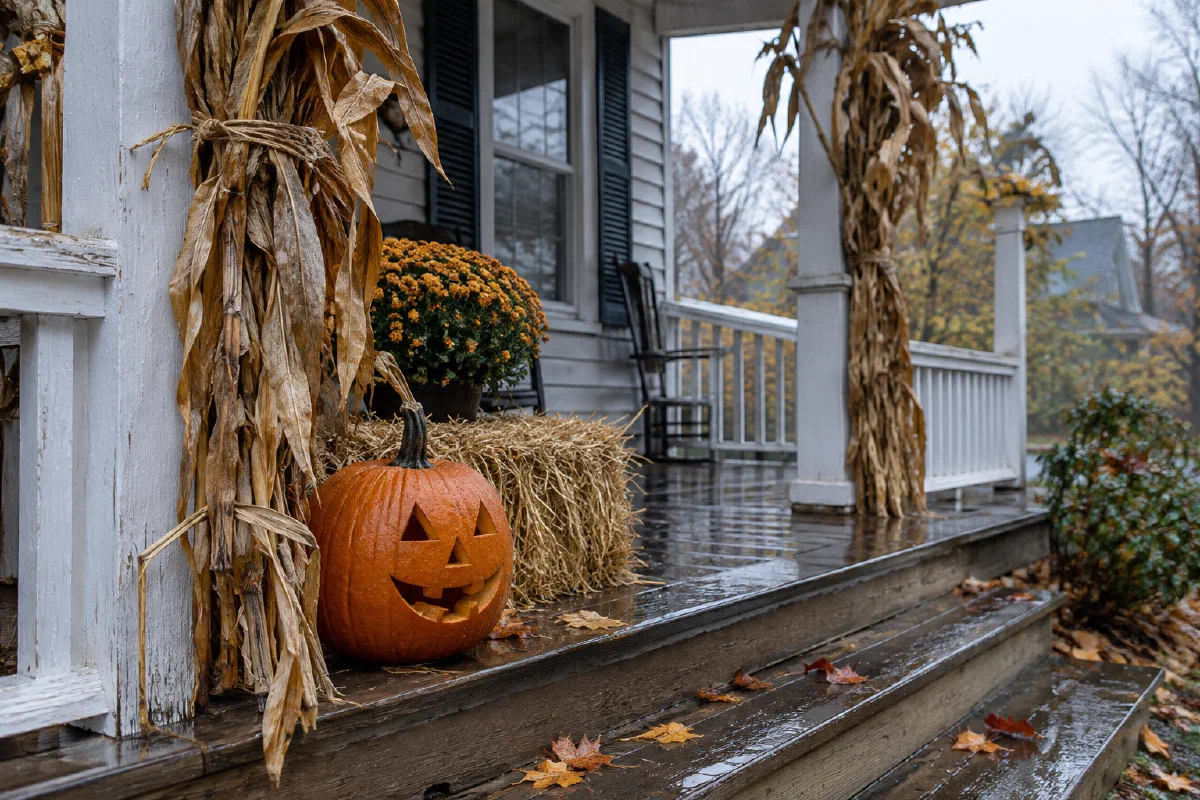
An uncarved pumpkin in a wet week is remarkably tough. A carved one is not. Once you cut the lid and the face, you have opened a moist interior to air, rain, and insects, and the wall around the openings goes soft first.
Illinois Extension’s fall decor guidance covers the two things that matter most here. First, the stem should stay on: it acts like a cork, and a pumpkin without one shrivels at the stem end and later rots. Second, coating the exposed cut surfaces with petroleum jelly helps retain moisture, which is their trick for keeping a carved pumpkin looking good for several days and nights.
Vaseline on cut faces is an old, widely repeated practice with no controlled study behind it. Say so honestly and treat it as a small benefit. The reliable steps are simpler: keep the carved pumpkin out of standing water, do not let the cut base sit on wet mulch, and expect a week rather than a month. If the forecast includes a hard freeze, either version is done, because the rind fails and the fruit collapses. Oregon State University Extension’s pumpkin storage guidance puts the storage band at 50 to 55 degrees with good air circulation, and names frequent rain and cold as the two weather signals that mean it is time to bring the fruit in.
Check Planters and a Coconut Coir Liner Before the Rain Starts
The container you already own is often the best anchor in the yard, if you check two things first.
A 14 inch pot that felt manageable in September can be genuinely heavy after three days of rain, and if you need to move it in a hurry, you will not. Put the heavy pot where you want it to stay and a lighter one in the spot you like to change.
Second, check drainage. A plugged saucer turns a planter into a bucket. A coconut coir liner in a wire basket behaves the same way: it holds moisture for a long time, which is fine for a plant and less fine for a straw bale or dried corn tucked against it.
- Tip the saucer or remove it before a wet stretch.
- Swap coir for a synthetic liner if you want the basket to dry faster.
- Set straw bales on a pallet or two bricks so the base is not sitting in a puddle.
Keep Water Out of Plugs and Connections
This is the part of a rain plan that gets skipped, and it is the part that ends the display early. Water does not need to reach the bulb. It runs along the cord, collects at the lowest point, and sits in the plug connection until the contacts corrode.
The National Weather Service’s high wind preparation guidance is the right frame for the whole job: make a list of everything outside that needs tying down or putting away, and secure those items as soon as a watch is issued, before the wind starts. Do that once and the rest of the season is easier.
For the electrical side, keep every connection off the ground, hanging with the plug facing down so water runs away from it, and use only cords marked for outdoor use. If a connection must sit low, put it in a sealed outdoor box rather than under a mat, because a mat holds water against it.
How to Build a Storm Reset You Can Do in Ten Minutes
The difference between a display that survives October and one that does not is usually not the materials. It is whether taking it down is a chore or a habit.
Keep one handled bin by the door and one clear rule: if the weather service issues a watch, the light and loose pieces come in. Then the reset takes minutes instead of an hour.
- Carry in fabric, paper, dried stems, and signs.
- Unplug and bring in any connection sitting low.
- Move carved pumpkins and anything already soft to a dry spot.
- Lay tall props down flat, or bring them in entirely.
- Push heavy planters against the wall only if winds are below warning level.
- After the weather passes, empty saucers, wipe the step, and let everything dry before it goes back out.
Skip step six and you have moved the problem rather than solved it. Damp items stacked in a bin are where the mould starts.
What to Read Next
- Halloween Yard Decor That Works After Dark is the other half of this problem, covering light placement and visibility once the sun is down.
- Fall Porch Decor for Wind and Rain covers the porch itself, including planter sizes and the storm reset for a covered entry.
- Vintage Halloween Decor That Still Looks Good covers older pieces, which are often paper and therefore need shelter rather than a tie.
- Halloween Front Porch Lit Ghost goes deeper on a hanging fabric ghost, the single piece most likely to sag or fly in a wet week.