A water feature does not require a shovel. The version most people picture, a buried liner, a dug basin, a weekend lost to leveling stone, is the reason most backyards never get one. There is a simpler path. A no-dig pondless fountain hides its water in a reservoir basin that sits on top of the ground, runs on a small recirculating pump, and pours through a glazed bowl or a stack of pots. Two days of work, no excavation, and you can pick the whole thing up and move it if you rent.
I built my first one in a back corner that had nothing going for it but a fence and some weeds. By Sunday afternoon water was bubbling over a low pile of river stones, and a house finch was already standing on the rim. Here is how the build actually goes, including the pump numbers nobody puts on the box.
Quick Answer
A no-dig water feature works best as a small sound-and-movement corner. Use a bowl, basin, bird bath bubbler, or solar fountain where you can see and refill it, then keep the setup simple enough to maintain.
What This Solves
- wanting water sound without digging a pond
- a quiet corner that needs movement
- not knowing whether a solar fountain is enough
- buying a feature that becomes hard to clean
What to Buy or Use First
- A wide bowl or basin for a tabletop water feature.
- A solar bubbler if the spot gets enough sun.
- A small recirculating pump for shaded patios with power nearby.
- A cleaning brush and mosquito dunk plan before adding plants.
Keep Reading
- bird bath ideas that bring birds back
- mosquito patio fixes
- backyard oasis ideas
- shady backyard corner ideas
Why No-Dig Is the Smart Default
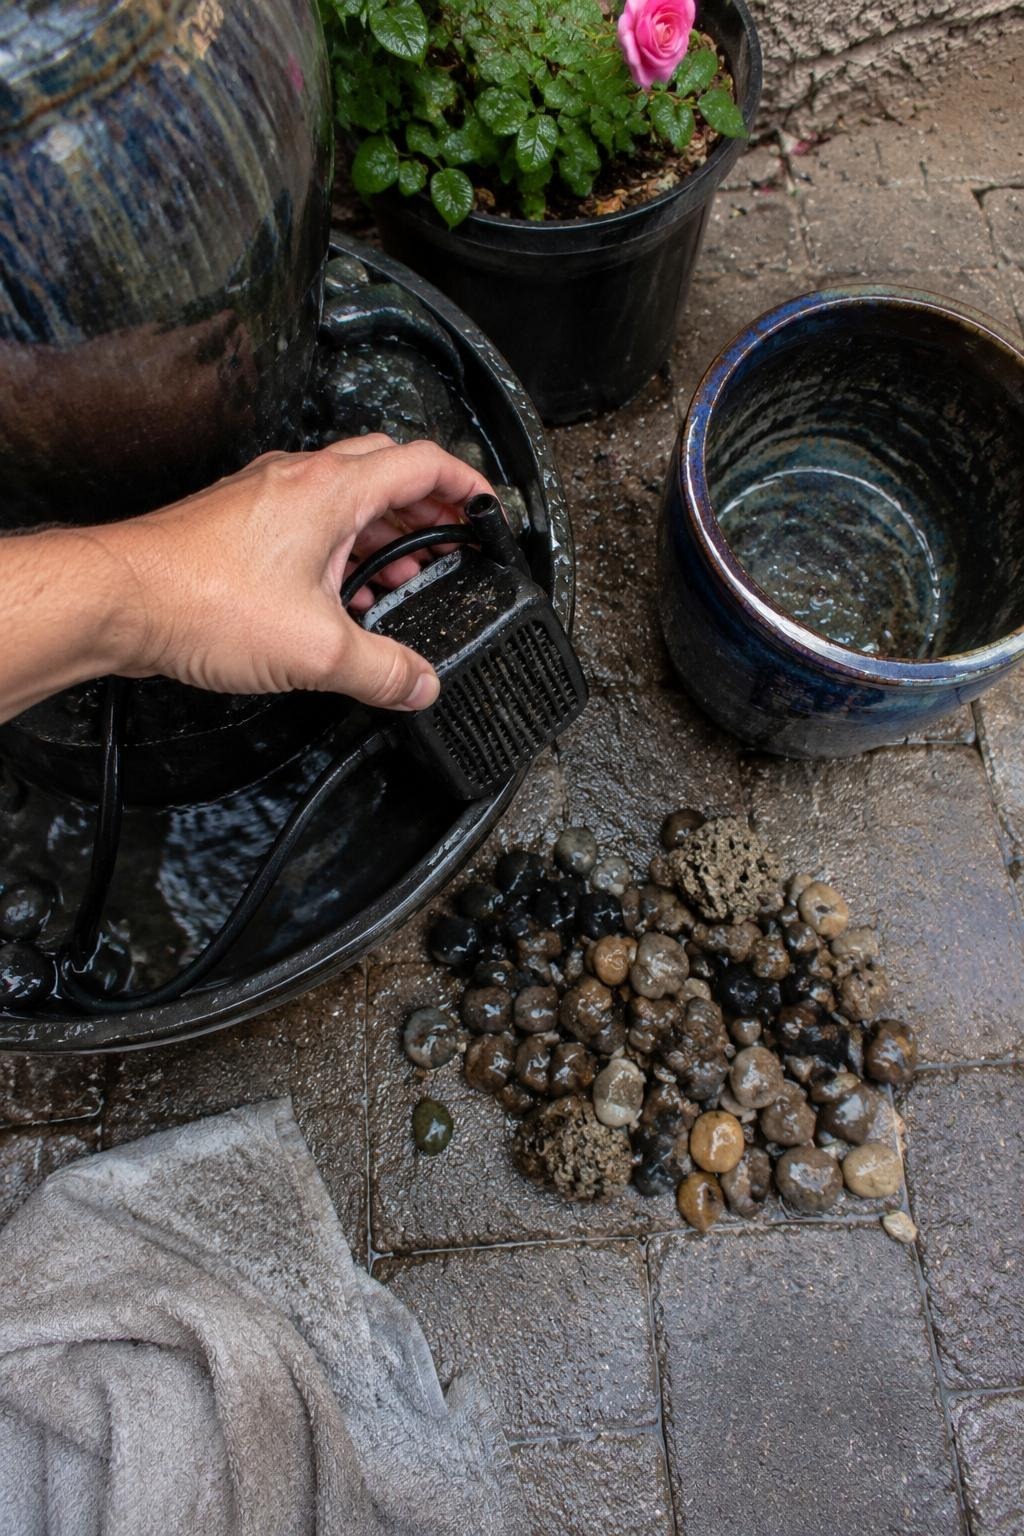
Digging buys you almost nothing for a small feature. A pondless setup keeps every part above ground: a reservoir basin holds the water, a pump pushes it up through tubing, the water spills out and drains right back into the basin through a grate or a layer of gravel. Nothing leaks into the soil. Nothing freezes a buried liner.
For renters, this matters more than the look. You can lift a bowl bubbler off its paver, drain the basin, and load it into a car in twenty minutes. For homeowners, it means you can test a spot for a season before you commit to anything permanent. If the corner is wrong, you move it. No backfilling a hole.
It also keeps the cost honest. A small single-bowl build sits in the low two figures of materials if you reuse a pot you own. The hidden-reservoir version below lands mid-range, mostly because the basin and grate cost more than a bucket.
Three Builds, Ranked by Effort
Pick the one that matches how much weekend you want to spend.
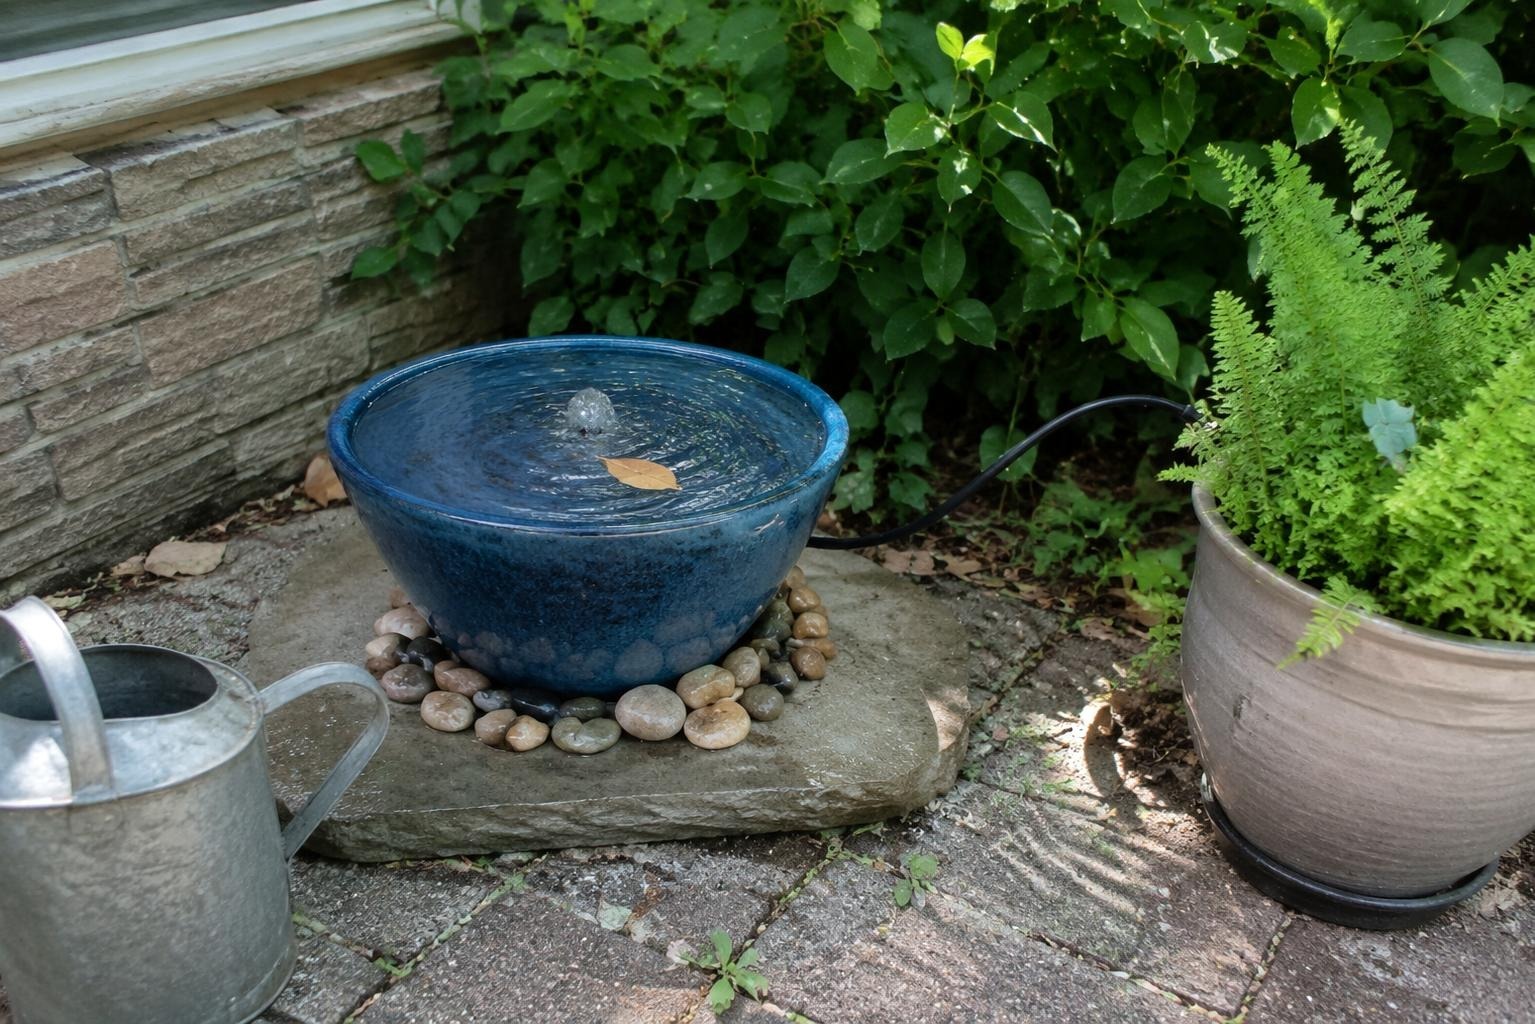
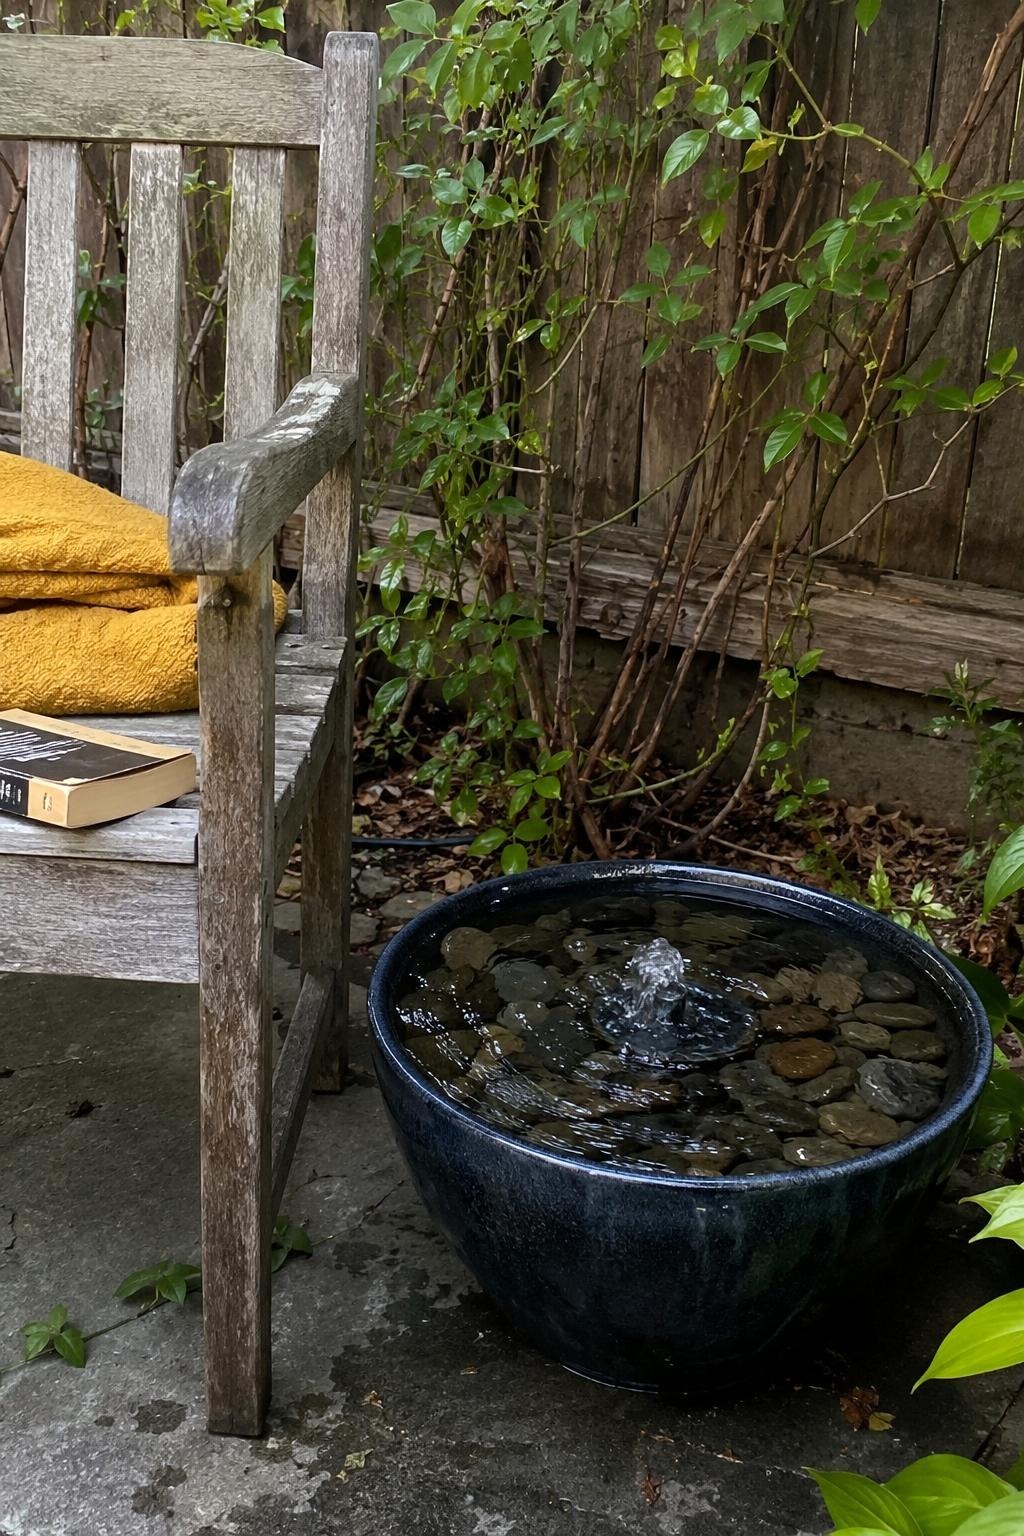
Single-bowl bubbler (easiest). One wide glazed ceramic bowl, 16 to 20 inches across, sits on a flat paver. A small pump rests inside the bowl under a low pile of river stones, and the water bubbles up through the stones and circulates inside the same bowl. There is no separate reservoir. This is a two-hour build, and it is the one I start most people on.
Stacked-pot fountain (medium). Two or three glazed pots of decreasing size stack on a hidden plug or a length of threaded rod. Water pumps up through the center, spills from the top pot to the next, and collects in the bottom pot, which doubles as the reservoir. You drill or use the existing drainage hole for the tubing. Plan on half a day, mostly for sealing the holes.
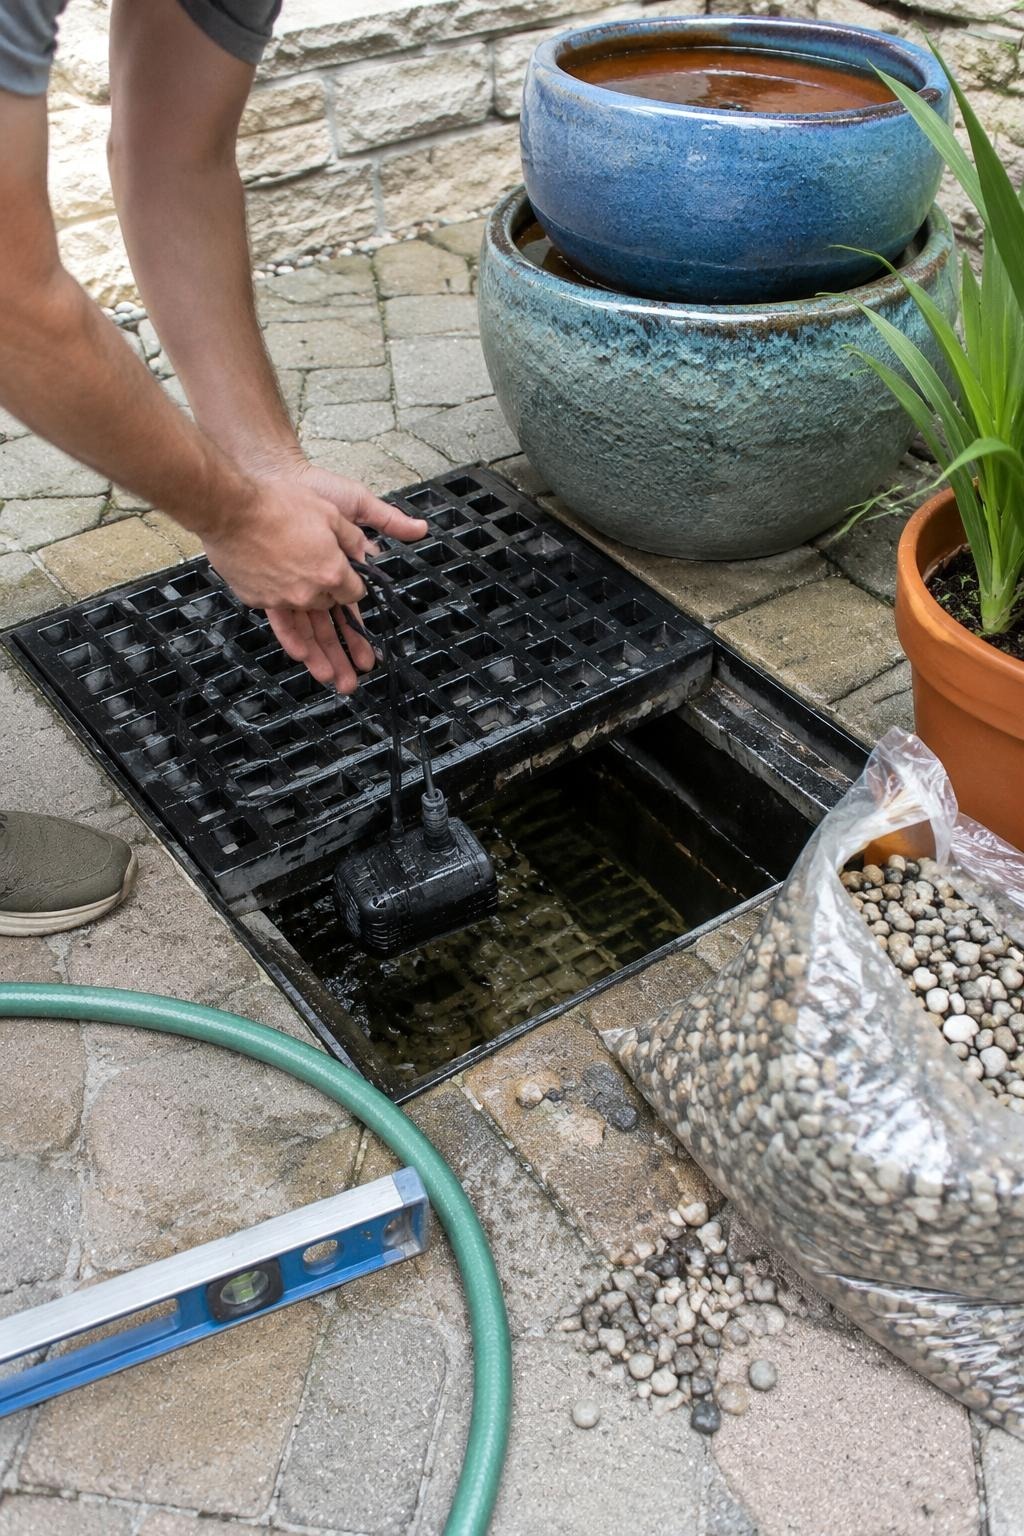
Hidden-reservoir disappearing fountain (most effort). A buried-look basin sits on the ground, holds 10 to 20 gallons, and gets topped with a rigid grate and a layer of gravel so the reservoir vanishes. A pot or a drilled boulder sits on the grate and overflows onto the gravel, which drains back down. This is the full weekend, and it is the most forgiving for sound because the reservoir is large enough that the pump never runs dry mid-afternoon.
Pump Basics Without the Jargon
Two numbers run a fountain. GPH and lift height. Most people only read the first one, and that is why so many DIY fountains trickle instead of bubble.
GPH, gallons per hour, controls how much water moves. For a single-bowl bubbler you want a low, gentle flow, so a pump in the 80 to 130 GPH range is plenty. A stacked-pot fountain wants more, roughly 130 to 200 GPH, so the top pot fills fast enough to spill in a steady sheet. Push too much water and a small pot overshoots and splashes onto the patio.
Lift height, sometimes printed as max lift or head height, is the number that actually sinks builds. It is how high the pump can push water straight up before the flow drops to nothing. If your top pot sits 18 inches above the pump, a pump rated for 18 inches of lift will barely dribble at that height, because the rating is the dead-stop maximum, not the working flow. Buy lift height with margin. For a stack 18 inches tall, get a pump rated to lift 30 to 36 inches, and you will have real flow at the top.
The cord is the last detail. A submersible recirculating pump runs on a low-voltage cord that exits the basin and plugs into a GFCI-protected outdoor outlet. Run the cord through nearby greenery or under a flat stone so it disappears, and never bury a connection or splice it. If your only outlet is far, a weatherproof outdoor extension rated for wet locations is fine; an indoor cord is not.
Dialing In the Sound
The splash is the whole point. Get it wrong and you have a sad drip; get it right and the sound carries to a seat 15 feet away and covers traffic noise. Three things control it.
Fill height changes the pitch. A bowl filled to the brim gives a softer, rounder gurgle. Drop the water level an inch and the splash sharpens. Adjust it after the pump is running, not before.
Drop distance changes the volume. Water falling 2 inches barely registers. Raise the spill point to 4 or 6 inches above the surface and you get an audible stream. On a stacked-pot fountain, this is set by how high you stack; on a bubbler, you set it by how the stones pile.
Flat stones break the flow into sound. A single smooth surface lets water sheet down silently. Tuck two or three flat river stones at angles where the water lands and you turn a smooth pour into a chattering stream. This is the cheapest fix and the one people skip. Move the stones around for ten minutes until the sound is what you want.
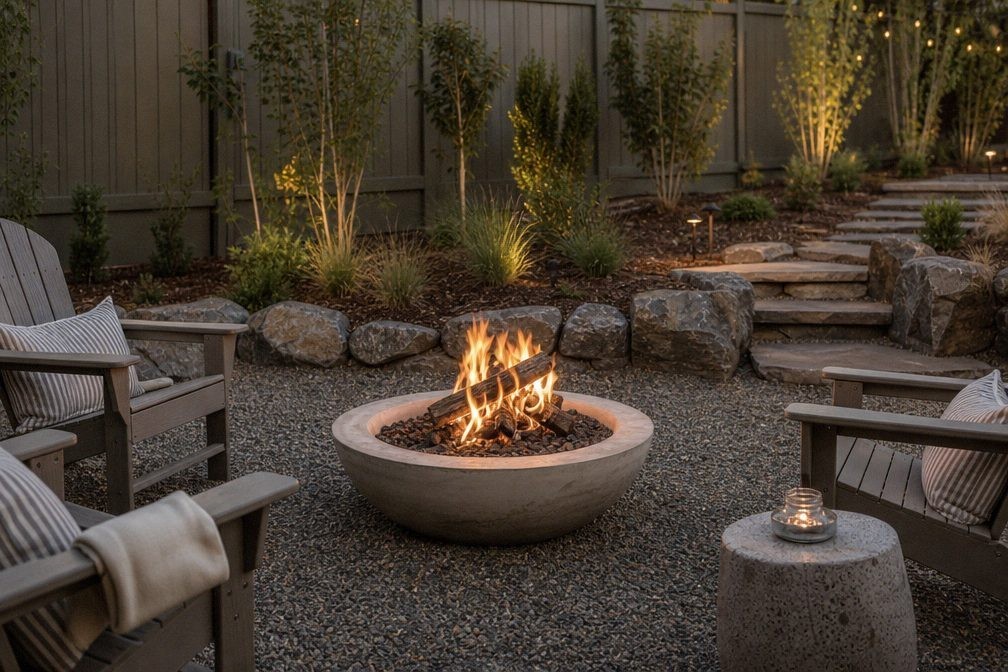
If you like the idea of a backyard corner you actually sit in, a fountain pairs well with the kind of evening fire pit setup that turns a dead patch of yard into a place you go on purpose.
Placement That Actually Works
Put the fountain where you already look. The single best spot is wherever your eye lands from a kitchen window or a favorite seat. Centering a fountain on the lawn looks tidy in a plan and feels like nothing in practice, because you never face it. A sight line from a window does more for a backyard than any amount of symmetry.
Give it partial shade. Full sun all day heats the water and feeds algae, so a spot that gets morning light and afternoon shade stays clearer with less work. Under the edge of a tree or beside a fence that throws shade by 2 p.m. is ideal.
Set it dead level on a hard base. A bubbler bowl or a basin needs to sit flat or the water pools to one side and the spill goes lopsided. A single 18-inch paver, or even a scrap paver leveled with a hand level and a little sand under it, gives you a stable, drainable base. Check level in both directions before you add water.
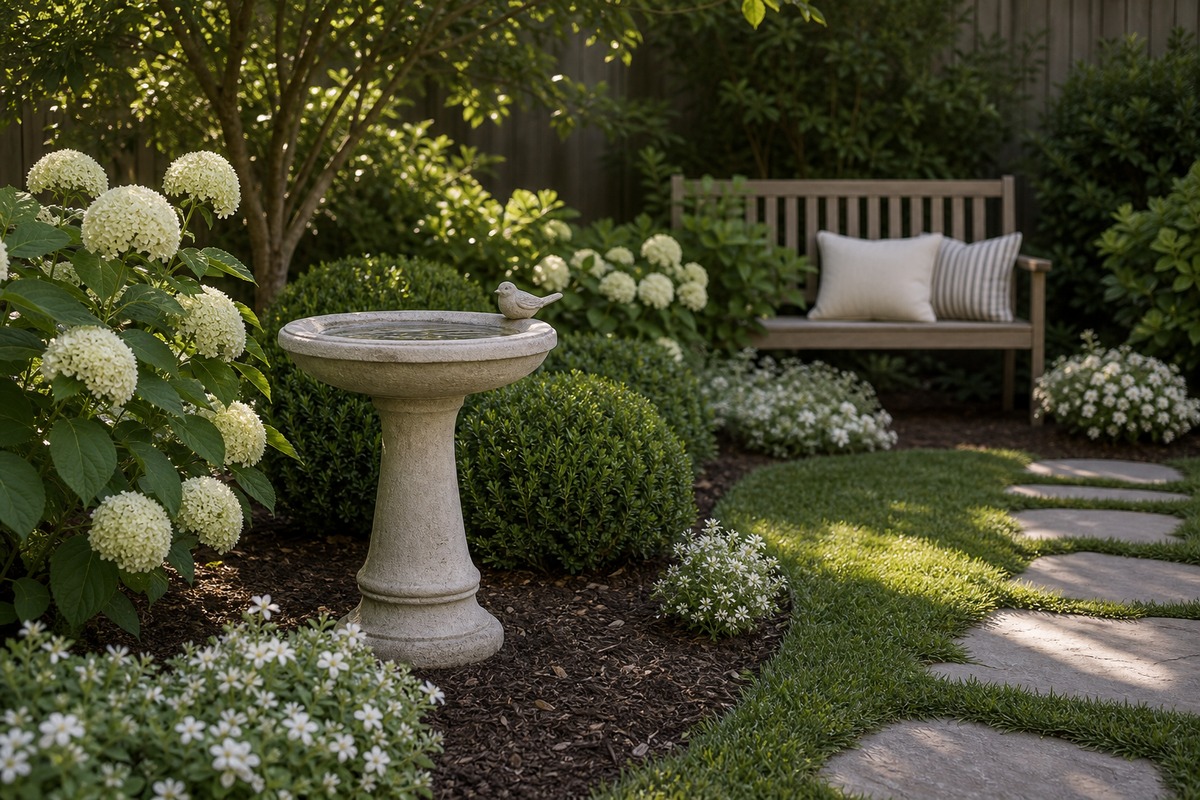
The same window-sight-line logic is what makes a bird bath placement work, and a fountain pulls birds the same way moving water always does. If your corner is tight, the principles in these small-patio container ideas help you build the planting around the fountain so it reads as a finished spot, not a lone object on bare ground.
Cost, Rounded
A single-bowl bubbler, reusing a pot you own, lands in the low two figures of materials: a pump, a few feet of tubing, a bag of river stones. Buy the bowl new and you are still well under a hundred dollars. A stacked-pot fountain adds the extra pots and a tube of waterproof sealant. The hidden-reservoir version is the priciest because the basin and grate carry the cost, but it runs most reliably through a hot July without babysitting.
Upkeep You Can Actually Keep Up With
A no-dig fountain stays low maintenance only if you do four small things.
Top off the water weekly. Evaporation drops the level fast in summer heat, and a pump that runs dry burns out. A small bubbler can lose an inch in a few hot days, so check it when you water the pots.
Rinse the pump monthly. Lift it out, pop off the intake screen, and rinse the gunk under the hose. A clogged intake is the number one reason a fountain pump cuts out. Clean it and most cutting-out problems vanish.
Pull the pump for winter in Zone 6 and colder. Once nights drop below freezing, drain the basin, lift the pump, rinse it, and store it indoors. A pump left to freeze in standing water cracks. In Zone 8 and warmer you can often run year-round, but still keep the water moving so it does not freeze around the pump in a cold snap.
Keep the water clear without poisoning birds. Skip chlorine and pond dyes if birds drink from it. A small amount of barley straw extract, the kind sold for ponds, keeps algae down and is safe for wildlife. Better still, the partial shade and weekly top-off do most of the work, and a quick scrub of the bowl with a stiff brush every few weeks handles the rest.
That is the whole job. A reservoir, a right-sized pump, a few flat stones, and a level paver get you running water you can hear from the porch by Sunday night. No liner, no hole, and nothing you cannot undo. If the corner ends up being the best seat in the yard, the fountain is why, and you can wind down the evening there once the dusk lighting kicks on and the water is still moving in the dark.