Most fire pit seating looks great in September and falls apart by February. Cushions mildew. Wood chairs warp. That ring of plastic Adirondacks fades to chalk by the second summer.
Year-round fire pit seating means choosing materials that handle freeze-thaw cycles, rain, and UV without constant babysitting. It also means getting the layout right so people actually sit there in July, not just October.
Here is how to set it up once and use it twelve months a year.
Choosing the Fire Pit Itself
The pit drives the seating layout. Its size, heat output, and fuel type determine how close you can sit, how much space you need, and what your ongoing costs look like.
Wood-Burning Steel Fire Pits ($60 to $250)
The Solo Stove Bonfire ($200 to $250) is the gold standard for backyard steel pits. It is 19.5 inches in diameter, produces minimal smoke thanks to its double-wall airflow design, and weighs 20 pounds. The Ranger model ($150) is smaller at 15 inches, better for tight spaces.
Budget option: the Yaheetech 36-inch steel fire pit ($70 on Amazon) with a mesh spark screen. It does the job. It will rust after two seasons unless you cover it, and it produces noticeably more smoke than the Solo Stove.
Clearance needed: 10 feet from any structure. Seats should be 3 to 4 feet from the edge of the pit.
Stone or Concrete Fire Pits ($150 to $800+)
A built-in stone fire pit becomes a permanent landscape feature. You can build a basic 36-inch round pit with retaining wall blocks from Home Depot for about $150 in materials. The Pavestone RumbleStone 38.5-inch fire pit kit ($300) includes everything and takes about 3 hours to stack. No mortar required.
For a larger gathering space, a 48-inch square pit built from natural stone runs $500 to $800 in materials alone if you are doing the labor yourself.
Clearance needed: Same 10-foot rule from structures. Stone holds heat longer than steel, so seats should be 4 feet from the edge minimum.
Propane Fire Pits ($150 to $500)
Propane pits are the most practical choice if you want to use the space in summer without sweating through a wood fire. You control the flame height instantly. No sparks, no smoke, no ash cleanup.
The Outland Living 24-inch propane fire pit ($150) runs on a standard 20-pound tank (the same one you use for a gas grill). One tank lasts about 14 hours on high. The Bali Outdoors 42-inch fire pit table ($280) doubles as a patio table with a fire bowl in the center.
Clearance needed: Most manufacturers specify 2 feet from combustibles, but check your model’s manual. You can sit closer to a propane pit than a wood-burning one, typically 2 to 3 feet from the edge.
Ongoing cost: A 20-pound propane tank refill runs $15 to $25 depending on your area. Budget about $40 to $60 per season for moderate use.
Seating That Survives All Four Seasons
Polywood and HDPE Lumber
High-density polyethylene (HDPE) furniture is made from recycled plastic and holds up to everything. It does not rot, crack, fade, or absorb water. The POLYWOOD Classic Adirondack ($230 each) is the benchmark. It comes with a 20-year warranty.
For a budget version, the Westintrends HDPE Adirondack ($100 to $130 on Amazon) performs nearly as well. Four chairs around a 36-inch pit runs $400 to $520.
Why it works year-round: HDPE does not absorb moisture, so it handles freeze-thaw without splitting. Snow sits on it, melts, and drains. Wipe it down in spring and it looks new.
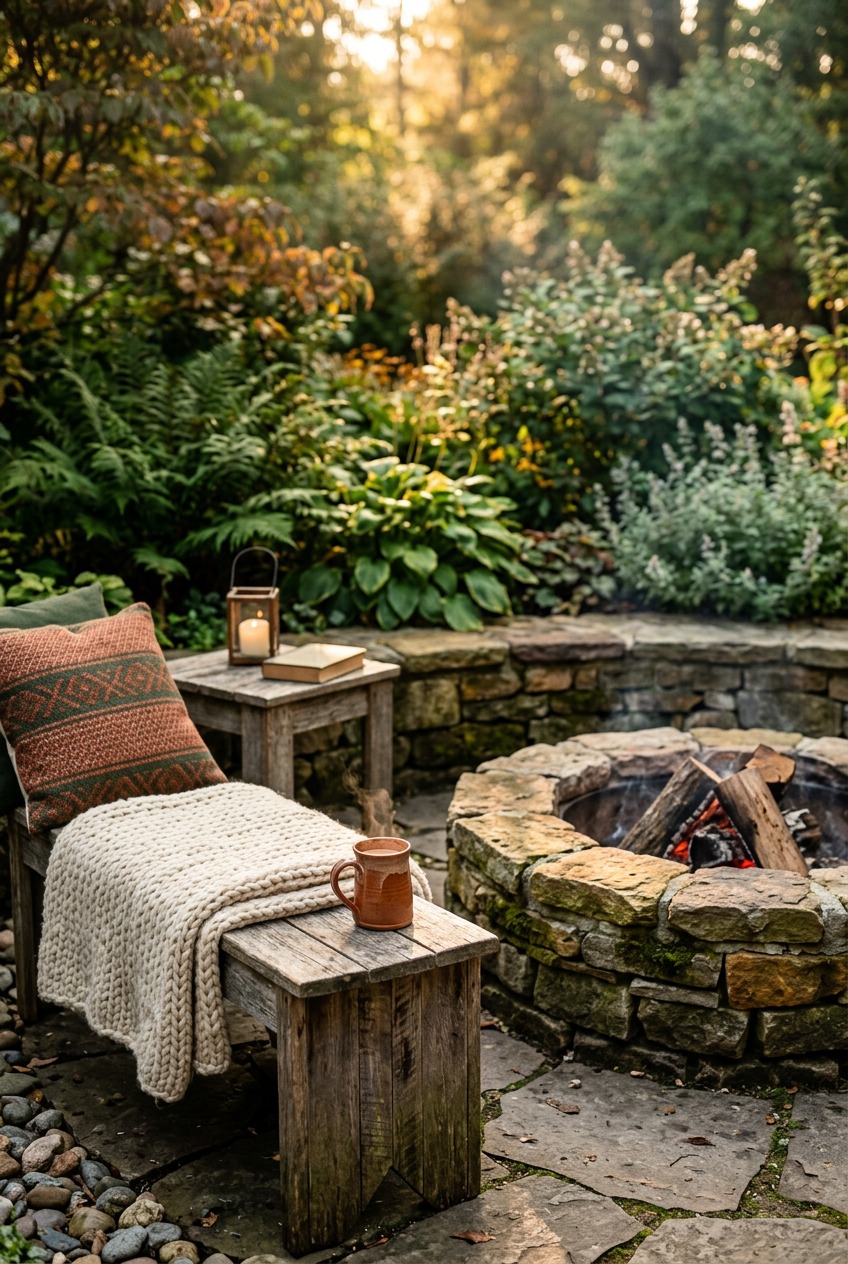
Built-In Stone or Block Benches
A curved bench wall built from the same retaining wall blocks as your fire pit creates permanent seating that never moves, never breaks, and never needs storage. Build it 18 inches high and 16 to 18 inches deep for comfortable sitting.
Cost for a half-circle bench (about 10 feet of curved wall, two courses high): roughly $120 to $180 in blocks.
Add outdoor seat cushions for comfort, but the bench works without them. In winter, just brush off the snow and sit. The stone stays cold, so a wool blanket underneath you handles that.
Metal Chairs
Powder-coated steel or aluminum chairs hold up to weather better than wood. The Flash Furniture 24-inch metal stacking chair ($40 each) is a solid utility option. For something more comfortable, the Crosley Ridgeland 4-piece set ($350) has a rocking motion and heavy-gauge steel.
Watch for: Bare steel rusts at weld points. Check for bubbling paint each spring and touch up with Rust-Oleum spray ($5) before it spreads. Aluminum chairs cost more ($80 to $150 each) but never rust.
Layouts for Different Yard Sizes
Small Yard (15x15 Foot Area)
With a small footprint, go with a propane fire pit table (like the Bali Outdoors 42-inch model) and four chairs arranged in a square. Total footprint: about 12x12 feet including chair space.
- Fire pit in the center
- Four chairs, each 2.5 feet from the pit edge
- 12-inch gap between chair arms for side tables or walkthrough
- No bench walls (they eat too much space in small yards)
This leaves a 1.5-foot buffer on each side to the yard edge, which is tight but functional.
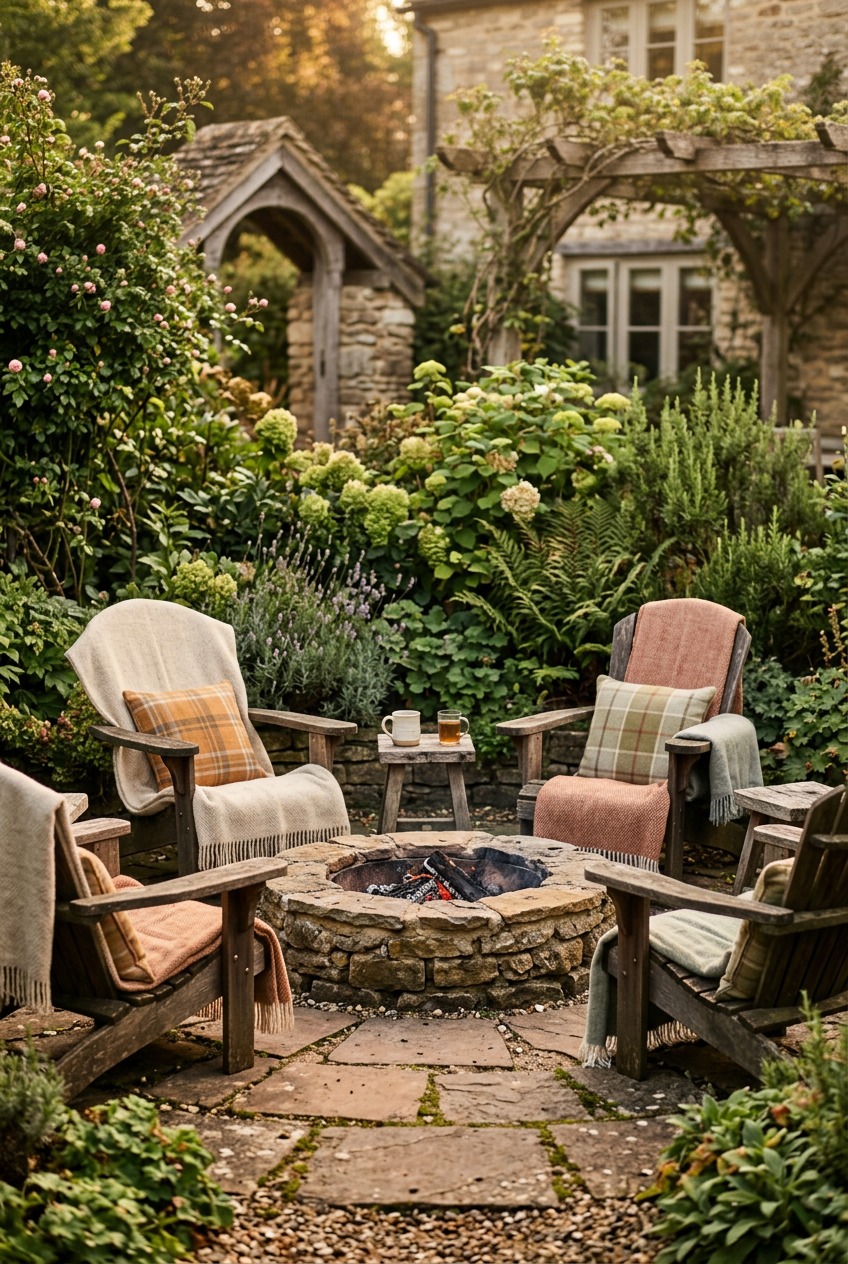
Medium Yard (20x20 Foot Area)
A 36-inch wood-burning pit with a mix of seating works well here. Try two Adirondack chairs on one side and a curved bench on the other.
- Pit centered in the space
- Two Adirondack chairs on the house side (so you look out at the yard)
- Low curved stone bench (5 feet long) on the opposite side
- 4-foot gap between seating and pit on all sides
- A 3-foot-wide pathway left open on one side for access
Large Yard (25x25 Feet or More)
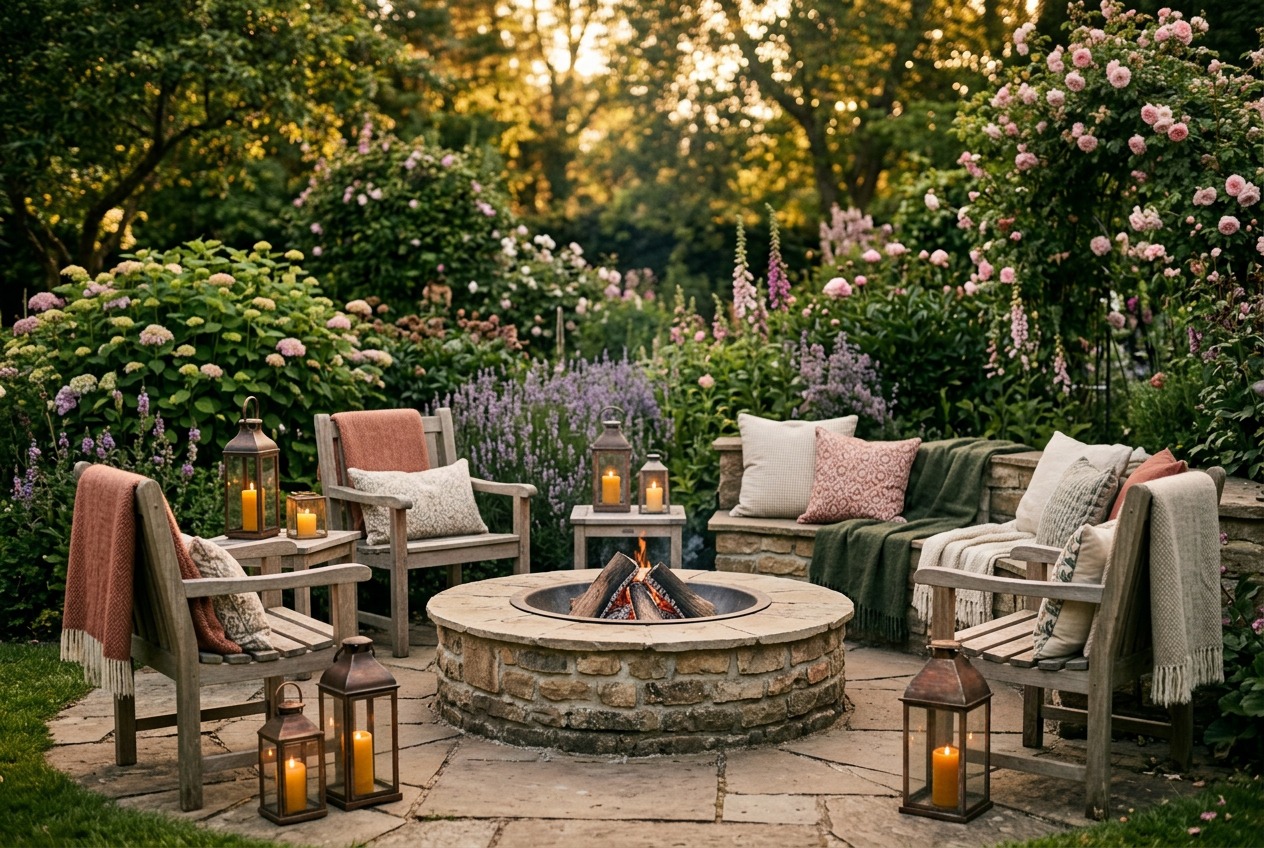
This is where you can build the full setup. A 48-inch stone fire pit with a complete seating ring.
- Pit centered on a 14-foot-diameter gravel pad
- Six to eight chairs arranged in a circle, 4 to 5 feet from the pit edge
- A firewood rack positioned behind one chair cluster (not inside the seating ring)
- Two or three side tables spaced evenly
- String lights overhead on 10-foot posts set in concrete footings
Safety Distances and Local Codes
This part is not optional. Fire codes vary by municipality, and the fines for violations can run $200 to $500.
General rules that apply almost everywhere:
- 10 feet minimum from any structure, fence, overhang, or property line for wood-burning pits
- 5 to 10 feet for propane pits (check your local code)
- No fire pits on wood decks without a fireproof pad underneath
- No burning during posted burn bans (check your county fire department website)
Before you build, do these two things:
- Call your city or county building department and ask about open-flame permits for residential fire pits. Many areas require nothing for pits under 3 feet in diameter but need permits for larger ones.
- Check your HOA rules if you have one. Some HOAs ban wood-burning pits entirely but allow propane.
Spark protection: If you use a wood-burning pit, a spark screen is a must when seats are within 5 feet. The Sunnydaze 36-inch fire pit spark screen ($30) fits most standard round pits.
Ground surface: Place fire pits on gravel, pavers, or concrete. Never on bare grass (fire risk) and never on a composite deck (it will melt). A 6-foot-diameter gravel pad costs about $30 to $50 in pea gravel, 3 inches deep.

Materials That Hold Up (and Materials That Do Not)
What works:
- HDPE/Polywood: 15 to 20+ year lifespan outdoors. No maintenance.
- Powder-coated aluminum: Will not rust. Lightweight. Touch up scratches with a matching paint pen.
- Concrete and natural stone: Permanent. Handle freeze-thaw if properly set.
- Marine-grade cushion fabric (Sunbrella): Resists mildew, fading, and water. A set of four Sunbrella seat cushions runs $30 to $50 each.
What fails within two seasons:
- Untreated pine or cedar furniture: Splits and grays. Needs oil or stain every 6 months.
- Standard polyester cushions: Mildew inside the foam within one rainy season if left out.
- Wicker (natural rattan): Falls apart in freeze-thaw. Even synthetic wicker sags over time if the frame is thin aluminum.
- Painted wrought iron without powder coating: Rusts at every chip.
Making It Work in Every Season
Spring: Hose down all seating. Tighten any bolts on metal chairs. Check the fire pit for debris and critter nests. Replace any cracked spark screens.
Summer: Switch to the propane pit or skip the fire entirely. The seating area still works as a gathering spot. Add citronella candles on the side tables (the Cutter Citro Guard 20-ounce bucket candle, $7 at Walmart, burns for 40 hours).
Fall: This is prime fire pit season. Stack a quarter cord of seasoned firewood ($50 to $75 from a local supplier) within reach but outside the seating ring. Oak and hickory burn longest, 3 to 4 hours per load.
Winter: Brush snow off seats before sitting. Keep a stack of wool blankets in a waterproof deck box near the pit. If using a wood-burning pit, start with a chimney starter ($15) instead of lighter fluid. It gets the fire going in 10 minutes with no chemical smell.
The fire pit area should feel like a room without walls. Comfortable, functional, and ready to use without 30 minutes of setup. Choose materials that let you walk outside, light the fire, and sit down. That is the entire goal.