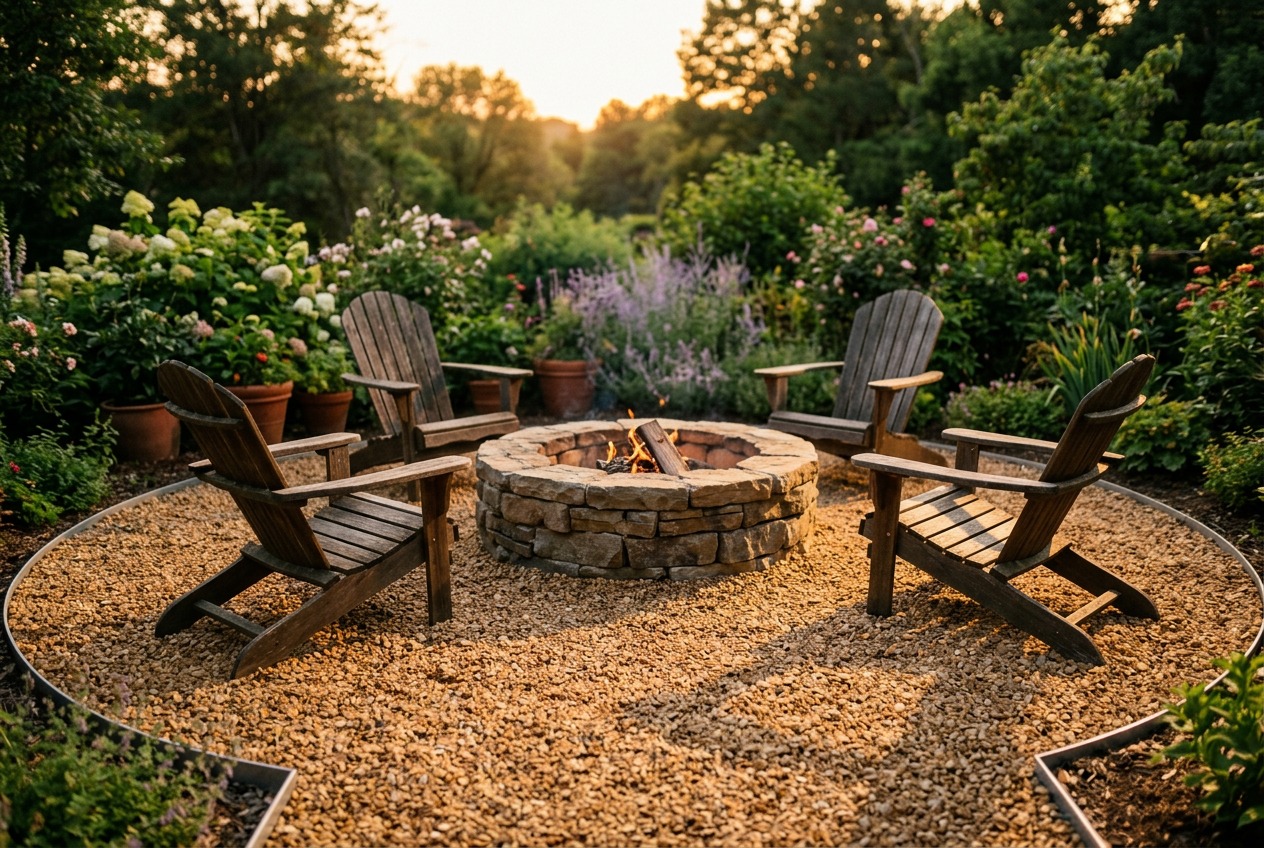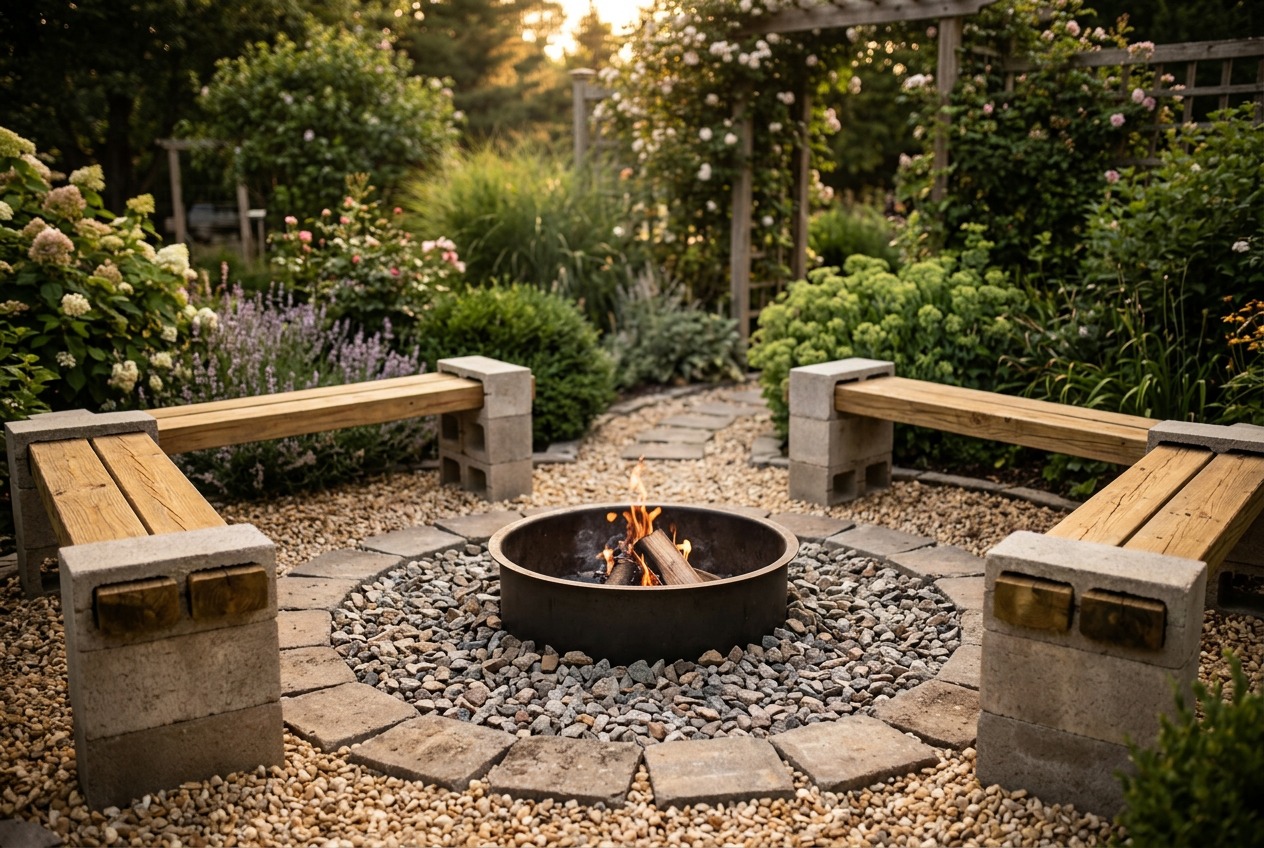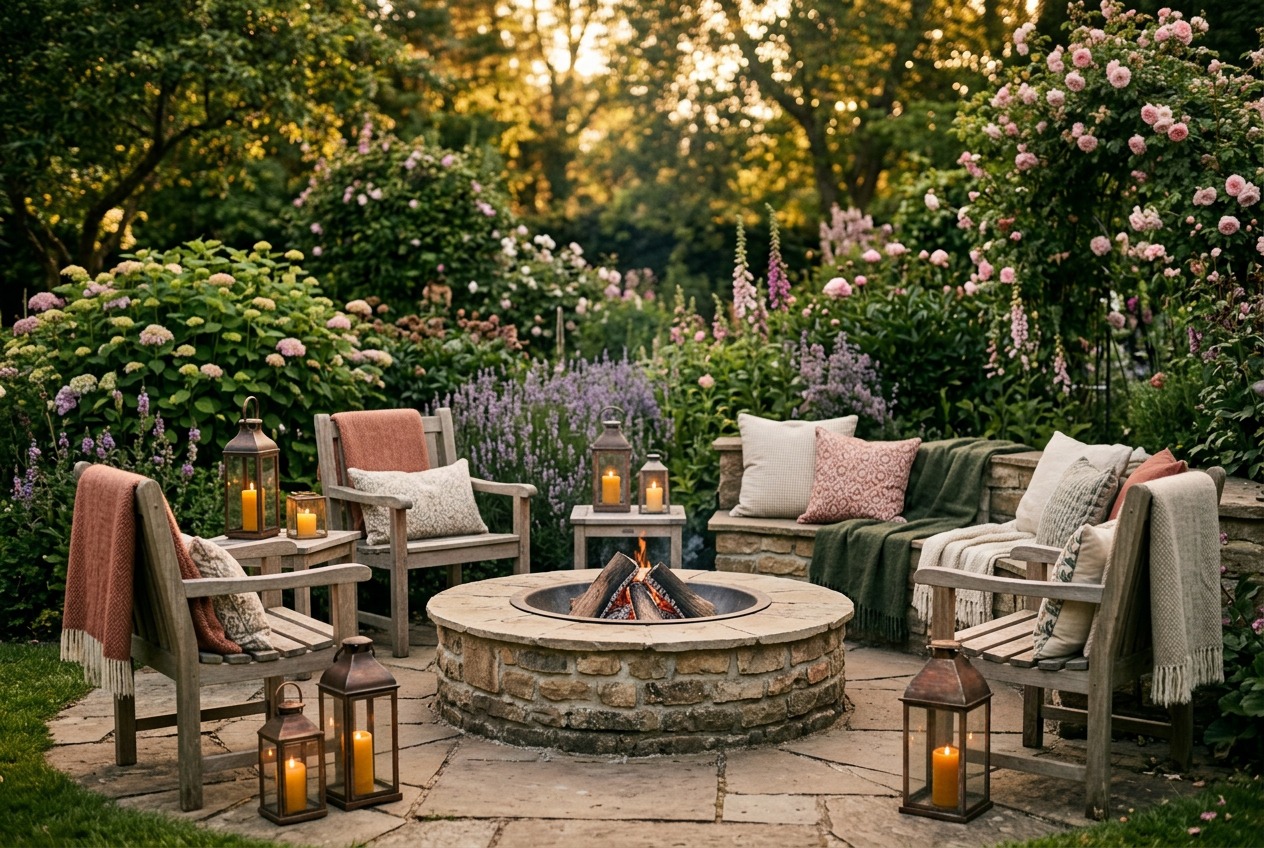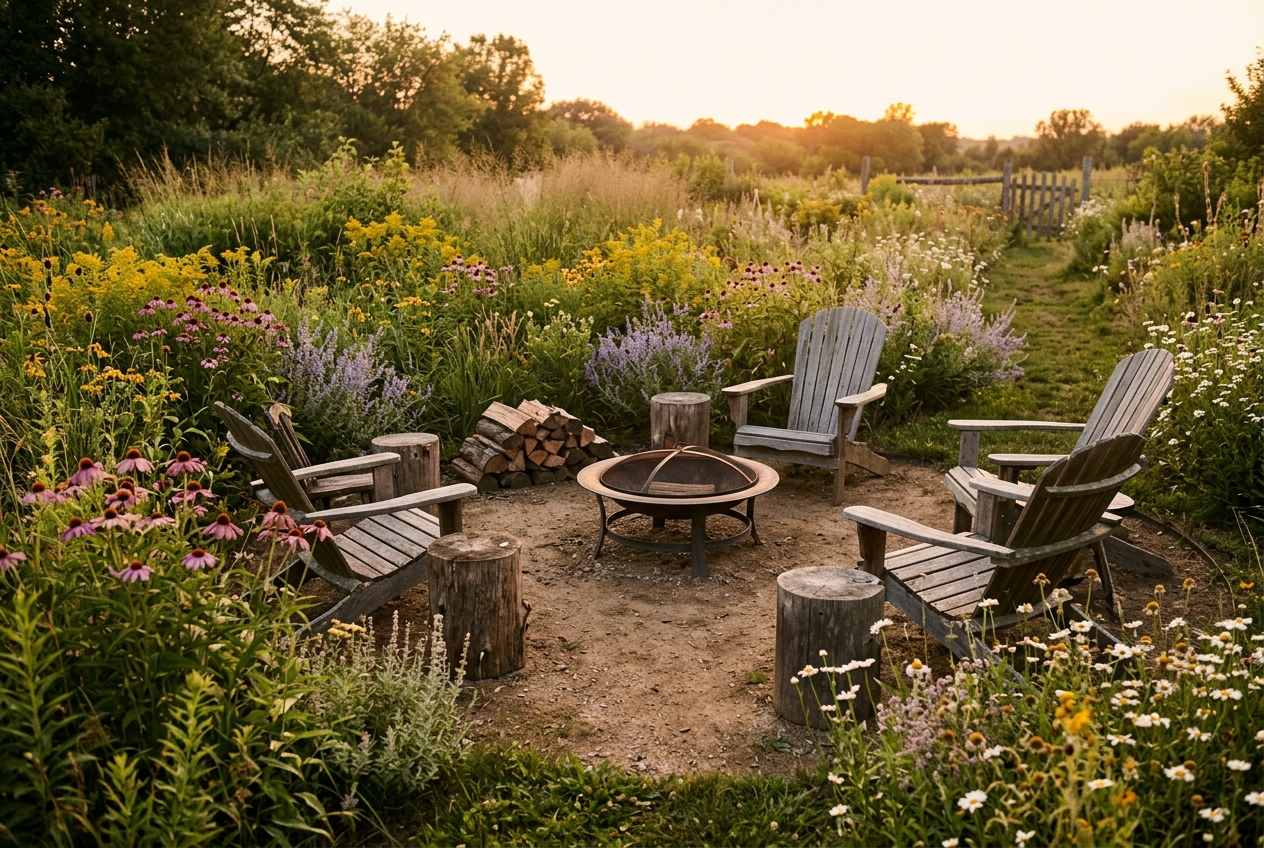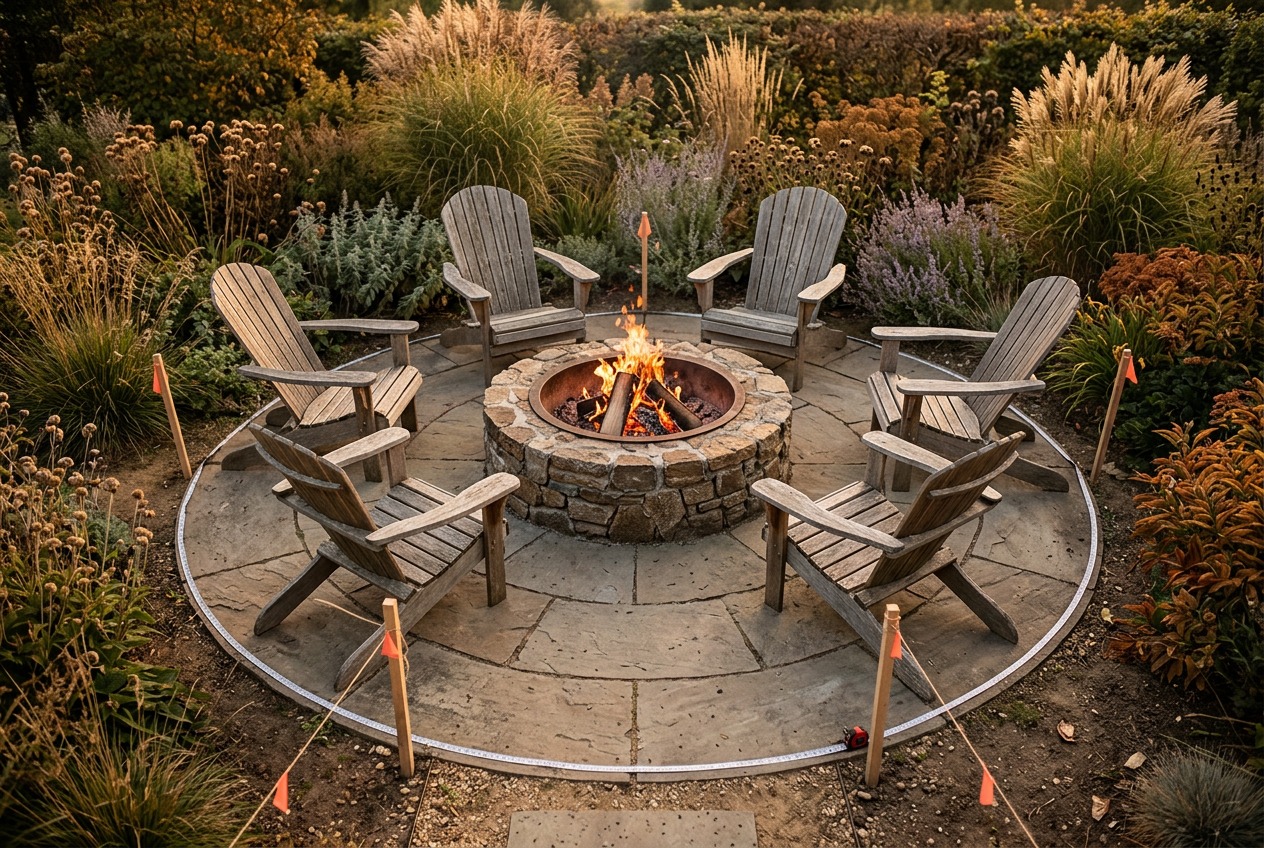
A fire pit seating area for 6 to 8 people works well in a circle roughly 15 to 20 feet across. That covers the pit itself, room between the pit and the chair legs, the chairs, and a walkway behind them. Four people are comfortable in 12 to 14 feet. Ten to twelve people want 22 to 25 feet.
Those are working numbers from laying out real yards, not a code or a standard. There is no universal rule for how far a chair sits from a fire, or how wide the whole circle has to be. There is one widely published clearance figure, and it is the one to plan around first: the U.S. Fire Administration recommends keeping outdoor fireplaces and fire pits at least 10 feet from the home or anything that can burn .
Your fire pit’s own instructions and your local burn rules can both be stricter than that. Read them before you measure anything, and follow whichever is strictest.
The Measurements That Matter
| Item | Working measurement | Where the number comes from |
|---|---|---|
| Fire pit diameter | 36-48 inches | Common retail sizes. Wood-burning pits run larger, propane models more compact |
| Pit edge to chair front legs | 24-36 inches | Comfort, not a standard. Wood fires want the larger end |
| Chair depth | 24-30 inches | Furniture dimensions. Adirondacks are deeper than metal bistro chairs |
| Chair spacing | 30-36 inches | Comfort, centre to centre between seats |
| Walkway behind chairs | 36-42 inches | Enough to pass someone seated |
| Distance to the house, a fence, or anything that can burn | At least 10 feet | U.S. Fire Administration guidance. Local rules and your manufacturer may require more |
| Overhead | Nothing overhanging the pit | No universal figure exists. Follow your manufacturer and local rules |
Everything in that table except the 10 foot line is practical guidance. The 10 foot line is the one with a source behind it, and it is the one to check first, because it can rule out a location before you spend a weekend levelling it.
You also want reasonably level ground or pavers. Skip the precise grade targets you see quoted around the internet. The honest test is simpler: sit in the chair. If it rocks, or a drink will not sit still on the arm, the ground is too uneven.
Laying It Out
Mark the fire pit centre. Drive a stake or use spray paint. This is your reference point for every other measurement.
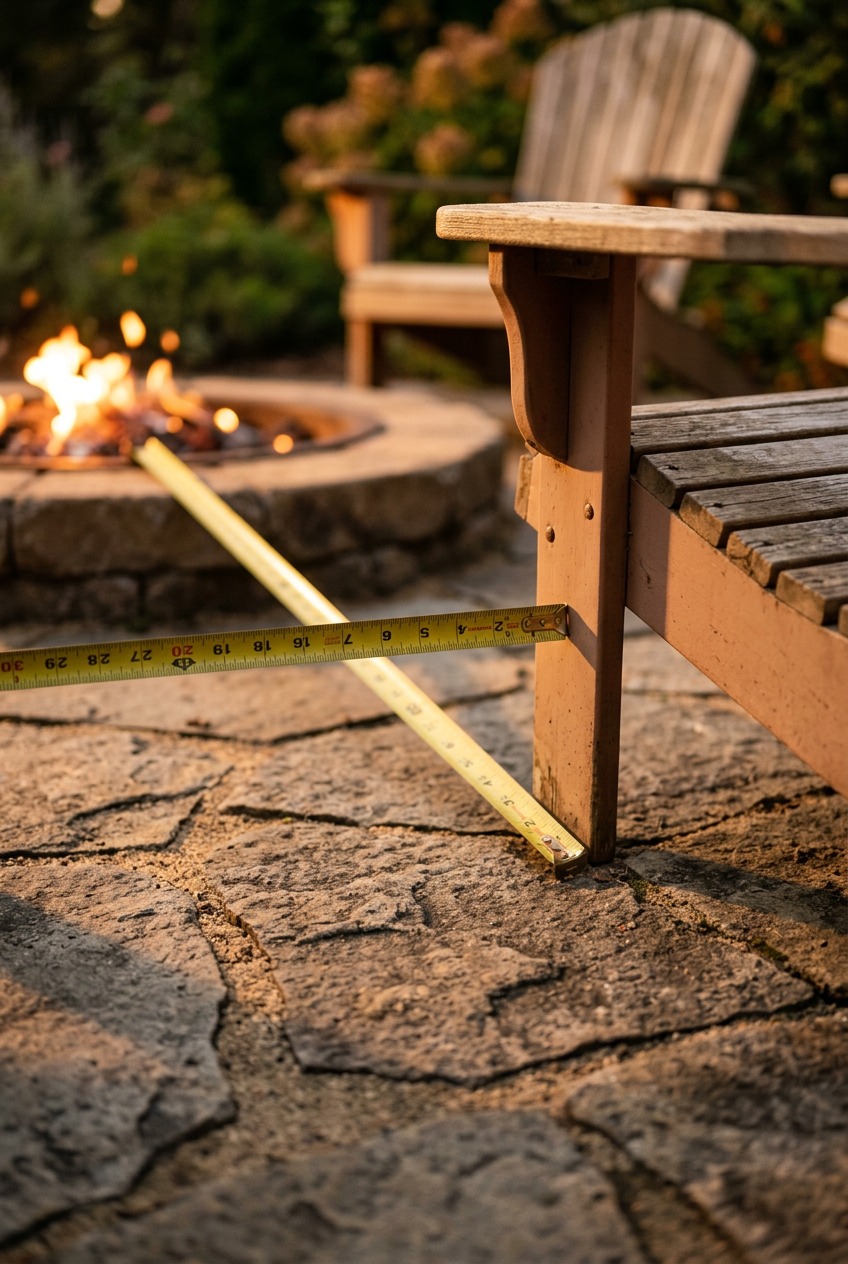
Measure the setback to the chairs. Add 24 inches minimum from the pit’s outer edge. For wood-burning pits that throw sparks, use 36 inches. Mark that circle with landscape paint or a garden hose so you can see it.
Place your first chair. Set it at that line. Measure 24 to 30 inches from the back of the chair outward. That is where your walkway begins.
Space the rest. For 6 chairs, divide 360 degrees by 6, which is 60 degrees between chair centres. A string tied to the centre stake works as well as a protractor.
Test the walkway. Stand behind a chair and extend your arms. You want 36 inches to pass comfortably. If someone is sitting in it, 42 inches is better.
Measure to the house, fences, sheds, and the property line. The USFA figure of 10 feet from anything that can burn is your floor, not your target. Your city may set specific setbacks, your HOA may set its own, and your fire pit’s manual may ask for more. Call the local building department with your planned dimensions before you dig.
A 50 foot tape and a second person makes this an hour instead of an afternoon. One holds the centre stake, the other walks the perimeter dropping flags where chairs will go. Adjust while it is still flags and paint, not pavers.
Where Layouts Go Wrong
Uneven ground throws off everything. A 3 inch dip under one chair leg makes that seat the one nobody picks. Level the area before you measure, or plan on pavers with a sand base.
Wind direction changes the layout. If prevailing winds push smoke toward the house, rotate the seating so smoke exits over open yard instead. I put my first pit downwind of the deck and spent two seasons dragging chairs every time we lit a fire.
Overhanging branches are the one people skip. Embers rise, cool, and come back down, so a pit under a low limb is a pit under fuel. I cannot point you at a universal overhead number, and you should be suspicious of articles that quote one as code. What is consistent is the instruction on the pits themselves: site them clear of overhangs, and away from anything combustible above as well as beside. Your local rules may put a figure on it, so ask.
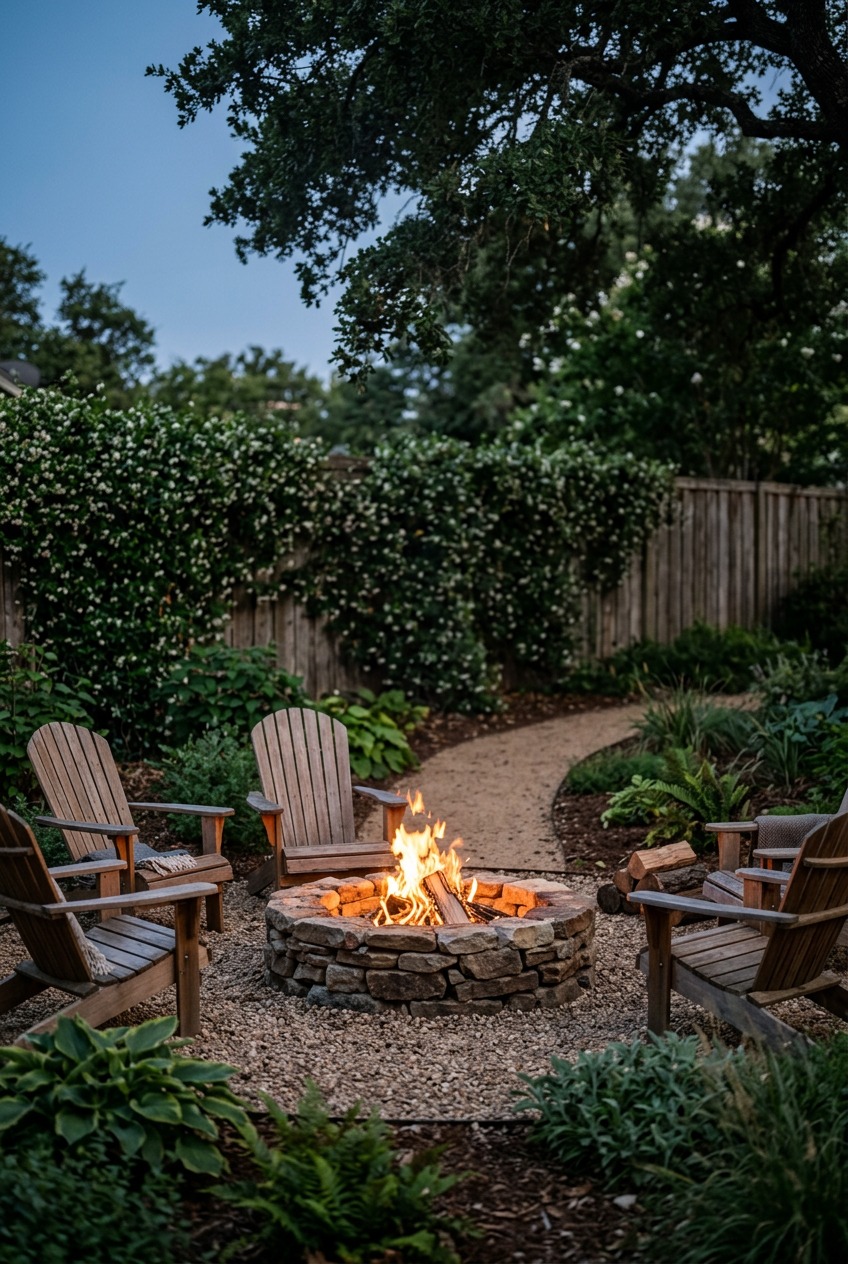
From my experience: I built my first fire pit with 18 inches between the pit and the chairs because it looked cosy in the sketch. The heat was unbearable. At 30 inches you feel warmth without sweating through your shirt. At 36 inches you want the fire on a cold night, and it is still comfortable in fall.
Sizing It to Your Group and Your Yard
For 4 people, a 12 foot diameter works. You can pull the chair setback in to 24 inches and use smaller bistro chairs at around 20 inches deep. Total footprint: 12 by 12 feet.
For 10 to 12 people, go to 22 to 25 feet. Leave two gaps in the ring, 4 to 5 feet each, so people can get in and out without climbing over a seat.
Eight chairs around a 48 inch pit needs about a 20 foot circle. Divide the circumference by eight and each chair gets roughly 7 to 8 feet of arc, so with 24 inch wide chairs you end up with a comfortable hand’s width between armrests rather than shoulder to shoulder.
If the yard is narrow, say 18 feet wide, stop trying to fit a full circle. Put the pit along one edge and wrap seating 180 to 270 degrees around it. You will seat 4 to 6 people in a 12 by 18 foot space, and it will feel better than a squeezed circle.
Gravel or pavers is the other real choice. Gravel costs less and goes down faster, but it is harder to get level and it needs edging or it wanders into the lawn. Pavers cost more and take longer, and they stay flat for years, which matters most if you are putting a table out there.

Before You Break Ground
Check local fire rules first. Some cities ban wood-burning fire pits outright. Others require a permit for anything permanent, and permanent usually means in-ground or built with seating walls. A portable above-ground pit often needs no permit, but the setback rules still apply to it. Propane generally faces fewer restrictions than wood, not none.
Plan the fuel. Wood needs a dry place to live, ideally within a short carry of the pit and clear of the 10 foot clearance zone, which adds another small footprint to the layout. Propane needs access to a tank, either hidden in a base or tucked beside a chair where nobody trips on it.
Plan lighting before you lay anything down. Path lights along the walkway and something low near the chairs is enough. Run the conduit first. I added lights as an afterthought and had to trench back through finished gravel to do it.
And keep the basics on the list no matter how good the layout is: use the pit on the surface its manufacturer approves, keep an eye on children and pets, never leave the fire unattended, put it out completely, and skip it on windy or restricted-burn days.