Do it yourself halloween decor gets easier once you stop treating it as a shopping problem. The bin you need is probably already in the kitchen, the recycling, and the linen closet.
Start with what is already at home: a stack of delivery boxes, a few pasta sauce jars, a bag of cotton balls from a bathroom cabinet, and a flat sheet with a torn hem. That is enough for a whole porch.
The trick is knowing which material belongs where. Paper ghosts that look perfect in a window will slump in the rain. Glass jars that glow on a mantel get heavy and tippy on a railing. Get the pairing right and this costs nothing but an evening.
What you already own, from cardboard to cotton balls
Walk through the house once with a laundry basket and sort what you find into these three groups. Almost every usable object lands in one of them.
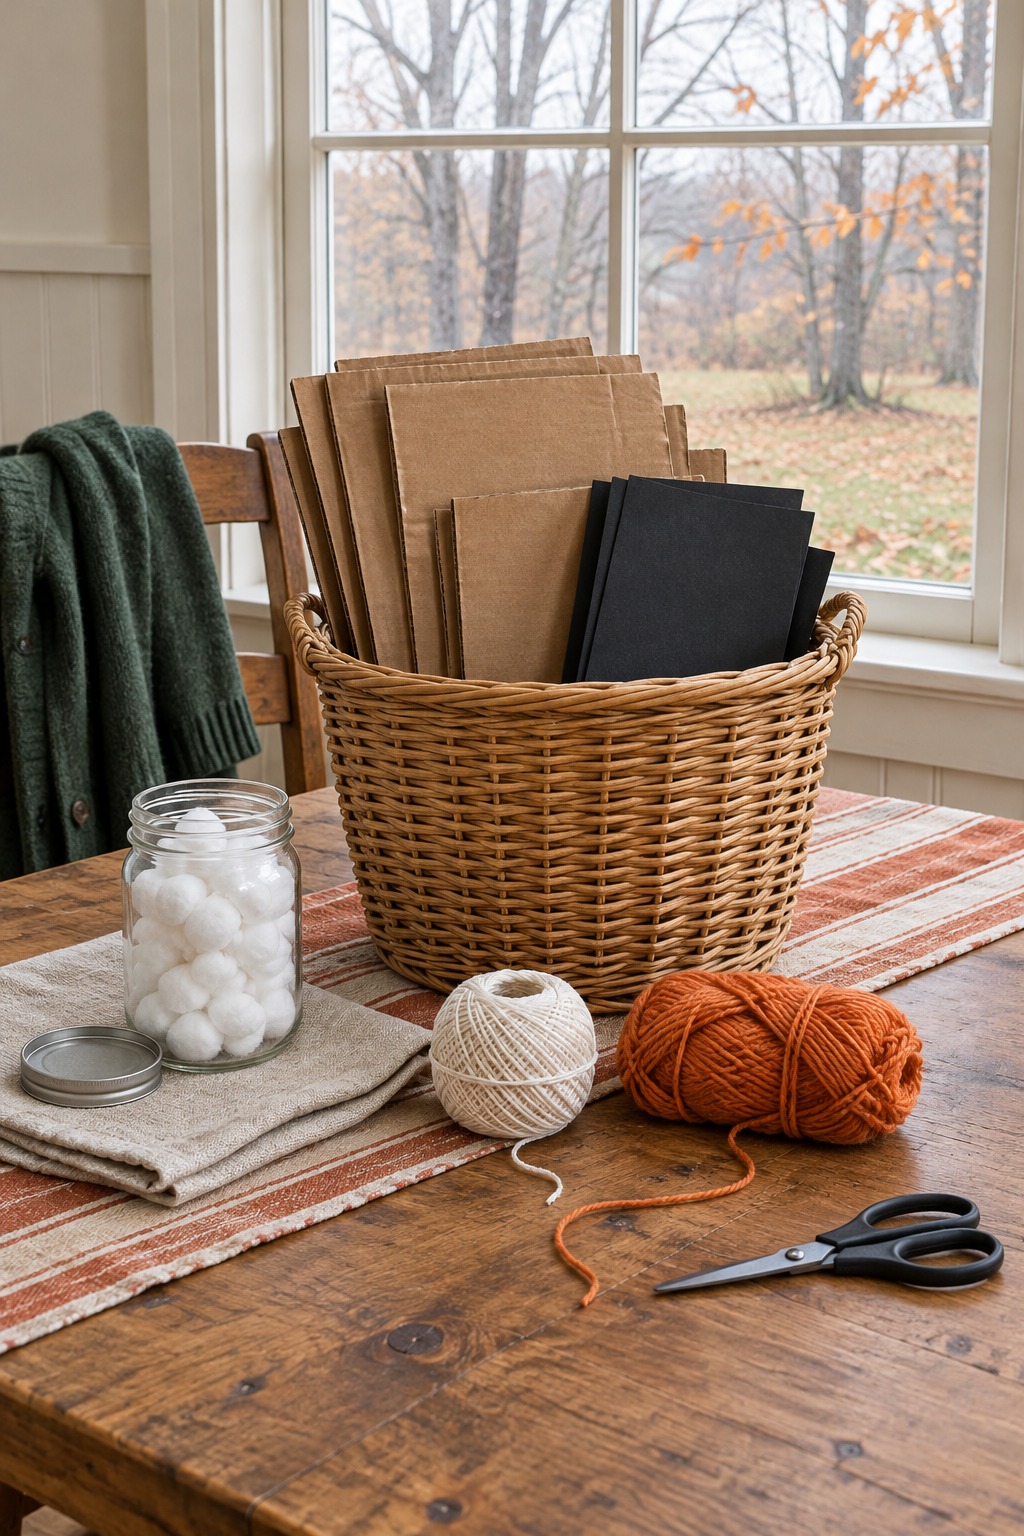
Paper and board. Cardboard shipping boxes, toilet paper rolls, paper towel rolls, paper bags, newspaper, egg cartons, coffee filters, wax paper.
Glass and metal. Glass jars, wine bottles, tin cans, foil, an old colander, a bundt pan.
Cloth and soft goods. old sheets, pillowcases, cotton balls, batting from a torn cushion, dryer sheets, twine, yarn scraps, dried flowers from last year’s bouquet.
That’s the inventory. You do not need all of it. You need two or three pieces you feel like doing something with tonight.
Which material goes where: a placement table
This is the part most homemade decoration guides skip, and it’s the part that decides whether your work lasts the season. Read it against where the piece will actually sit.
| Material family | Indoors | Covered porch | Exposed porch or yard | Watch out for |
|---|---|---|---|---|
| Paper and board | Excellent | Good if weighted | No | Softens and sags in damp air |
| Glass and metal | Excellent | Excellent | Jars only, weighted | Falls over and shatters on hard steps |
| Cloth and soft goods | Excellent | Good | Short spells only | Mildew, staining, wind wrap |
| Dried flowers and stems | Excellent | One season | No | Brittle and best handled gently |
The single rule that saves the most time: if it is paper or dried plant material, it lives indoors or under a roof. Everything else can be argued with.
How to make three pieces that read as real decor
You need a surface, a silhouette, and one light. That’s the whole recipe, and these three fill those roles with almost nothing.
- Paper bags into tombstones. Cut a grocery bag open, draw a rounded stone shape, and cut two identical pieces. Glue a strip of cardboard between them along the edges, leaving the bottom open. Slide a paperback book inside for weight. Rub the outside with a used, still-greasy dryer sheet, then dust with flour or cocoa for a weathered finish. Group three at different heights and lean them back a few degrees so they read as set in the ground.
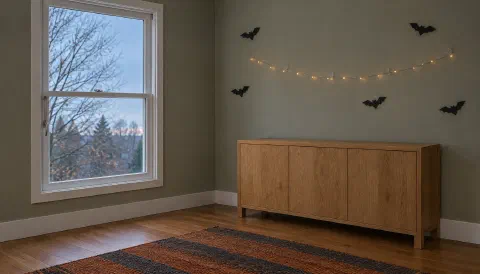
- Toilet paper rolls into bats. Flatten a toilet paper roll, cut a shallow scalloped notch out of one end, then cut the wings from a second roll and glue them behind. A row of five along the top of a doorway reads better than one large bat.
- Glass jars into lanterns. Tear tissue paper into rough shapes and brush the jar with diluted white glue, one layer at a time. Let each layer dry a little before the next, or the tissue tears. Add a face last, cut from card. Drop in a battery tea light and the whole jar glows from the inside.
Arrange the bats in a row on a wall or window using an attachment suited to the surface; follow its removal instructions. The guide to vintage Halloween decorations has more ideas for paper and cardboard displays.
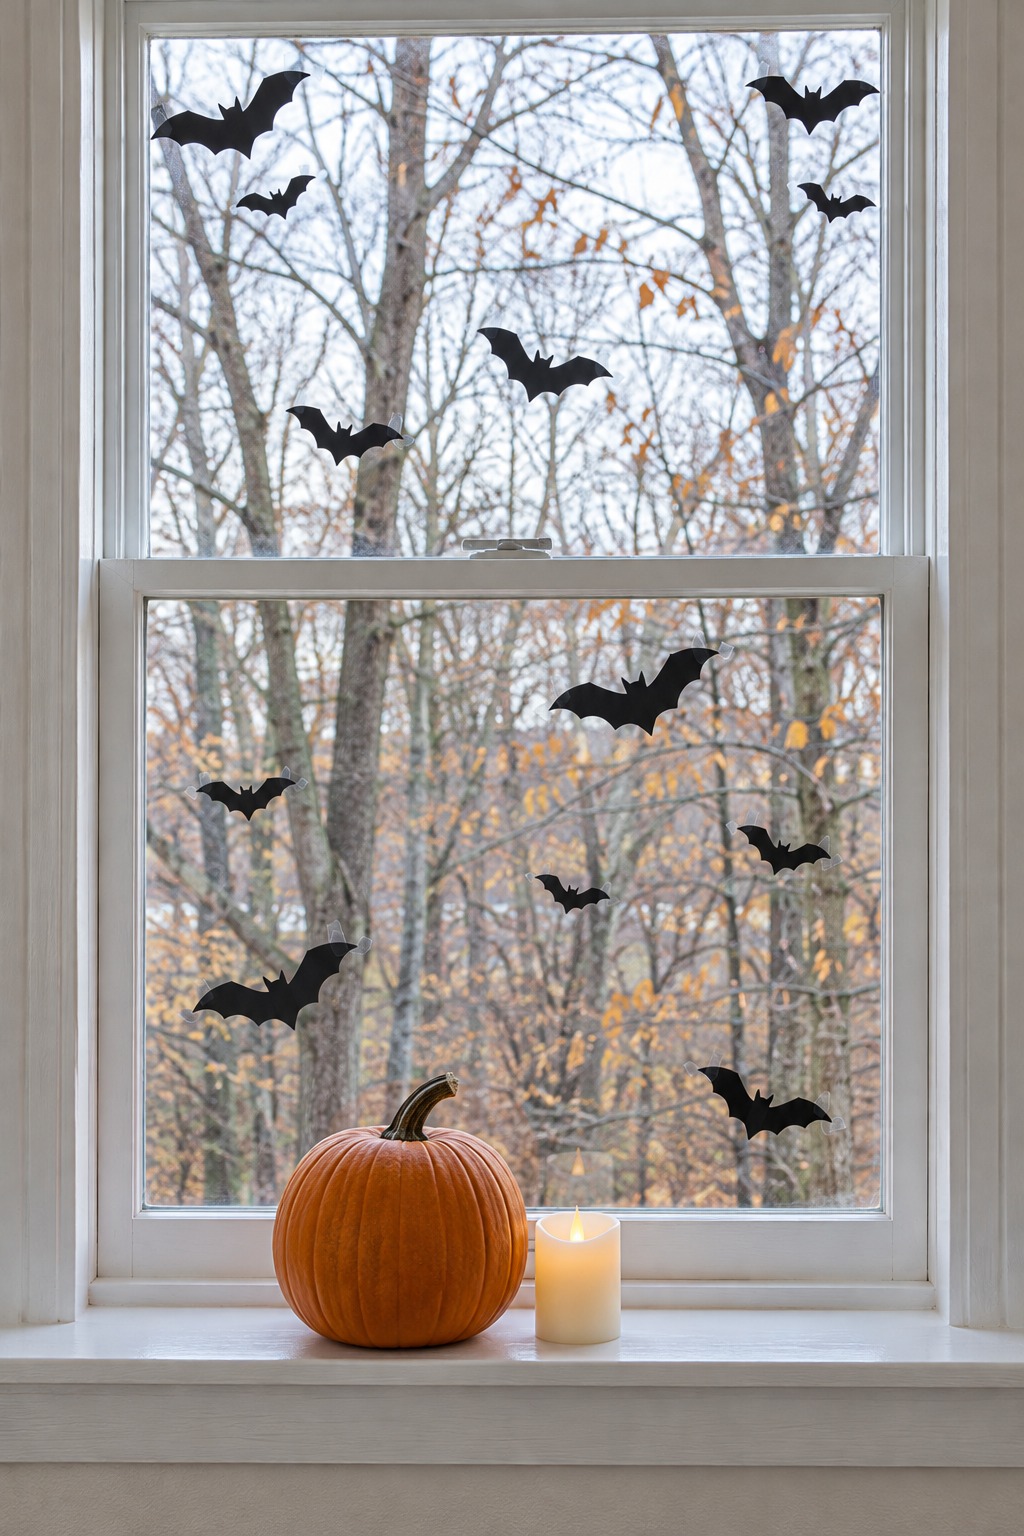
Make the Pieces Feel Like a Collection
Repeat one color or material across the room: black paper bats, a dark ribbon on a jar, and a few dried stems can feel connected without matching exactly. Battery-operated tea lights add a soft flicker to a tabletop vignette.
What not to use outdoors
For a porch display, choose materials and an adhesive for the actual surfaces and exposure. Check the product instructions before committing the whole project: a water-resistant label does not mean every adhesive works on every material or for continual rain.
- Paper and tissue: make a lovely window or indoor display.
- Adhesives: compare the maker’s directions for the surfaces and moisture exposure you expect. For example, Gorilla Hot Glue Sticks are water resistant but are not recommended for continual water exposure or some plastics.
- Sealers: check whether the specific product suits both your material and the intended location.
Try a small sample first and follow the chosen products’ directions for preparation and drying.
If the porch is the point and you want the display to still work after dark, the distance thinking in the yard decor that works after dark is the better place to start than any material swap.
Mistakes that turn homemade into shabby
- Setting out single pieces. One jar on a big table looks like a jar. Three at different heights look like a display.
- Fighting the color of what you own. A mismatched set reads as intentional if you keep the palette to two colors plus one.
- Overbuilding for the weather. The most common failure isn’t bad crafting. It’s a paper piece on an exposed porch.
- Cleaning up the texture. Smooth, perfect surfaces read as store-bought. Torn edges, a rubbed finish and visible twine are the entire effect.
- Forgetting the cardboard. It is the cheapest weight and structure you own, and skipping it is why homemade pieces wobble.
Care and storage so it survives to next year
Homemade decor earns a second October if you put it away dry. Unmade, it becomes mush in a bin by January.
- Dry everything completely before it goes in storage. A jar with moisture trapped inside grows a smell you can’t remove.
- Dust, don’t wash. A soft brush lifts dust off paper and dried flowers. Water destroys both.
- Store flat pieces flat. Slip paper silhouettes between two sheets of cardboard so they don’t curl.
- Bag soft goods, not glass. old sheets and cotton balls go in a breathable cotton bag. glass jars get wrapped and set upright, never stacked on their sides.
- Keep the battery tea lights out of them. Pull the lights out of the jars before storage so the contacts don’t corrode.
- Label the box by room. A note that says “doorway, 5 bats, twine” saves you re-inventing the whole thing next fall.
Once everything is dry and boxed, a single bin is genuinely enough for a small apartment. If that’s your situation, the one-bin apartment approach handles the space limits better than this article does.
What to Read Next
- Cheap Halloween Decor That Doesn’t Look Cheap if you’d rather fix the three things that give inexpensive decor away.
- Halloween Entryway Decor Ideas for where each finished piece should land inside the door.
- Vintage Halloween Decor That Still Looks Good when you want the older reference points for the paper and cardboard look.
- Halloween Yard Decor That Works After Dark if the display is moving outside and has to survive the dark.
- Apartment Halloween Decor in One Storage Bin when your whole setup has to fit in one box.
- Cheesecloth ghost ideas explores materials, shapes and ways to display the finished ghosts.