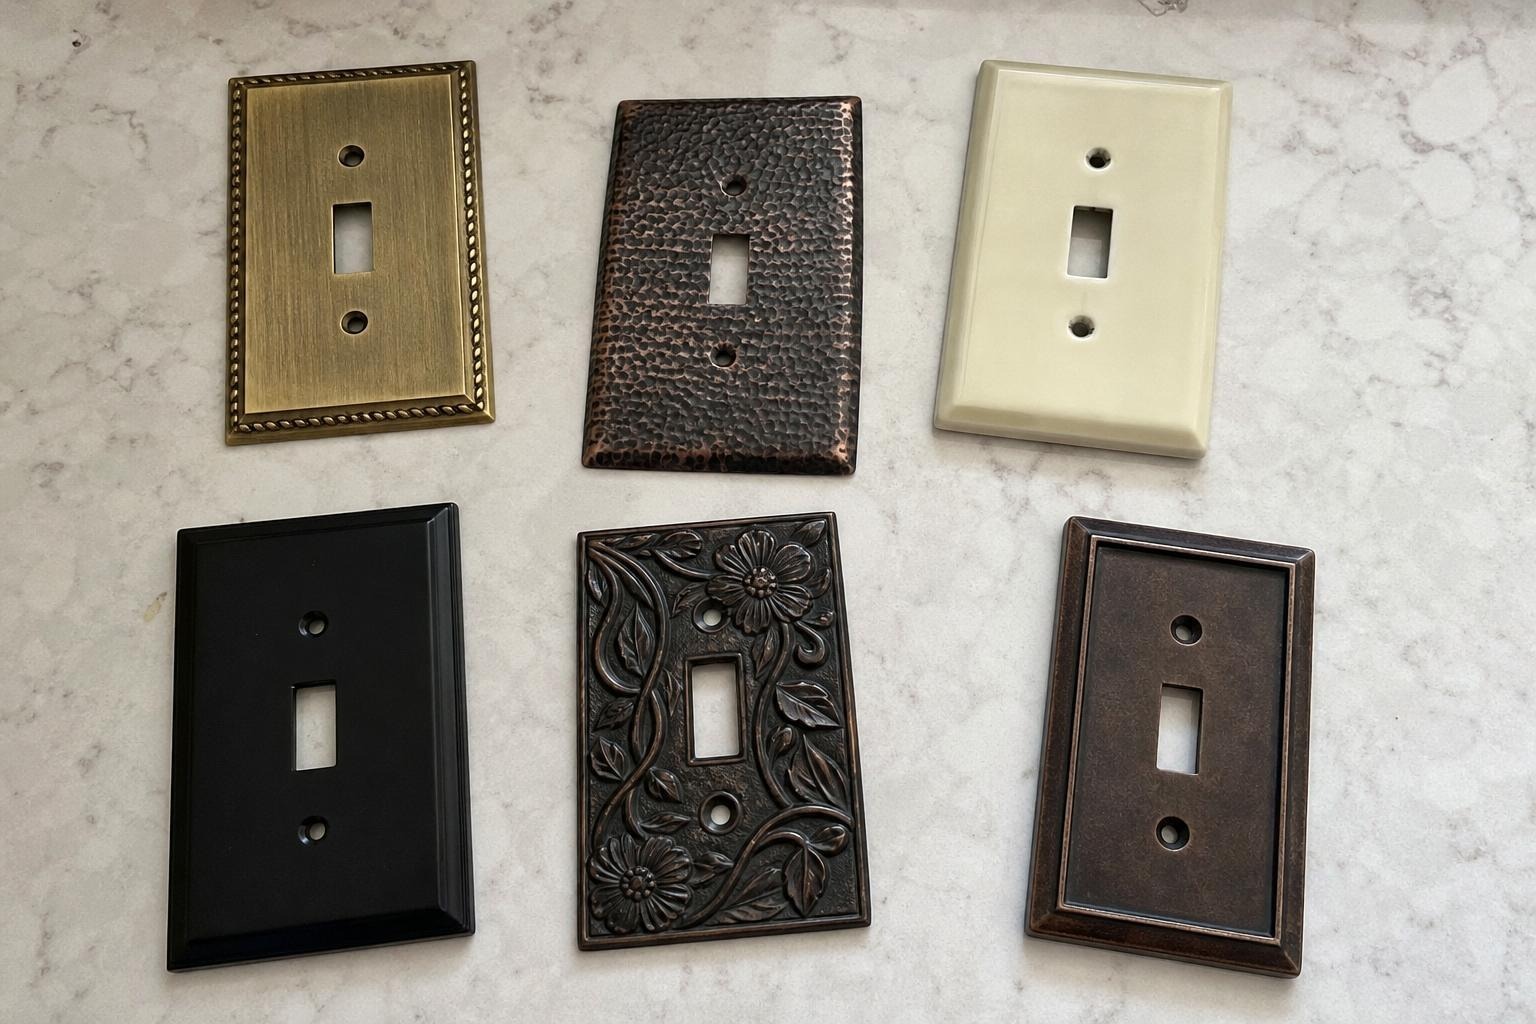
If you’ve painted a wall, hung a mirror with removable strips, and swapped your cabinet hardware, the plain white plates left over probably bother you every time you flip a light on. Decorative switch plate covers are one of the last visible plastic pieces in a rental, and they’re also one of the easiest to change. The plate unscrews, the original goes in a labeled bag, and it screws back on the day you move out. Nothing gets patched, painted, or drilled.
Why This Is One of the Only True Zero-Risk Rental Changes
Most rental upgrades still carry some risk: adhesive that pulls paint, a peel-and-stick tile that leaves residue, a curtain rod that needs a bracket. A switch plate cover carries almost none. It’s held on by one or two screws that were never meant to be permanent, and the wall behind it never sees anything but the original plate and, briefly, yours.
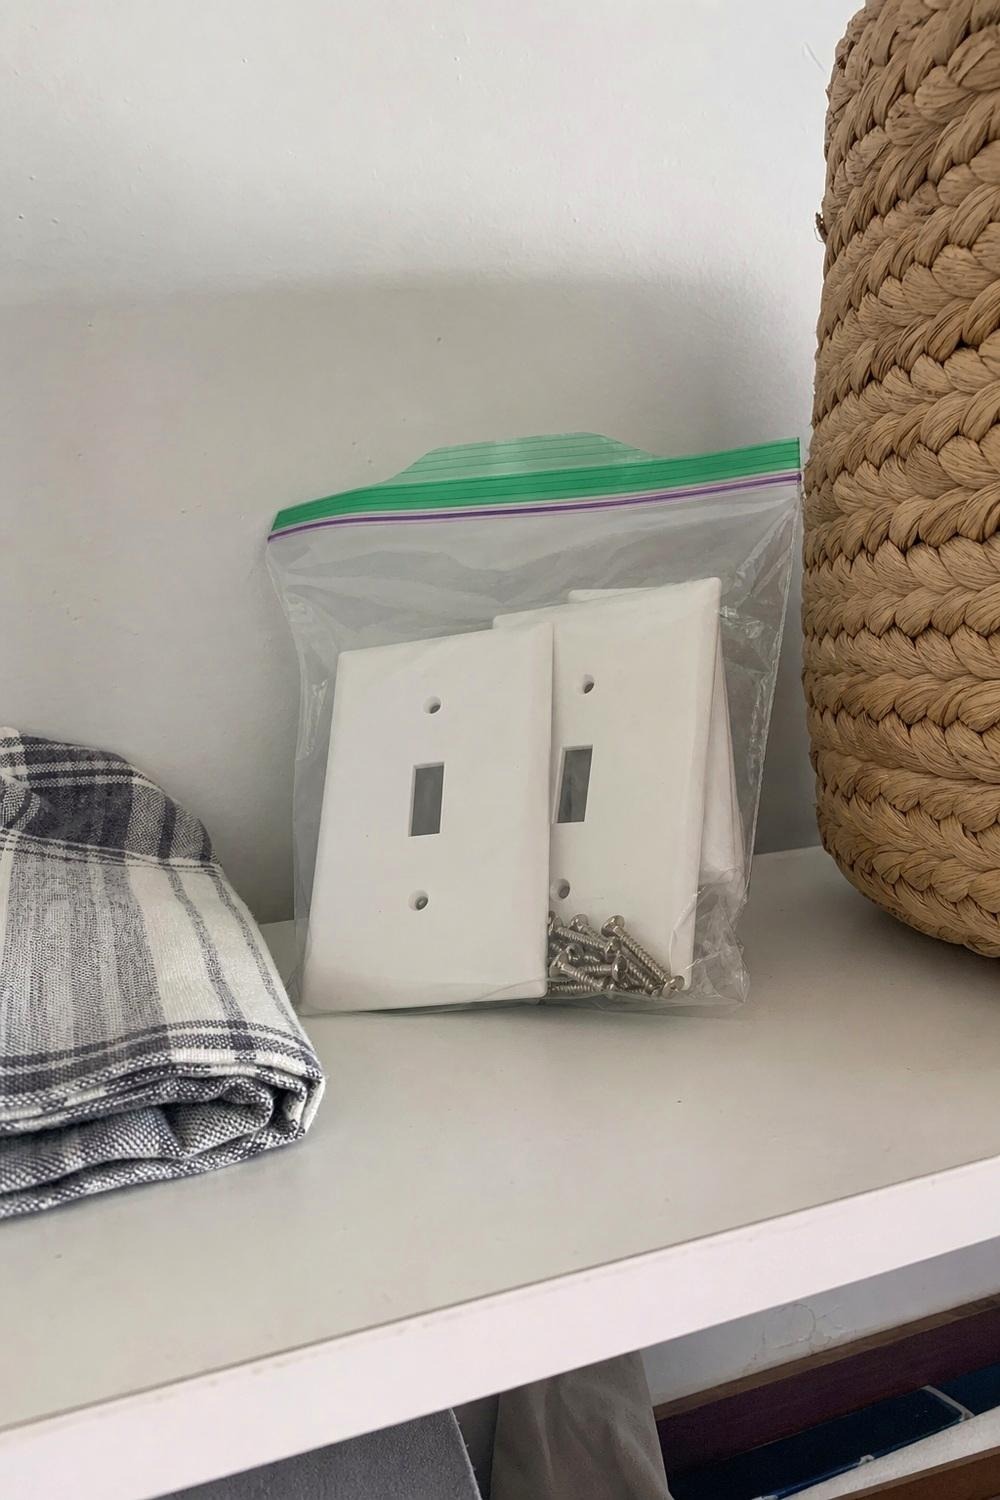
Keep the swap genuinely reversible: put the old plate and its screws in a small zip bag, write the room on it with a marker, and stash the bag in a drawer or a bin with your lease paperwork. At move-out, you screw the originals back on and take your new plates with you to the next place. The whole project costs you a screwdriver and a few minutes per room. That reversible logic runs through every renter decor move that does not cost you your deposit , from wall hangings to flooring.
Single-Gang Plate, Double-Gang Plate, and Wall Box Sizing Before You Buy
This is the part most articles skip, and it’s the part that actually determines whether your order fits. Toggle light switches use a single center screw and take a single-gang plate with a toggle cutout. A decora or rocker-style switch (the flat paddle instead of a toggle) needs a decora cutout instead, so check which opening shape is already on your wall before ordering. Standard outlets use two screws, one above and one below, and take a plate sized for outlets rather than switches.
Count your gangs. A single-gang plate covers one switch or outlet. A double-gang plate covers two side by side, and some hallways or kitchens have double or triple switches stacked together that need a combined plate rather than two separate ones. Measure the width of the opening on your existing plate and match it, since sizing varies slightly between decora and toggle styles.
The metal or plastic box set into the wall, called the wall box, is what your new plate’s mounting screws actually thread into, not the drywall itself. If the drywall around that wall box has old paint edges, a patch, or a slightly enlarged cutout from a previous renter’s project, look for an oversize plate or a jumbo plate. These run a bit larger than standard on all four sides and cover that visible mess without you touching the drywall. Standard single-gang faceplates run about 4.49 inches tall and jumbo plates run about 5.5 inches tall, per Archtoolbox’s electrical faceplate dimension reference , which is also why a toggle cutout never fits a decora switch and vice versa.
| Plate type | Opening shape | Typical height | Best for |
|---|---|---|---|
| Single-gang toggle | Toggle cutout | 4.49 in | One toggle light switch |
| Single-gang decora | Decora cutout | 4.49 in | One rocker switch or outlet |
| Double-gang | Two openings side by side | 4.49 in | Two switches, or a switch and an outlet together |
| Oversize or jumbo | Matches the cutout above, larger plate body | 5.5 in | Covering old paint edges or a slightly enlarged wall box opening |
Materials and What Each One Actually Suits
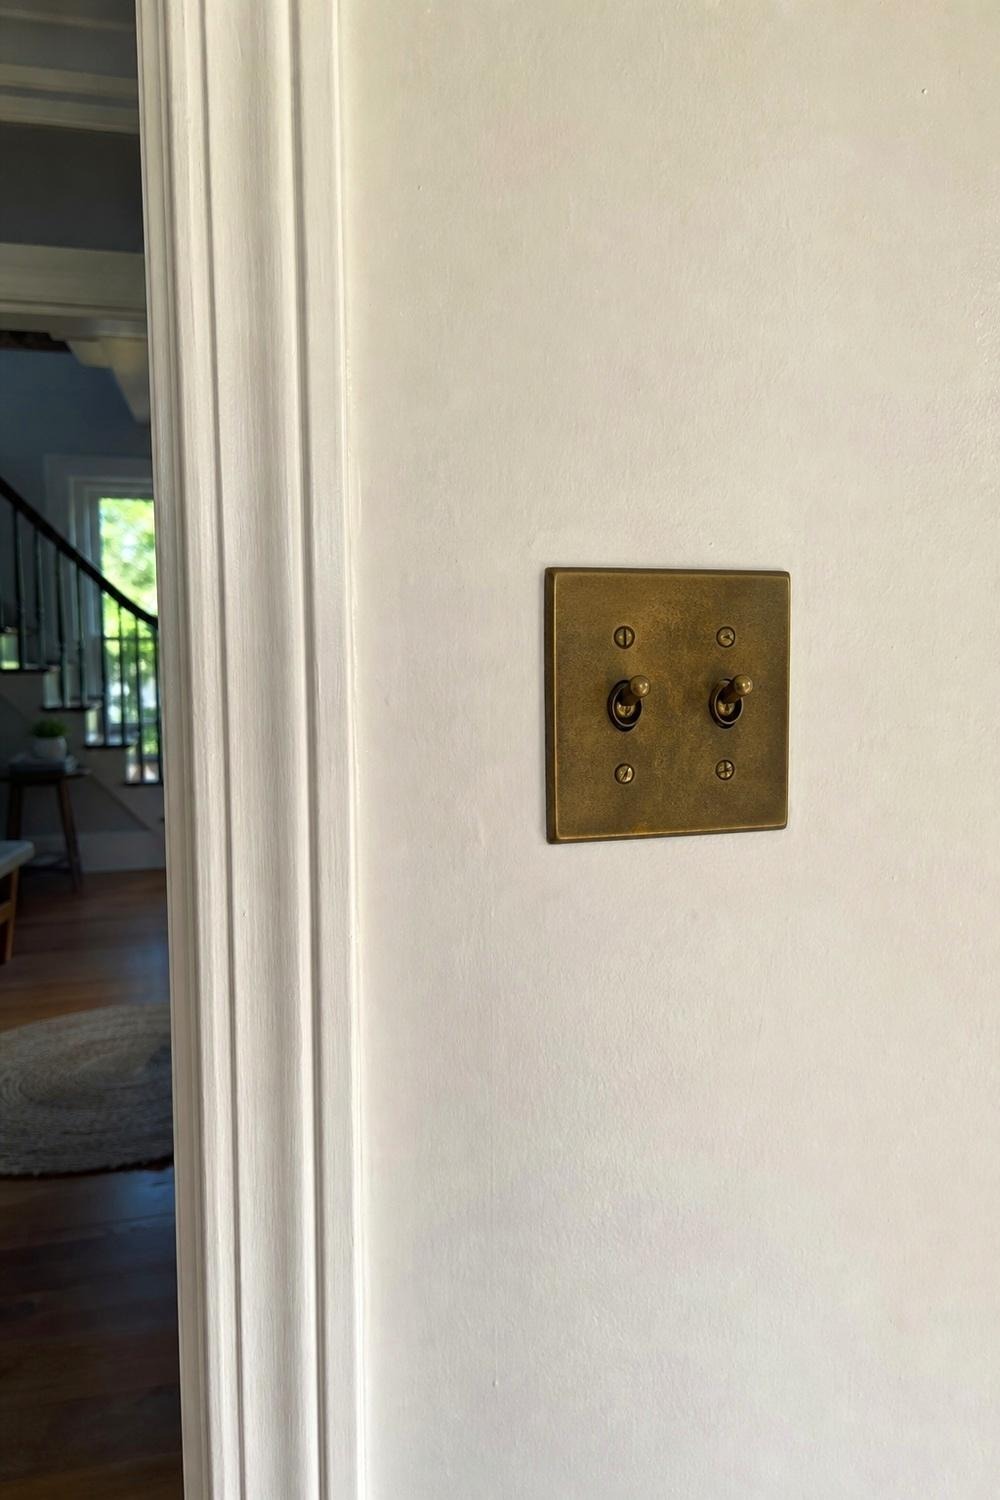
- Solid brass or antique brass. Matches cabinet pulls, faucets, and light fixtures with warm metal tones. Solid brass holds up to years of hand contact without the finish wearing through the way a plated version does.
- Hammered or cast metal. Adds texture in a room that’s otherwise flat, and works well next to wrought iron light fixtures or a farmhouse-style kitchen.
- Ceramic. A softer, more traditional look, common in older homes and a good match for a room with a lot of white trim and molding.
- Wood. Pairs with oak or walnut furniture and reads more natural than metal, best in rooms without a lot of other hardware competing for attention.
- Matte black metal. Matches black door hardware and black light fixtures, and hides fingerprints better than a glossy finish.
- Screwless snap-on covers. A plastic or metal base plate stays screwed to the wall, and a decorative cover snaps over it with no visible screws at all. This is the cleanest look if you want to avoid seeing hardware entirely.
Pick one finish and use it on every switch and outlet plate visible from the same spot. Mixing brass in one corner and matte black six feet away reads as leftover parts rather than a decision.
Solid brass and cast metal darken with age instead of chipping. A soft cloth and a little warm water handles everyday dust; save any brass polish for once or twice a year, and skip it entirely if you like the slightly aged look developing on antique brass.
How to Swap a Switch Plate Cover
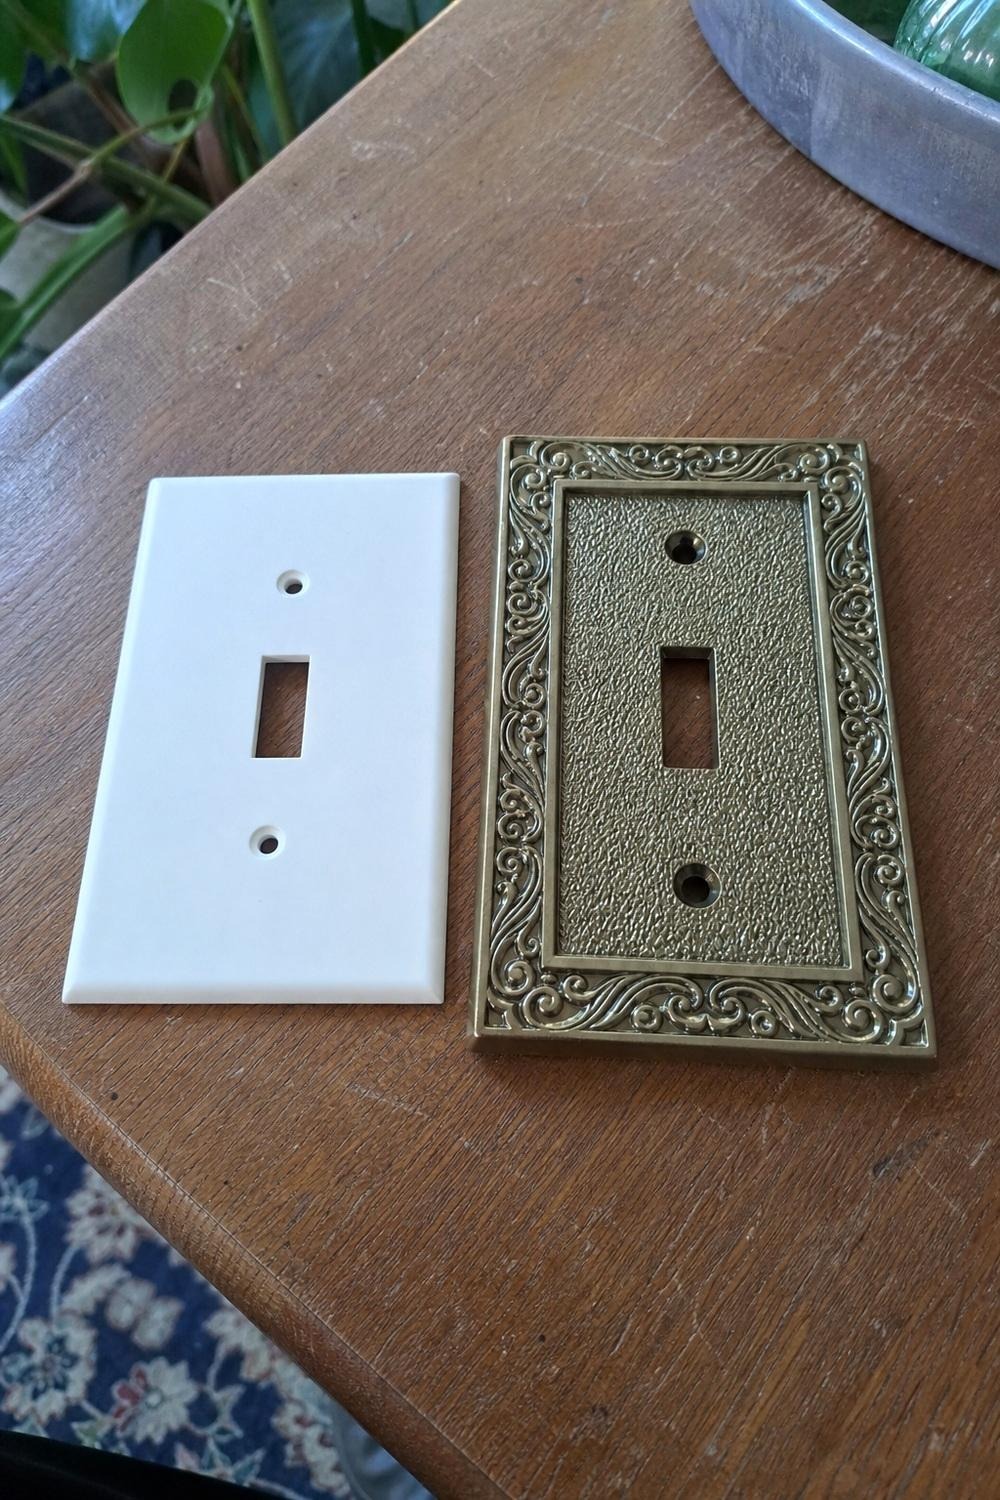
The Electrical Safety Foundation International recommends turning off the power at the breaker before doing any DIY work near a switch or outlet, and a plate swap is no exception even though you’re not touching wiring.
- Turn the light off at the switch, or at the breaker if you’ll have your hands anywhere near the wiring for more than a few seconds.
- Remove the center screw on a toggle switch, or the two screws on an outlet, with a flathead or Phillips screwdriver depending on the screw head.
- Lift the old plate straight off. Set it and its screws in your labeled bag right away so they don’t end up in a junk drawer.
- Line up the new plate over the switch or outlet and press it flat against the wall. If the box sits proud of the wall, meaning it sticks out slightly instead of sitting flush, do not force the plate down. Forcing it cracks ceramic and wood plates and bends metal ones.
- Hand-tighten the mounting screws that came with your new plate. Most decorative plates ship with finish-matched mounting screws, so don’t reuse the plain steel screws from the original.
- Turn the switch or breaker back on and confirm everything works normally before moving to the next room.
If a box sits noticeably proud of the wall, an oversize plate covers the gap instead of trying to sit flush over an uneven surface.
Which Rooms Actually Change
Not every switch plate in your home is worth upgrading. The ones worth doing are the ones a guest or your own eye lands on without trying:
- The wall just inside your entry, since it’s the first thing anyone sees when the door opens.
- The wall beside your kitchen counter, especially if it sits at eye level near open shelving or a backsplash.
- Any wall in a direct sightline from your couch or main seating area.
Skip switch plates behind furniture, inside closets, and in hallways nobody actually looks at while standing still. A plate hidden behind a bookshelf does nothing for the room and isn’t worth the cost or the time.
A Buying Order If You’re Working With a Small Budget
If you’re only doing a few, do them in this order:
- Entry wall first. It’s the plate every guest sees, and it sets the tone before they’re even fully inside.
- Kitchen wall second. You look at it daily, often while your hands are already full, and it’s usually in view from the dining area too.
- Living room sightline third. Anything visible from where you actually sit gets noticed far more than anything visible only while walking past.
Stop there unless you genuinely want to finish the whole home. A hallway with no seating and no sightline isn’t going to bother anyone, including you.