
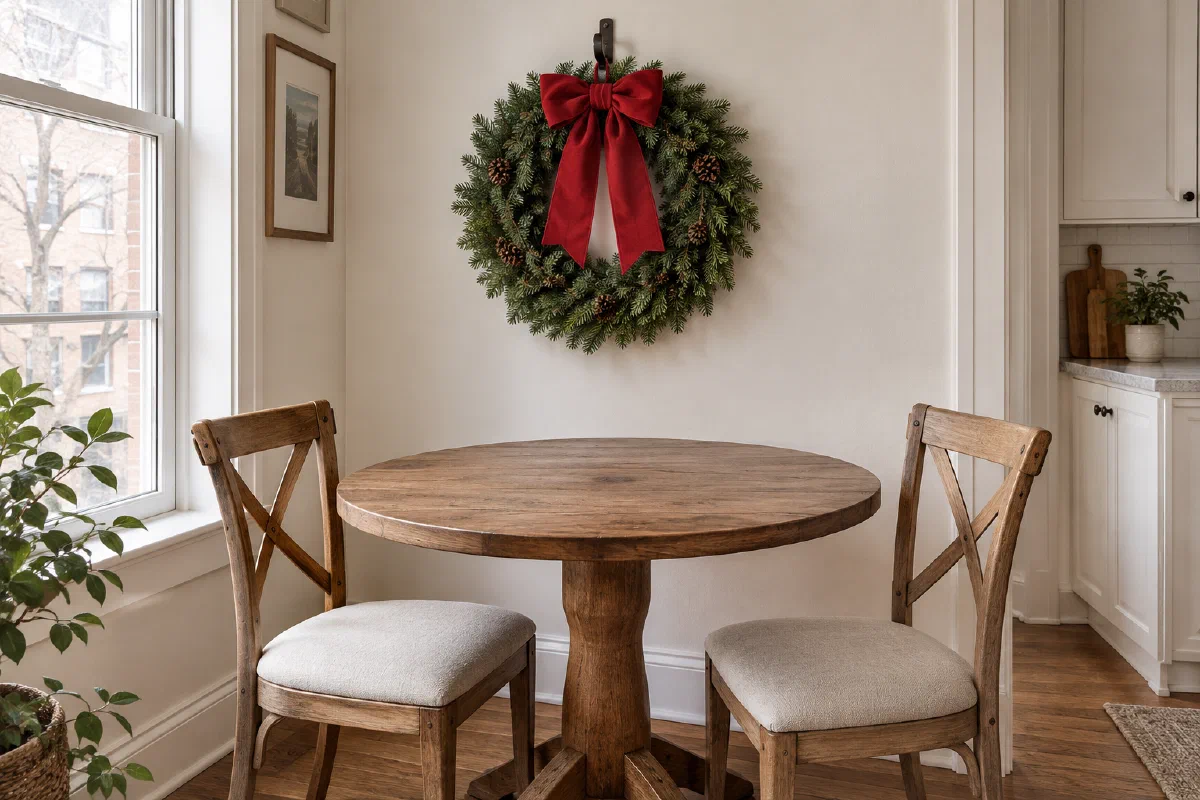
A green wreath over a small dining table or a cluster of folded paper stars beside a bookcase can give a room a Christmas focal point while the furniture stays useful. Wall decorations are especially handy in an apartment where the side table already holds a lamp and the only empty corner is the route to the kitchen.
Start with one wall you see often, then choose a composition that fits its shape. A narrow strip beside a cabinet suits a vertical ribbon display. A wider space can hold a card grid or a seasonal picture. Use the hanging points already available where possible, and keep switches, doors and ventilation clear.
Match the display to the wall
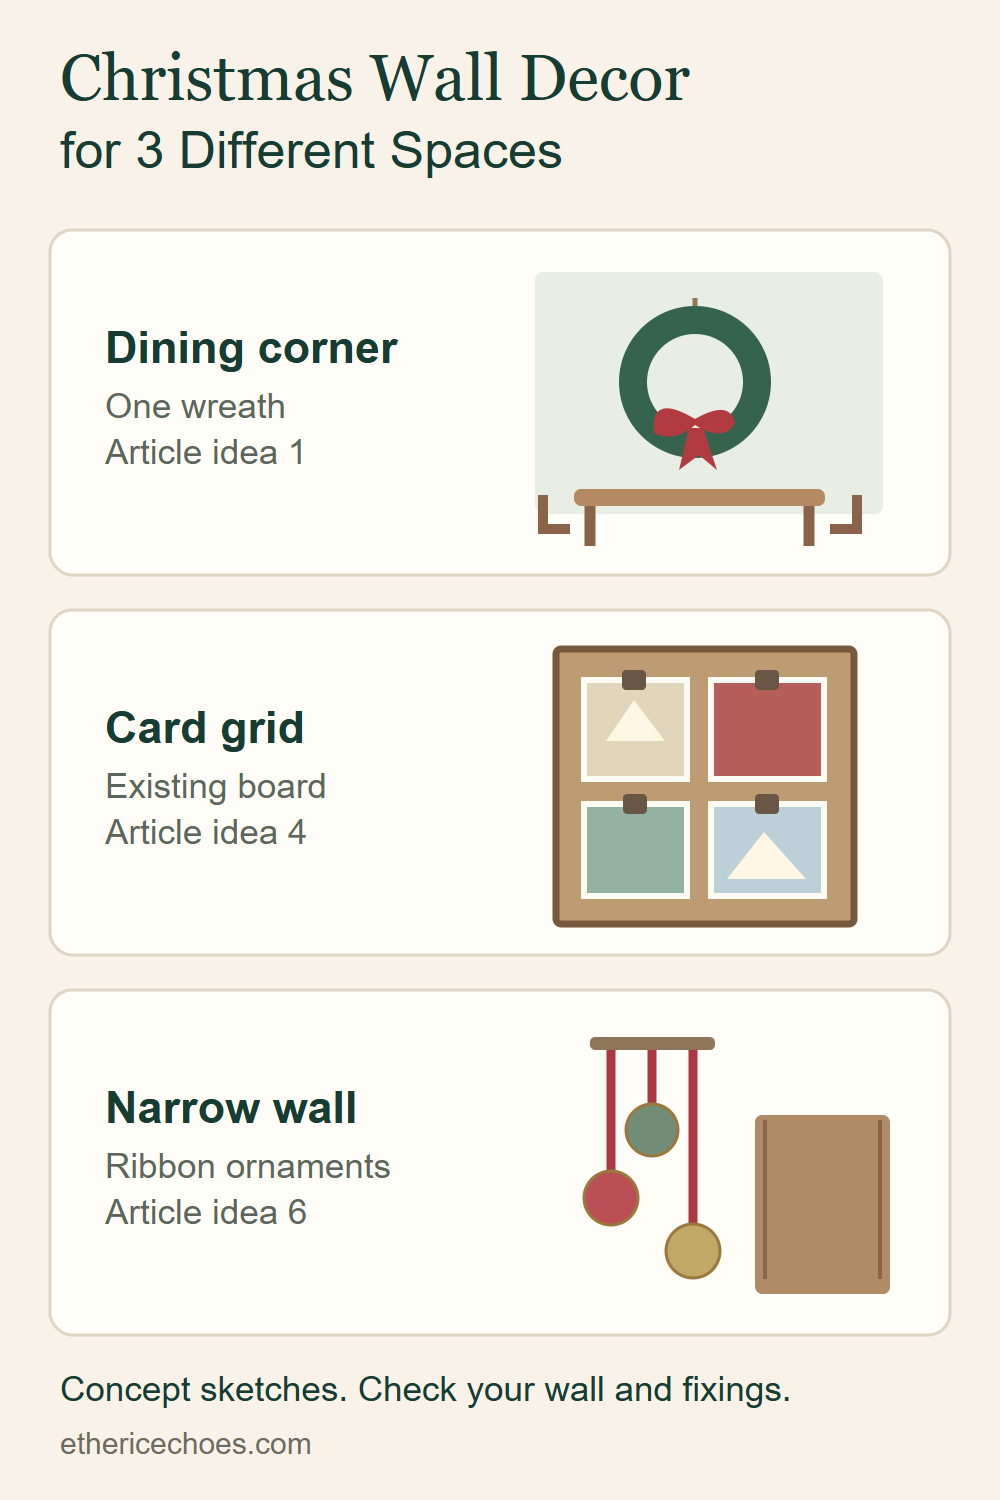
| Wall or existing feature | A good starting idea | What to check |
|---|---|---|
| One useful hook above a dining corner | A single wreath | Complete weight and hook suitability |
| An existing gallery of frames | Winter-art swap | Fit the inserts to the frames |
| A narrow strip of blank wall | Ribbon-hung ornaments | Reach, movement and nearby switches |
| A pinboard or clip board | Christmas-card grid | Keep original cards undamaged |
| A suitable peg or picture rail | Paper decorations or a fabric bow | Rail capacity and attachment method |
View the scalable layout diagram
1. Hang one evergreen wreath above a dining corner
A round wreath with a broad red bow gives a small wall a clear center. Choose a size that leaves visible wall around the outside rather than filling the entire gap between a cabinet and doorway. Hold a paper circle in the intended spot first so you can judge the scale from across the room.
Use a lightweight faux wreath if you want a predictable shape through the season. Tie the bow onto the wreath itself, keeping the knot out of sight and the tails clear of switches or objects below. The complete weight includes the ribbon and anything else you add.
Use a fixing suitable for that weight and surface, with permission where required. Put the wreath where it can stand alone; it does not need a new shelf or a row of objects underneath it.
2. Swap the pictures inside frames you already hang
A familiar gallery can become seasonal without gaining more frames. Replace one or two inserts with a winter photograph, a simple red botanical drawing or a Christmas card that fits the mount. Keep the other pictures in place so the wall still feels like your home.
Make a copy of a treasured card rather than trimming the original. Use your own photographs or artwork you have permission to print. A narrow red border around a plain winter scene can connect it to a ribbon elsewhere in the room.
Keep the original inserts together in an envelope behind the appropriate frame or in the decorations box. The existing hanger still needs to suit the frame’s weight; adding an ornament to a frame also adds load.
3. Group folded paper stars or fans at different heights
Three-dimensional paper decorations cast small shadows, so they give a plain wall detail even in daylight. Choose stars or circular folded fans as one treatment. A mix of large and small shapes works better than filling every gap with another decoration.
Arrange them on the floor first. Put the largest shape slightly to one side, then place the smaller ones near it at different heights. Move back to check that the cluster looks intentional before choosing the hanging points. Use the supplied hanging loop and a fixing intended for the wall surface and weight.
Keep suspended strings short and away from children, pets and walkways. A wall beside a cabinet is a better place for this arrangement than the space directly above a bed.
4. Make a Christmas-card grid on an existing board
An existing pinboard, wire memo board or clip board can hold the cards arriving through December. Choose a loose grid, with rows that give each card room to open or show its illustration. Start with fewer cards than the board can hold so there is space for later arrivals.
For a pinboard, attach clips to the board and use them to hold the cards rather than pushing a pin through each one. Put cards of similar height in the same row. You can group by color if you want a calmer display, but the messages matter more than a matching set.
Keep the whole display within the board’s edges. This puts the holiday greetings in one place and leaves kitchen counters free for meals and mail.
5. Hang a small fabric banner from a suitable peg
A wool-felt tree, a stitched star or a simple Christmas word on fabric gives the wall a softer surface than framed artwork. Choose one panel with a short hanging loop. A slim wooden dowel through a sewn top channel helps the fabric lie flat.
Check the banner’s width against the space before making it. If you already have a suitable peg rail, place the banner on a peg that is not needed for daily coats or bags. Its bottom should finish clear of anything stored below it.
Use a ready-made banner if sewing is not a project you enjoy. For a homemade version, test the letter spacing on paper before cutting fabric, and make sure the dowel cannot slip out of the channel.
6. Hang a few ornaments from ribbon in a narrow strip
A vertical ribbon display suits the small wall beside a dresser or bookcase. Choose shatter-resistant ornaments with different shapes but one shared color. Tie each ornament onto its own ribbon, then hang the ribbons at staggered lengths from an existing suitable rail or approved individual fixings.
Space the ornaments so they hang freely instead of knocking together. Shorten the tails until every piece stays above furniture handles and outside the walking route. The decoration should not swing into a lamp, a door or the television.
Test the arrangement with lightweight paper shapes first if you are uncertain about its footprint. Glass ornaments are a poor choice for a hanging display that people or pets can brush past, even when the overall decoration weighs very little.
7. Put an oversized fabric bow on an existing picture rail
A single broad bow can fill an awkward little wall section without adding several objects. Use fabric ribbon with enough body to hold a loop, or fold a strip of fabric and secure the middle with a matching tie. Lay it out on a table and adjust both loops before hanging it.
Attach the bow only to an existing rail or hanging point that is intended to carry the decoration. Do not tie it around electrical fittings, detectors or ventilation equipment. Keep the tails short enough to stay clear of pictures, switches and passing shoulders.
This works particularly well when the room already has Christmas greenery elsewhere. The bow repeats its color but gives the wall a different shape, and it folds into very little storage space afterward.
Check the fixing before putting up the display
“Removable” does not guarantee that a fixing will suit your paint, wallpaper or lease. Weigh the complete decoration and read the instructions for the exact product and surface. Command’s picture-strip instructions exclude wallpaper, over-bed hanging and valuable or irreplaceable items. Do not generalize a picture-strip rating to a different hook or decoration.
For fuller attachment and removal guidance, use our renter-friendly Christmas decorating guide. If the wall needs a shelf or a horizontal mantel-like display, the separate Christmas mantel ideas without a fireplace guide covers that decision.
Keep these paper and fabric arrangements away from open flames. The Consumer Product Safety Commission recommends flameless candles where possible. If you add lights nearby, inspect the wiring and follow the connection instructions, as the U.S. Fire Administration advises. Keep the power cable clear of the display’s hanging strings.
Before you finish, open nearby doors and drawers, reach every switch, and walk past carrying a bag. Shorten or move anything that catches. Photograph the arrangement for next year, then keep its loops, clips and fixings together when it comes down.