I spent $180 on three ceramic planters from a garden boutique last spring. They looked stunning for exactly six weeks before one cracked in a late frost and another developed a weird white film I couldn’t scrub off. My neighbor’s $12 plastic pots from the hardware store? Still going strong. And after she spent an afternoon with some paint and sandpaper, I honestly couldn’t tell the difference from twenty feet away.
That was my turning point. I stopped shopping at the fancy garden center and started hunting for cheap pots I could transform. The “expensive” look has almost nothing to do with what you spend. It’s texture, weight, and a few simple tricks that take maybe an hour per pot.
Here are the five types of budget planters that consistently fool my guests into thinking I spent way more than I did.
1. Basic Terracotta with Instant Age (Under $15 Each)
The plain terracotta pots at any big box store run $8-$14 depending on size. The problem is they look aggressively new and orange. The solution is aging them so they look like you inherited them from someone’s Italian grandmother.
I buy the 14-inch diameter pots (usually $12-$13) and age them in about 45 minutes. Here’s what actually works:
Mix one cup plain yogurt with two cups water. Paint this mixture all over the outside of the pot with a cheap brush. Set the pot in a shady spot outside and leave it for three days. The yogurt encourages moss and mineral deposits to form. After three days, I mix one part white vinegar to three parts water and splash it randomly on the pot. This creates white calcium-looking streaks.
For extra aging, I rub the rim and any raised details with fine-grit sandpaper to expose lighter clay underneath. The whole pot looks like it’s been sitting in a garden for twenty years.
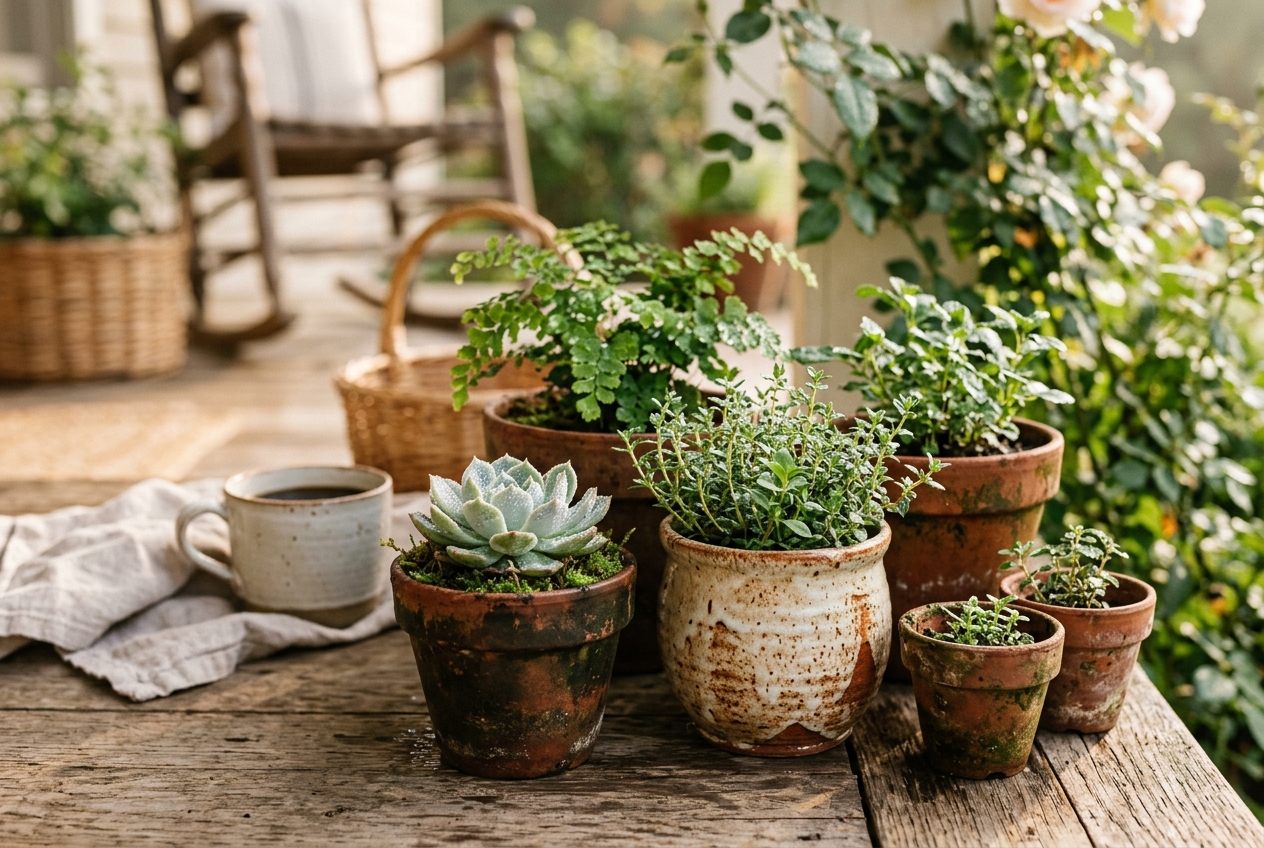
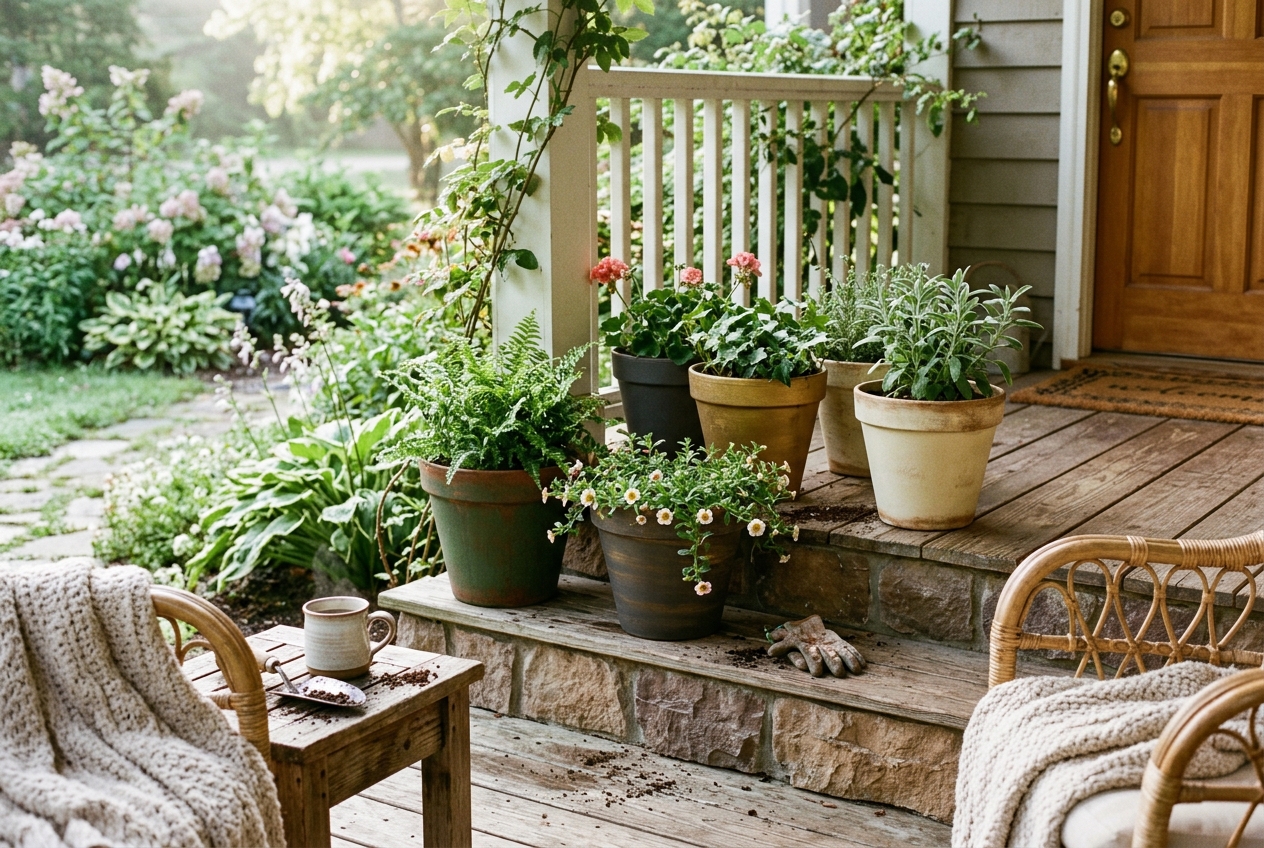
I plant these with herbs that drape over the edges. Rosemary, thyme, and trailing verbena all work. The combination of the aged pot and overflowing greenery reads as expensive and established, not new and trying too hard.
2. Spray-Painted Plastic That Looks Like Concrete ($8-$20)
The resin planters at discount stores are lightweight and nearly indestructible, but they usually come in that fake terracotta color that screams “cheap.” The 16-inch round plastic planters run about $8-$12. The tall cylindrical ones (20 inches high) cost around $18-$20.
I transform these with textured spray paint. The specific product that works is Rust-Oleum Stone Creations in Aged Gray. One can costs $8 and covers two medium pots. The paint has actual stone particles in it, so it creates a rough, concrete-like surface.
The key is applying it in three light coats instead of one heavy coat. I spray the first coat and immediately, while it’s still wet, I sprinkle a tiny bit of fine sand on random areas. This adds more texture variation. After it dries (about an hour), I do two more regular coats.
The result looks shockingly like those $90 concrete planters from West Elm. I have four of these on my front steps, and my mail carrier asked where I got my “cement pots.”
For plants, I use boxwoods or dwarf Alberta spruce in these. The formal, structured greenery matches the modern concrete aesthetic. In summer, I’ve also done white petunias and silver dusty miller for a clean look.
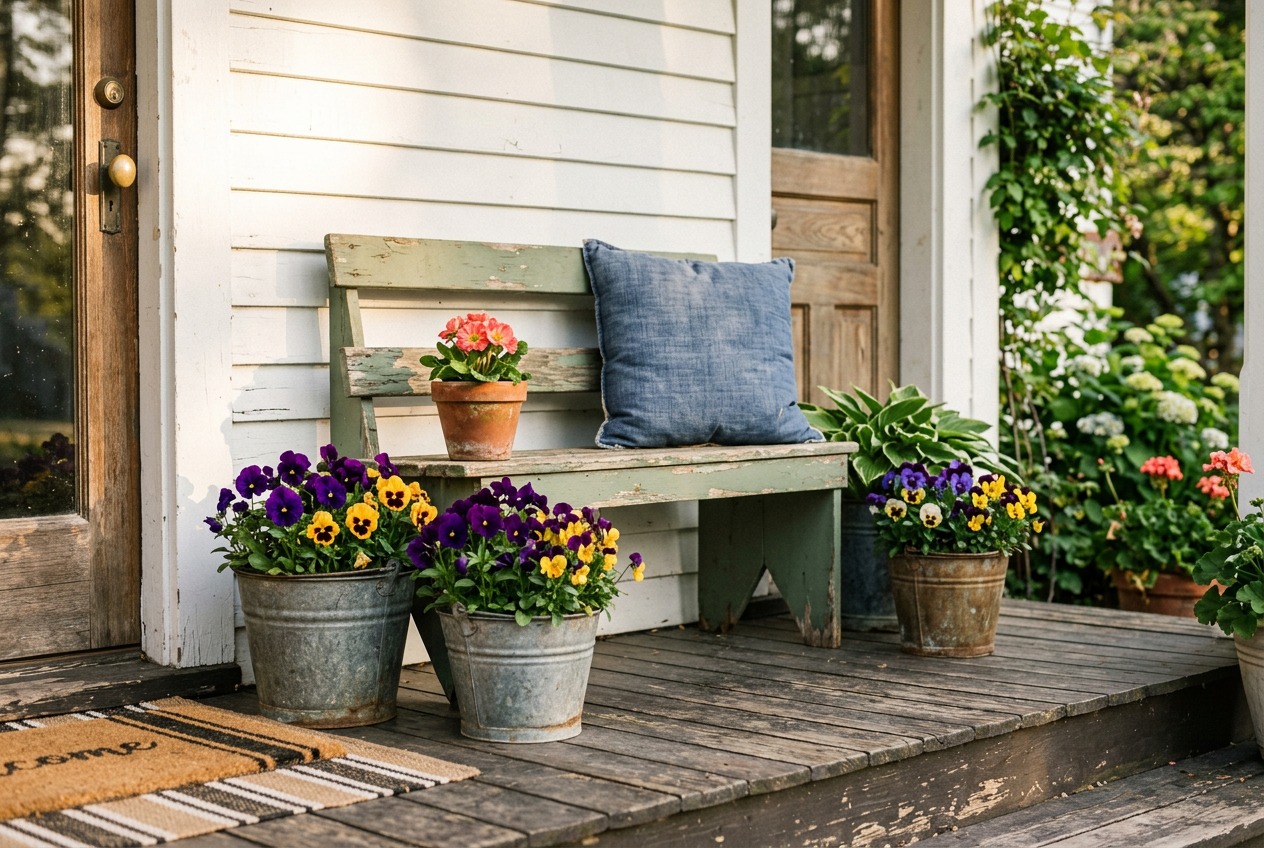
3. Galvanized Buckets with Drainage ($6-$15)
Farm supply stores sell galvanized metal buckets and tubs for $6-$15. The 10-quart buckets are $6. The wider, shallower tubs (about 18 inches across) run $12-$15. These already look intentional and vintage, but you need to drill drainage holes or your plants will drown.
I flip the bucket upside down and drill four to six half-inch holes in the bottom using a regular drill with a metal bit. Wear safety glasses because metal shavings fly everywhere. The drilling takes maybe five minutes per bucket.
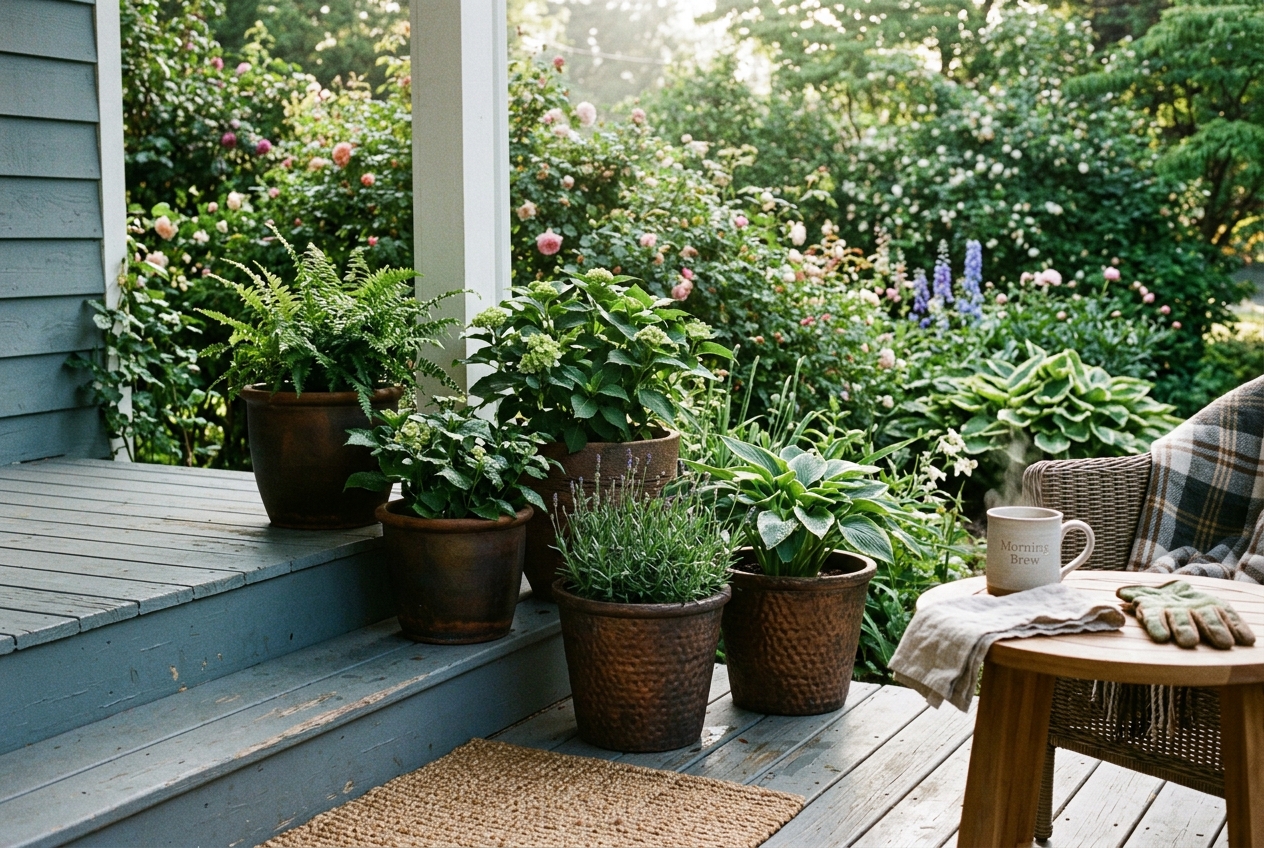
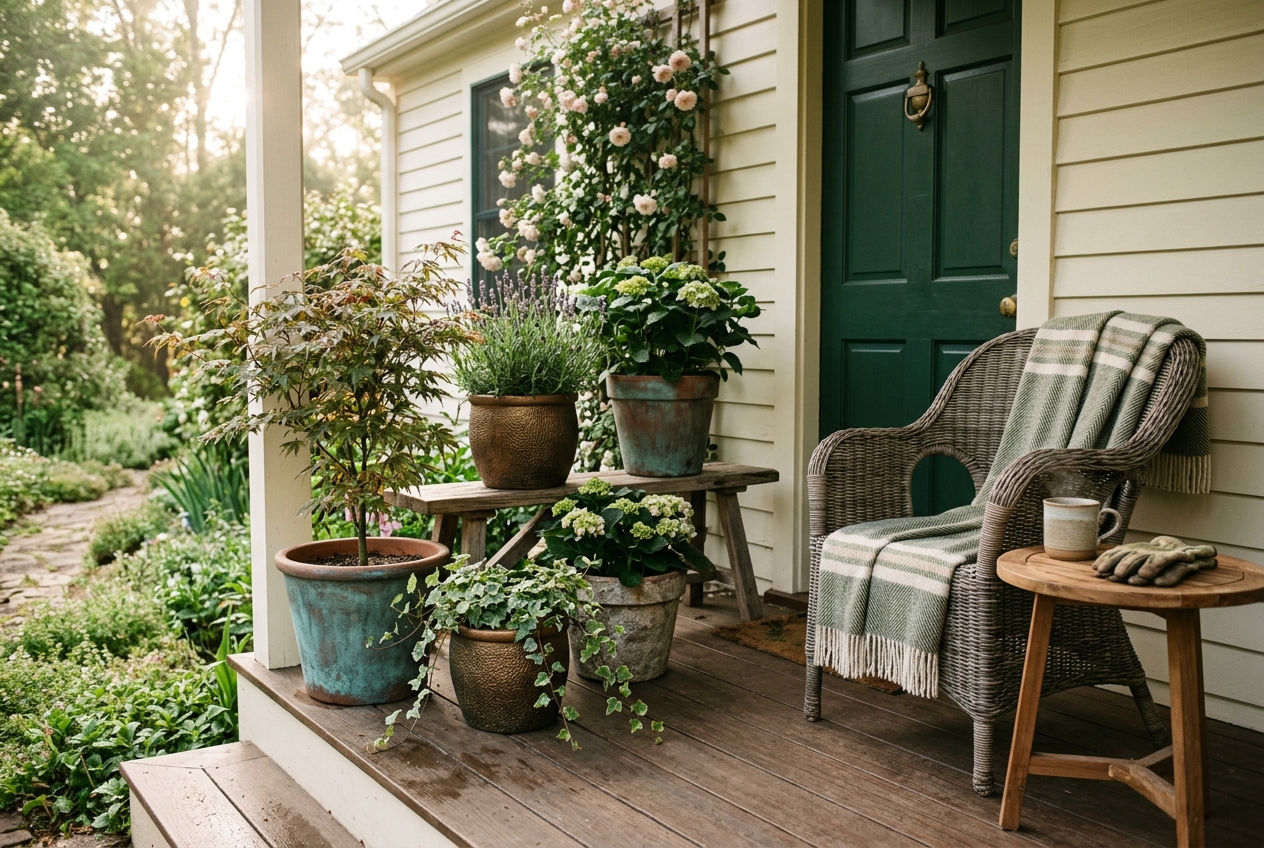
These buckets look best grouped in odd numbers on a porch. I have three different sizes clustered by my front door. The mixed heights create visual interest without looking cluttered.
For planting, I go with cottage garden flowers that contrast with the industrial metal. Geraniums, calibrachoa, and million bells all work. This spring I planted mine with pink and coral geraniums and let them get slightly wild and overgrown. The combination of neat metal container and loose, flowing blooms looks expensive and curated.
The galvanized metal develops a natural patina over time, which only makes it look better. After one season outside, mine have a weathered quality that you can’t fake.
4. Wooden Crates Lined with Plastic ($10-$18)
Craft stores sell unfinished wooden crates for $10-$18. The medium size (about 12x12 inches) costs $12. I buy these and either leave them raw or stain them with a dark walnut stain ($8 for a can that does six crates).
The trick is lining them with heavy black plastic (cut from contractor bags) so soil doesn’t leak out and water doesn’t rot the wood too fast. I staple the plastic inside, then poke drainage holes through both plastic and wood at the bottom.
These work best for shallow-rooted plants. I use them for lettuces, herbs, and trailing annuals. Right now I have two on my porch planted with different varieties of lettuce: Red Sails, Buttercrunch, and Oak Leaf. They look like something from a farmhouse magazine. Guests always ask where I bought them.
The wood will eventually break down, but I usually get two to three seasons from each crate. At $12 each, that’s a pretty good return. When one starts looking too weathered, I just replace it.
5. Hypertufa DIY Pots (Under $25 for Three)
This is the only option that requires actual work, but it’s worth mentioning because the results look like $150 stone troughs. Hypertufa is a mixture of peat moss, perlite, and Portland cement that hardens into a stone-like material.
I make three medium pots (about 10 inches across) for under $25 in materials. You need:
- One bag Portland cement ($8)
- One large bag perlite ($10)
- One compressed bale peat moss ($6)
Mix equal parts of all three with water until it’s the consistency of cottage cheese. Pack the mixture into any mold. I use cardboard boxes lined with plastic, or plastic storage bins with another smaller bin inside to create the walls. Let it cure for 48 hours, then unmold and let it cure another week.
The surface looks like aged stone or concrete. You can brush it while it’s setting to create texture, or press leaves into the surface for patterns.
The time investment is real. Mixing takes about 30 minutes, molding takes another 30 minutes, and then you wait. But the cost per pot is about $7, and they look completely custom and high-end.
I plant sedums and hens-and-chicks in mine. The alpine plants match the stone-trough aesthetic and need minimal water, which is good because hypertufa is porous.

The Real Secret: Commitment to the Bit
The thing that makes cheap pots look expensive isn’t just the pot itself. It’s planting them well and maintaining them. A $200 pot with half-dead petunias looks worse than a $10 bucket overflowing with healthy geraniums.
I water every morning in summer. I deadhead spent blooms twice a week. I fertilize with diluted fish emulsion every two weeks. The plants look full and healthy, which makes people assume the containers must be expensive too.
I also group pots in clusters of three or five instead of spacing them out evenly. Odd numbers look more natural. I vary heights by setting some pots on upturned crates or plant stands (also cheap, also spray-painted).
This morning I stood on the sidewalk and looked at my front porch. Five different types of “expensive-looking” containers, total investment around $85, looking like I spent ten times that. My neighbor walked by and said, “Your porch always looks like something from a magazine.”