A budget fire pit area needs three things: ground that won’t burn or rock, a pit that fits the space, and room around it for chairs. The cheapest way to get all three is a level gravel pad about 12 feet across, a steel fire ring or portable bowl, and chairs you already own.
Backyard Fire Pit Ideas: Landscaping on a Budget
Last updated:
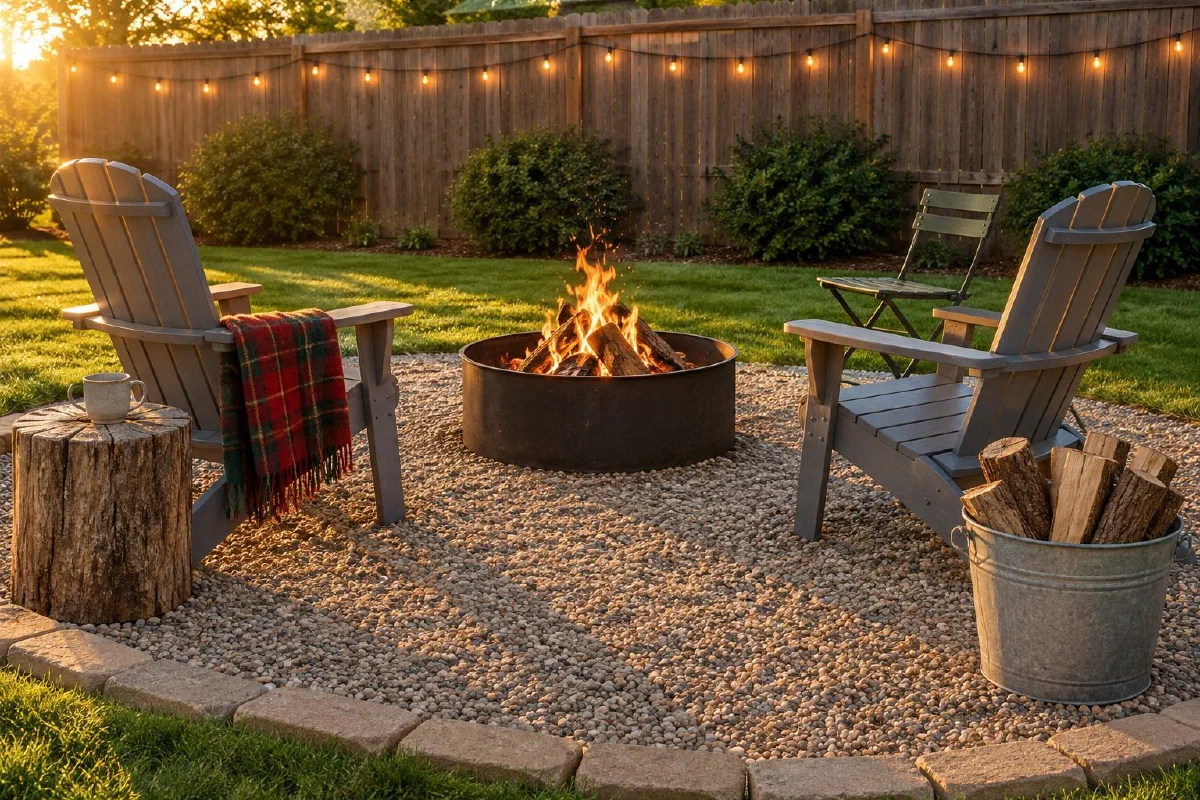
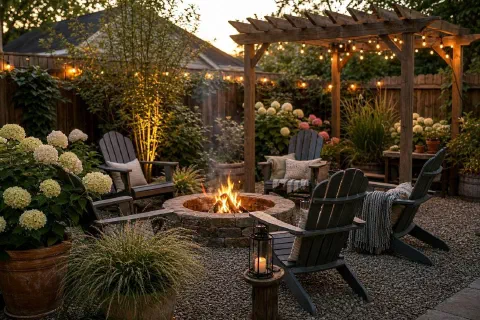
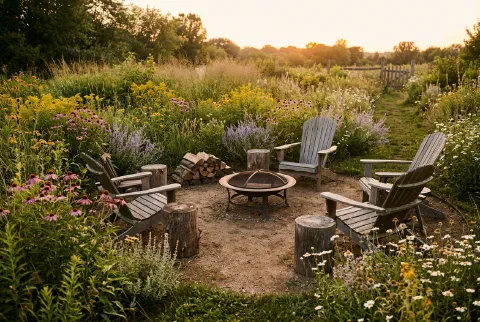
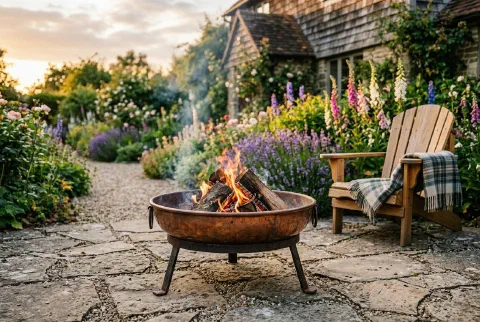
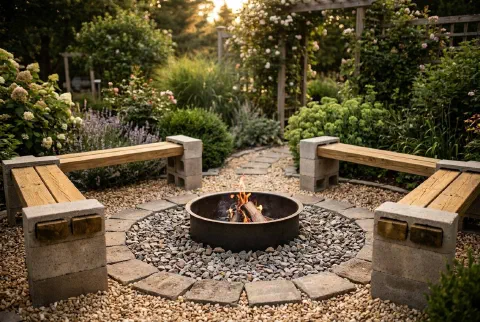
Styling idea, not a photograph of the linked products.
- Pick the spot. Choose open yard, well away from the house, the fence and low branches, somewhere you can see from the back door.
- Lay the ground. Strip the grass, level the circle, add landscape fabric and cover it with gravel. A 12 foot circle takes about 1 cubic yard at 3 inches deep. Pavers and retaining wall blocks are the upgrades.
- Add the pit and chairs last. Set the cold pit and chairs, sit in each one, and walk back to the house. Then decide what is worth buying.
Fire pit ideas for a backyard on a budget: three plans
All three plans start with the same level, cleared circle. They differ in what goes on top of the ground. A circle 12 feet across leaves room for a small pit and a few chairs (see fire pit seating area size for larger groups).
| Plan | What you buy | Cost tier | Best for | Skip it when |
|---|---|---|---|---|
| Gravel pad with a steel ring or portable bowl | Gravel, landscape fabric, edging, the pit | $ to $$ | Muddy or uneven lawn, a first fire pit | The ground holds standing water after rain |
| Retaining wall block ring on a gravel pad | The gravel above, plus about 36 blocks (HGTV’s build), a steel ring, a few pavers for the floor, sand | $$ | A permanent-looking pit you build yourself | You cannot find blocks labeled for the job, or your city bans built pits |
| Paver pad with a portable bowl | Pavers, a compacted gravel base, sand, edging, the pit | $$ to $$$ | Chairs that sit flat and a floor you can sweep | The yard slopes or drains poorly, since pavers need a level base |
Cost tiers compare these plans with each other: $ is the lowest and $$$ the highest. Gravel, pavers and blocks are priced by weight, volume or piece, so ask your supplier for the delivered price before you commit.
Already have a patio? Check that the pit maker allows that surface, then skip the ground work and put the money into seating.
Cheap fire pit ideas, from lowest cost up
These are the pits themselves. Pair any of them with one of the plans above.
Portable steel bowl ($)
The simplest budget fire pit is a steel bowl on legs with a mesh lid. It moves, it goes away for summer, and you can stop using it if the spot turns out wrong. A small bowl holds a modest fire, so plan on one to three chairs.
Steel ring dropped into a gravel pad ($)
A steel fire ring sits directly on the leveled gravel and holds the fire in a fixed circle. It is the lowest-cost permanent look, and you can add a block or stone surround later without rebuilding.
Retaining wall block ring ($$)
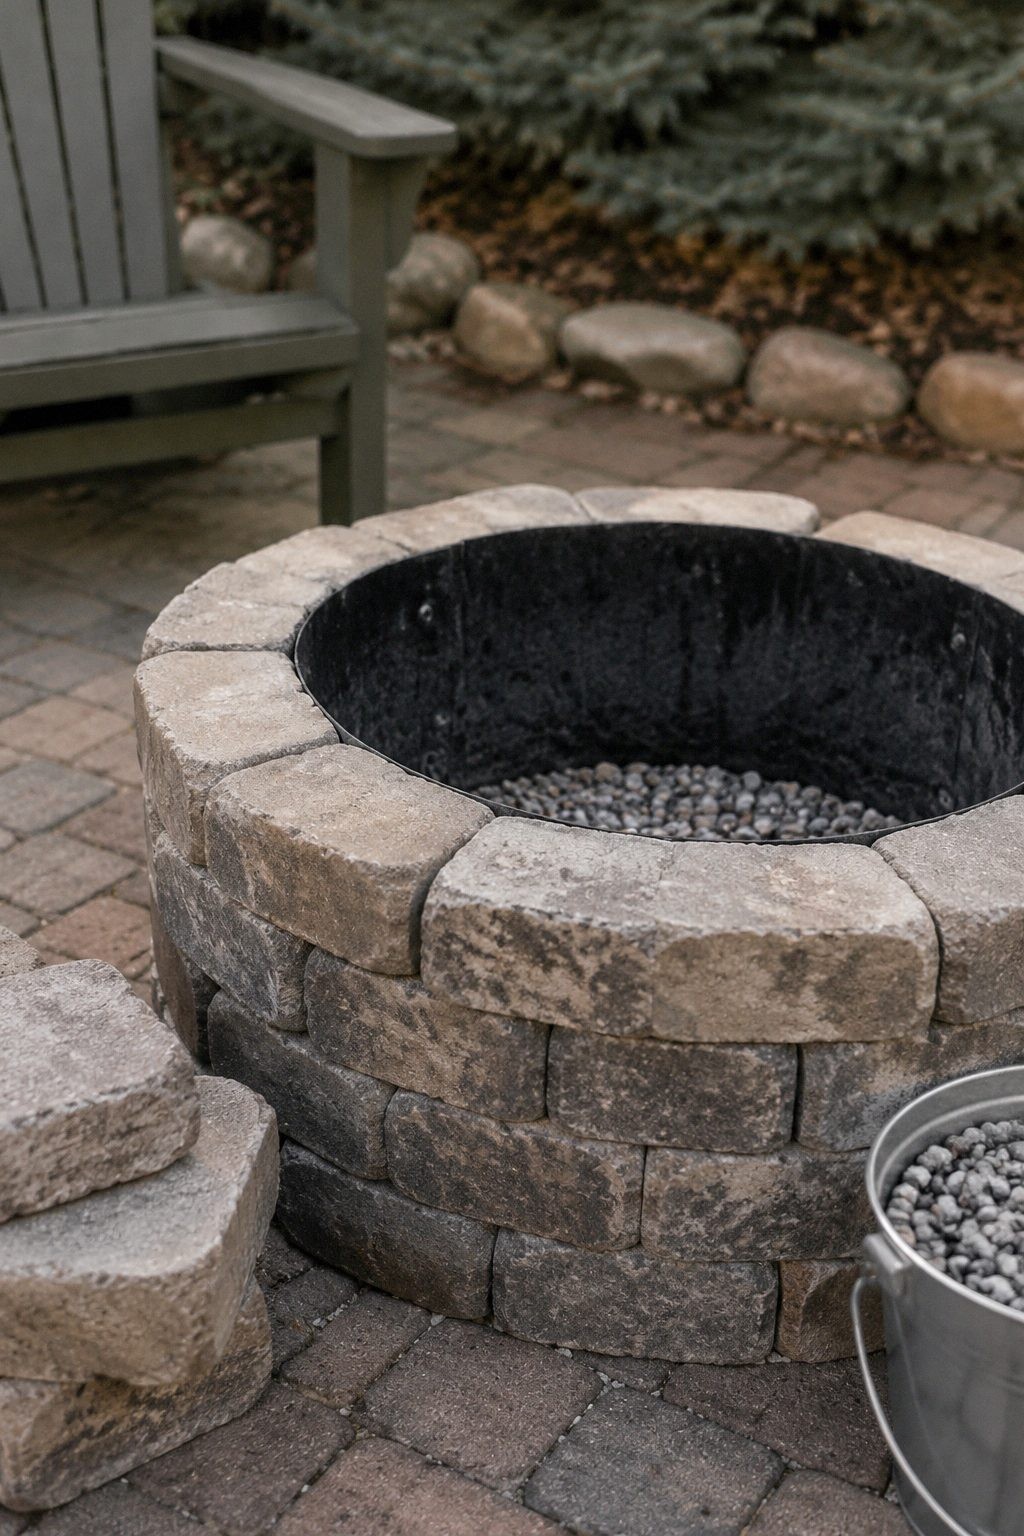
HGTV’s block fire pit build shows the method:
- About 36 retaining wall blocks, a metal fire ring, about 15 square pavers or fire bricks for the floor, one bag of all-purpose sand and some pea gravel.
- Dig the hole at least 7 inches deep and tamp 1 inch of sand in the bottom.
- Set the first row of blocks, put the ring inside it, lay the floor, then stack the remaining rows with the seams staggered.
HGTV’s build sets a metal ring inside the blocks. Not every landscaping block is fire-rated, so check the label for fire pit use, and do not glue them unless the adhesive says it is rated for fire pit heat.
Stone circle ($)
A ring of large stones is the oldest version and costs the least if you can gather the stones yourself. Do not use river rock or stone that has been sitting wet, since trapped moisture can crack it in the heat. If you buy stone, ask the supplier whether it suits a fire pit.
Repurposed washing machine drum ($)
A steel washer drum already has air holes drilled through it. Use one only if you know it is bare steel. Unknown coatings and residues can give off dangerous fumes when heated, so skip any drum you cannot vouch for.
Propane fire pit table ($$$)
A propane table costs more, but there is no ash and no wood to store. Add the tank and refills to your budget and read the manual for the clearance it needs. The budget fire pit buying guide compares wood bowls, double-wall pits, propane tables and tabletop flames.
Backyard fire pit landscaping on a budget
A change from lawn to gravel or pavers is usually enough to turn a corner of the yard into a room. These quantities are for a 12 foot circle, which is about 113 square feet.
| Material | How much for a 12 foot circle | What to check |
|---|---|---|
| Pea gravel or crushed stone | About 0.7 cubic yards at 2 inches deep, 1.05 at 3 inches | Pea gravel stays loose under chair legs; crushed stone packs firmer |
| Landscape fabric | 113 square feet plus 6 inch overlaps | Lay it under the gravel to slow weeds |
| Edging blocks | About 38 blocks if each face is 12 inches (the circle is 37.7 feet around) | Measure your actual block length and divide |
| 12 inch pavers (square pad) | 144 for a 12 by 12 foot pad | They need a compacted gravel base and sand, and a level surface |
The fire pit gravel guide covers pea gravel against crushed stone and decomposed granite, and shows the cubic yard math for other sizes. For a paver pad, ask the paver maker for the base depth, since it changes with soil and climate.
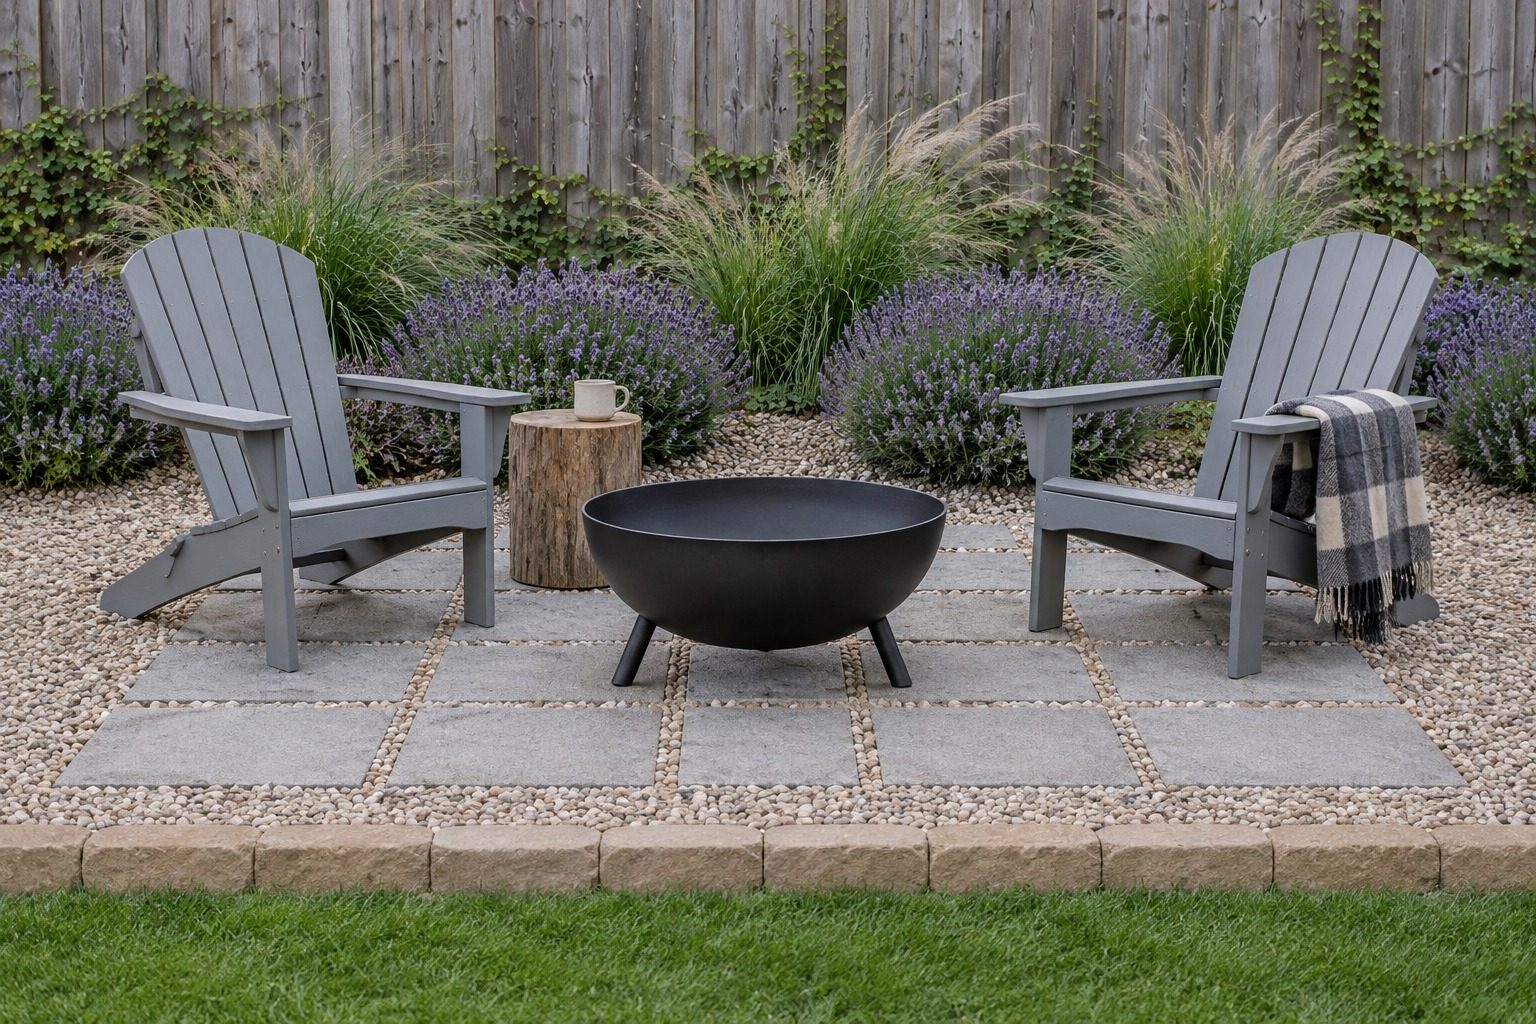
Plants and mulch. Keep beds, mulch, dry grasses and shrubs outside the clearance zone and leave bare gravel between the bed and the pit. Low plants at the edge of the circle are fine if they are well past the distance your manual and city require.
Cheap ways to make the area look finished
- Stump or log stools. Untreated stumps cost little and sit low. Set them back at chair distance, not at the rim of the pit.
- Used chairs. Check thrift shops and curb piles for sturdy wood or metal chairs. A coat of exterior paint matches a mismatched set.
- A weathering steel bowl. It rusts to a brown patina on purpose, so it looks aged from day one. Painted bowls need touch-ups to stay rust-free.
- A gravel edge. One row of retaining wall blocks around the pad keeps the gravel in and gives the circle a clean shape.
Path lights. Put low lights along the walk back to the house, not over the chairs. A 12-pack of warm-white solar path lights (opens Amazon in a new tab)As an Amazon Associate, we earn from qualifying purchases. Full disclosure. (paid link, $) covers a typical path with no wiring. Keep cords and fixtures well away from heat.
For more yard-wide ideas, see low-maintenance landscaping on a budget. If the fire pit has to share a small patio, start with small patio ideas on a budget.
Price the whole fire pit corner
A low pit price is not a bargain if the ground, seating and fire-control gear still need buying. Start from the lowest-cost route and upgrade only the line that bothers you.
| Budget line | Lowest-cost route | Upgrade | Tier |
|---|---|---|---|
| Fire pit | Portable steel bowl or steel ring | Double-wall pit or propane table | $ up to $$$ |
| Ground | Gravel over landscape fabric | Pavers on a compacted base | $ up to $$$ |
| Edging | None, or one row of retaining wall blocks | A full block seat wall | $ up to $$ |
| Seating | Chairs you own, a stump or crate for drinks | New Adirondack chairs | free up to $$ |
| Lighting | Solar path lights | Hardwired fixtures | $ up to $$$ |
| Fire control | A bucket of sand and a shovel, or a hose within reach | A fire extinguisher | free up to $ |
Count each material once. If gravel is your ground, do not also charge for a paver base. If the yard is too tight for a pit, put the money into a patio that works after dark instead.
Compare three wood-burning fire pits
If a portable pit fits your plan, these three cover the budget range. The tiers compare the three against each other, and the specs come from each listing. We haven’t tested them. Listings checked October 12, 2026; they change, so confirm the size and what is included before you order.
Best all-around is our choice for a conventional bowl with a screen and cooking grate, based on those listed features. The diameter on a listing is the size of the pit, not the size of a safe seating circle.
Where to put the fire pit
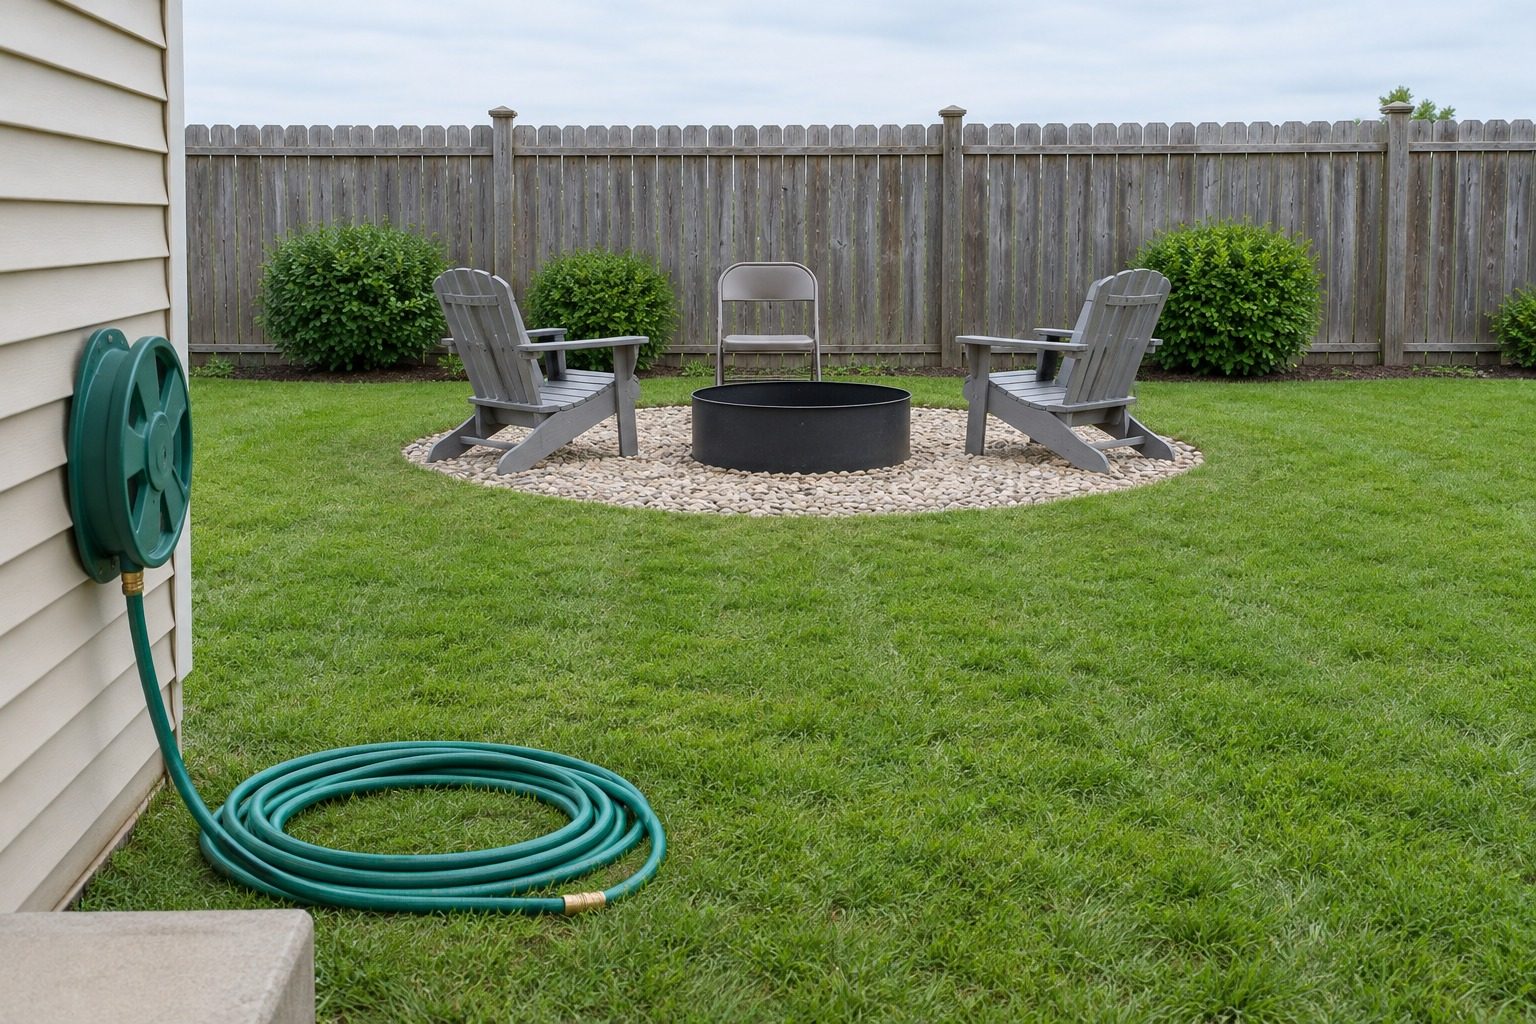
Put it out in the open yard, a good way from the house, the fence, the shed and any low branches, about 10 feet or more. Keep a bucket of sand and a shovel beside it, and skip the fire on a windy night.
Fire pit layouts for a small yard
Three layouts cover most small yards. Whichever you pick, keep the pit out in the open, away from the fence and shed.
- Circle. The pit sits in the middle and the chairs are spaced around it. It is the most social layout and suits a round gravel pad.
- L-shape. The pit goes in a corner of the pad with seating along two sides, which leaves one side open for walking. Do not tuck it against a fence or shed to make the shape work. The clearance still counts.
- Bench and chairs. A single bench along one side can seat a few people without needing a chair’s worth of space for each. Keep the bench back from the rim of the pit.
Plan the fire pit seating before buying blocks
Set the chairs out first, sit in them, and then measure the center. The center tells you how big the pit can be. Starting from the pit often leaves the chairs as an afterthought.
- Mark the pit location only after you have checked the clearance and surface rules above.
- Place the empty chairs and sit in each one before you buy edging, a bench or decor.
- Walk the route from the house to the seats and keep it clear.
- Add one stable spot for drinks where nobody leans toward the flame.
- Test the area at dusk, then add only the light the path and seats need.
Fire pit seating area size has chair spacing and walkway widths, and fire pit seating ideas that work year-round compares chairs, benches and flexible extras.
Choose the first fix by what feels wrong
| If the fire pit area feels… | Start with… | Why it helps |
|---|---|---|
| Awkward to sit around | Moving and testing the chairs | Comfort matters more than extra decor |
| Muddy or uneven | A gravel or paver base | Chairs stop rocking or sinking |
| Dark on the walk back | Low path lights away from the flame | People can see the ground without glare |
| Bare but usable | One side table and a throw kept away from sparks | The area feels ready for a real evening |
| Too close to the house, fence or branches | A different location | Moving the pit beats any styling fix |
Budget fire pit questions people ask
What is the cheapest way to make a fire pit area?
A gravel pad, a steel ring or portable bowl, and chairs you already own. Spend first on a level surface in an open spot. For the smallest possible version, see this bare-bones fire pit setup, which shows what to reuse and what not to improvise.
What is the best affordable fire pit?
For a wood fire, the budget and best all-around picks in the comparison above are the $ and $$ tiers. Choose by bowl size: a small bowl for one to three chairs, a 31-inch bowl for a group that cooks.
What are inexpensive ways to finish a fire pit area?
Use a level gravel circle, chairs you will sit in for an hour, one stable place for drinks, and low path lights away from the flame. Spend on comfort and footing before decorative borders.
How do you build a fire pit in your backyard?
Pick a spot that meets the clearances, strip the grass and level a circle, lay landscape fabric and gravel, then set a steel ring or portable bowl in the middle. Add the chairs last. If you want walls, follow the block ring steps above, using blocks sold for walls and a steel ring inside them. HGTV’s block build is an afternoon job and uses no mortar.
How much does it cost to build a fire pit area?
It depends on the plan. A gravel pad with a steel ring or portable bowl is the lowest tier, a block ring or paver pad sits higher, and propane tables cost the most (see the cost-tier tables above). HGTV presents its block fire pit build as an afternoon project with a low price, which covers the pit but not the gravel pad, seating or lights. Gravel, blocks and pavers are priced by volume or piece, so get a delivered quote from your supplier.
Can I just put a fire pit in my yard?
Usually, yes, in open yard well away from the house. Some towns have their own rules about backyard fires, so it is worth a quick look at your city’s page first. A portable bowl is the easiest place to start, because you can move it until the spot feels right.
How big should a fire pit be?
The ring or bowl you buy sets the size. The three pits compared above run from about 20 to 31 inches across, and a small bowl suits one to three chairs. Fire pit seating area size covers how much room each size needs.
What should go under a fire pit?
A noncombustible, level surface: compacted gravel, pavers or bare ground that your pit maker allows, not grass, mulch or a wood deck. Gravel over landscape fabric is the cheapest option. Keep the surface clear of leaves, since dry debris burns.
Can you just dig a hole for a fire pit?
You can, but a steel ring set into a shallow hole holds its shape far better than bare dirt. Call 811 before you dig so buried lines get marked. A portable bowl skips the digging and is easy to move if the spot is wrong.
What should go in the bottom of a fire pit?
Use only the base the pit or build plan calls for. HGTV’s block build lays concrete pavers or fire brick over 1 inch of sand, and fills the gaps with pea gravel. Do not improvise with river rock, wet stone or concrete scraps, which can hold moisture and crack in the heat.
How deep should a fire pit be?
A portable pit has no dig depth. For a block ring, HGTV starts with a hole at least 7 inches deep and builds the walls up to the height you want.
How far should a fire pit be from the house?
About 10 feet or more from the house, and the same from the fence, the shed and low branches. HGTV’s build guide uses 15 feet. More room also leaves space for chairs all the way around.
Can I use a fire pit on a wood deck?
Only if the pit maker says it is made for that. A stand or spark screen does not make a wood deck safe, so put the pit on gravel or pavers in the yard instead.
Are concrete blocks good for a fire pit?
Ordinary concrete or cinder blocks are not made for direct flame. A block ring needs a steel ring inside it and blocks whose label allows fire pit use. Hollow or decorative blocks can crack under high heat, so do not use them as the inner wall.
Can I use pavers in a fire pit?
Pavers work well as the ground around the pit and as the floor of a block ring, on a level compacted base. Use fire brick or pavers the maker says are fine for heat inside the pit.
What is the best wood to burn in a fire pit?
Dry, seasoned hardwood such as oak or maple. Split logs that have sat off the ground for a season, with only the top covered, burn hotter and smoke far less than wet or green wood.
What should never be burned in a fire pit?
Stick to dry firewood. Trash, plastic and painted or treated lumber smoke and smell, and they spoil the evening.
How do you put out a fire pit without water?
Let the wood burn down, then shovel sand or dirt over the coals, stir, and cover them again until nothing glows. Keep the sand and shovel by the pit so they are there when you need them.
What can I do instead of a fire pit?
If the yard can’t meet the clearances or your city bans wood fires, a propane table or tabletop burner may be allowed, but read its manual for surface and clearance. Or skip the flame: string lights, warm throws kept away from any heat, and a thermos give the same evening feel. The patio after dark guide shows how.
Are low-smoke fire pits worth comparing?
A double-wall pit is worth a look if smoke is what you dislike about wood fires. Fuel, airflow and how you light it still matter, and no wood pit removes the need for clearance and supervision. Compare its manual and required accessories with a screened steel bowl before you decide.
Quick setup checklist for a fall evening
- Local burn rules and weather checked
- Clearance and surface confirmed in the pit manual
- Chairs tested before any edging or blocks go in
- Walking path open and lit
- One stable place for drinks
- Throws and blankets kept well away from sparks
- Sand and shovel, water barrel or hose ready
- One adult watching the fire until it is fully out
What to read next
- Fire pit seating area DIY gives the build order for a permanent sitting area.
- Fire pit gravel guide covers gravel type, depth and quantities.
- Fire pit seating area size helps when the circle still feels uncertain.
- Backyard night lighting lights the route and the nearby garden without glare.
- Fire pit and pergola layouts covers a pit near an existing pergola.
- If music is part of the plan, compare weatherproof outdoor speakers before deciding where power and seating go.