
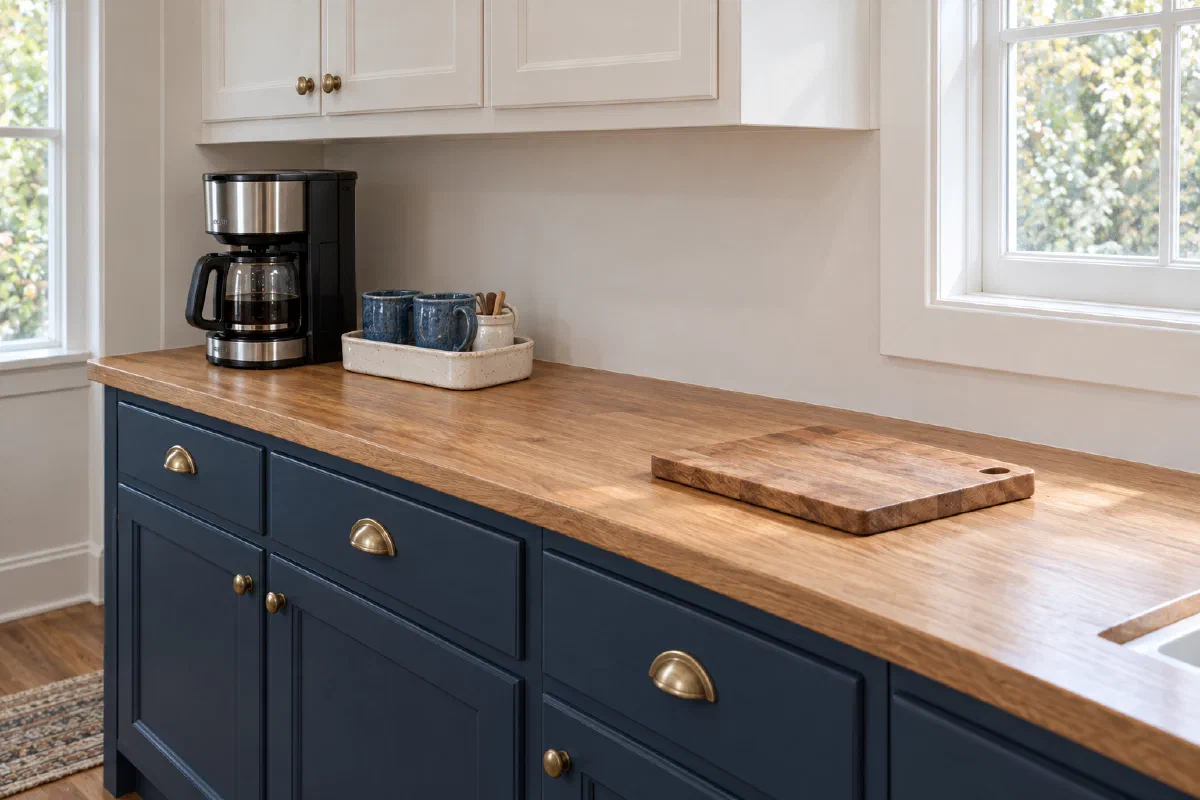
The coffee things have a way of spreading: a bag beside the toaster, mugs above the sink, filters somewhere behind the cereal. Bringing them together can make a small kitchen easier to use, even if the coffee bar is one shelf and a spot beside your existing brewer.
These seven coffee bar ideas start with the space you already have. Choose the arrangement that leaves you room to make dinner, refill the water and clean up. A favorite mug and a little color can do the decorating once the morning routine works.
Before rearranging appliances, read their clearance and placement instructions. The National Fire Protection Association’s electrical checklist advises using only one heat-producing appliance in an outlet at a time and keeping cords out of doorways. If your proposed spot needs an unsafe electrical arrangement, choose another layout or ask a qualified electrician about it.
1. Keep a coffee tray beside the brewer
A shallow tray can give daily supplies a home without spreading them across the counter. Try it with the mug you use most, a spoon and a small container for the filters your brewer takes. Keep the coffee in its appropriate storage container rather than decanting it into a pretty jar solely for the display.
Use a tray you own for a few mornings before buying one. Can you lift it to wipe the counter? Does reaching for a mug knock anything over? A tray that barely fits its contents will be annoying before breakfast.
Keep the powered brewer on the stable surface its manufacturer specifies, with room for its vents and water access. The supply tray sits beside it. Spare mugs and backup bags belong in the cupboard, leaving the daily group small enough to move when you need the counter.
For color, use the mug you love or a washable blue-and-white tray. You can get the look without adding a sign, a miniature plant and another object to dust.
2. Give a cupboard shelf the morning supplies
If the counter is already full, use an existing cupboard shelf above or beside the brewing spot. Put mugs at the front, coffee behind them and filters where you can see them. Choose a shelf you can reach comfortably; daily supplies shouldn’t require a stool.
Check the shelf height with your tallest mug before adding a shelf riser. The riser needs to fit securely, hold its intended load and leave enough room to lift a cup out. Skip it if it makes the stack awkward. A row of cups on a plain shelf is useful storage on its own.
Take occasional-use drinkware somewhere else. Keeping every travel mug with the morning cups can crowd the shelf and hide the filters. Give each person who makes coffee an obvious place for their usual cup.
An existing cabinet door lets you close the collection away. On an open shelf, repeat a color already in the kitchen and leave some space between the groups. Either version keeps the counter available for chopping vegetables.
3. Use the counter end with room to refill
The best-looking corner may be the worst place to fill a water reservoir. Check what you have to lift, slide or open on your actual brewer. Try those movements before settling on the arrangement, especially beneath a low wall cabinet.
Place the brewer only where its instructions allow. Leave room to remove the reservoir or reach its filling point, open any lid and take out the parts you wash. A coffee bag behind the machine is inconvenient if you must move a hot appliance to reach it.
Keep a working preparation area next to the station. Lay out the board you use for dinner and a plate beside it, then make sure the coffee supplies still fit. This is a more useful check than copying a photograph of an empty counter.
A mug or small print on an adjacent dry wall can provide the personal detail. Keep loose paper, textiles and decorative pieces away from heat and vents. If the kitchen has only one workable counter section, the cupboard option may fit better.
4. Pack a manual brewer away between cups
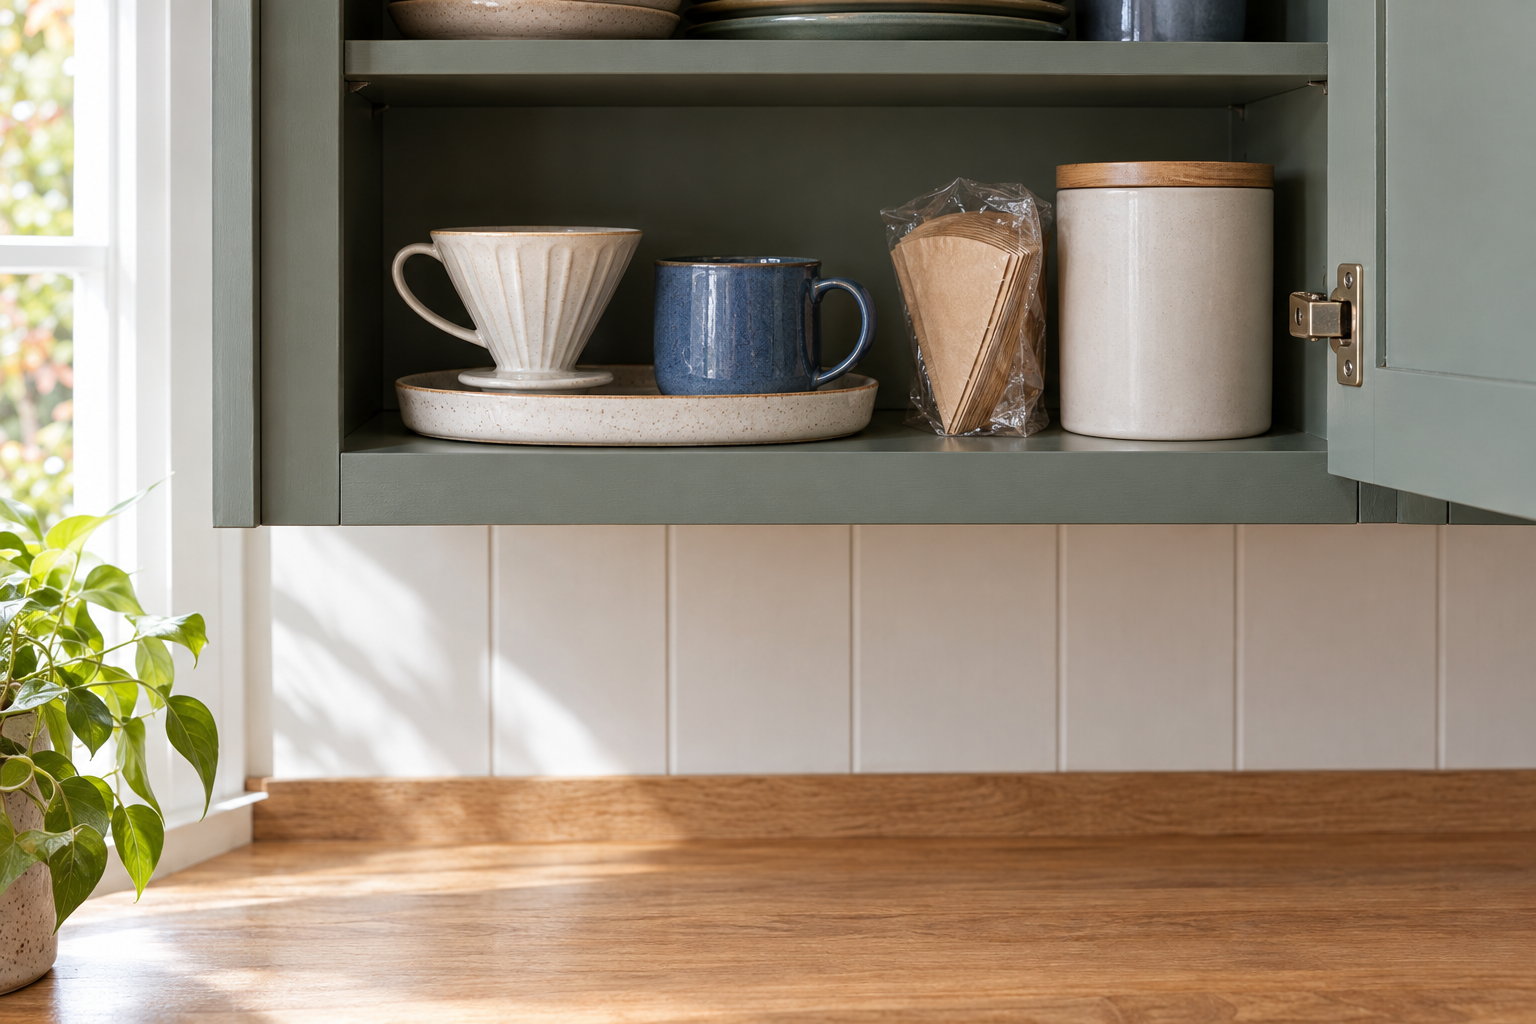
A small kitchen can have a coffee bar that disappears after breakfast. Use one cupboard section for a manual brewer, its filters and your mug. Bring out the pieces when you make coffee and return them after they’re clean and dry.
The National Coffee Association’s pour-over guide describes the equipment for that brewing method and recommends cleaning the brewer after each use according to its directions. Choose a method you already like rather than buying equipment to make the shelf resemble somebody else’s setup.
Keep the clean pieces on a washable tray if it makes them easier to gather. Remove them from the tray for brewing when their instructions require a different surface. Store the coffee separately if the available cupboard is damp, hot or otherwise unsuitable.
This arrangement suits someone who wants the counter back by lunchtime. It asks you to put things away, so test the routine for a week. If the brewer repeatedly ends up beside the sink, give it a more reachable storage spot.
5. Borrow an existing sideboard at the kitchen edge
An existing sideboard can hold mugs and supplies when kitchen cupboards are crowded. Start with storage and serving: cups in a drawer or cabinet, coffee supplies together, and an open surface for setting down a finished drink.
Treat powered brewing as a separate placement decision. The furniture, surface and location must suit the appliance’s instructions, water access and electrical supply. A convenient-looking piece of furniture isn’t enough evidence. You can leave the brewer in the kitchen and let the sideboard handle everything else.
Check the route past the furniture with doors and drawers open. You still need to carry groceries, reach the kitchen and pass someone making a drink. A narrow room may have space for a cupboard shelf but none for another piece of furniture.
Use the sideboard’s existing character for the decoration. A green cabinet with cream cups already has color. Keep the top clear enough to set down two drinks, and add a washable coaster where the furniture’s finish needs protection.
6. Park a rolling cart for supplies
A cart can hold cups and backup supplies beside a crowded kitchen. Use a cart you already own if its shelves suit those items. Store heavier pieces low, follow its weight limits and park it where it doesn’t narrow the walking route.
Keep the daily mug and supplies on the most accessible shelf. A basket on the lower shelf can hold unused filters, provided it lets you see what needs replenishing. Avoid tall, precarious stacks or a collection of loose bottles that will tip when the cart moves.
The simplest version stores supplies while brewing stays at the established counter. Putting an appliance on a cart requires a stable, manufacturer-appropriate surface and suitable electrical placement. Locking wheels alone doesn’t establish that it’s a safe brewing station. Never move a cart with hot drinks or an operating appliance on it.
Try the parked position during dinner preparation. If you move the cart every time you open a drawer, choose another spot. A cart should solve a storage problem rather than add a daily obstacle.
7. Share a coffee and tea station
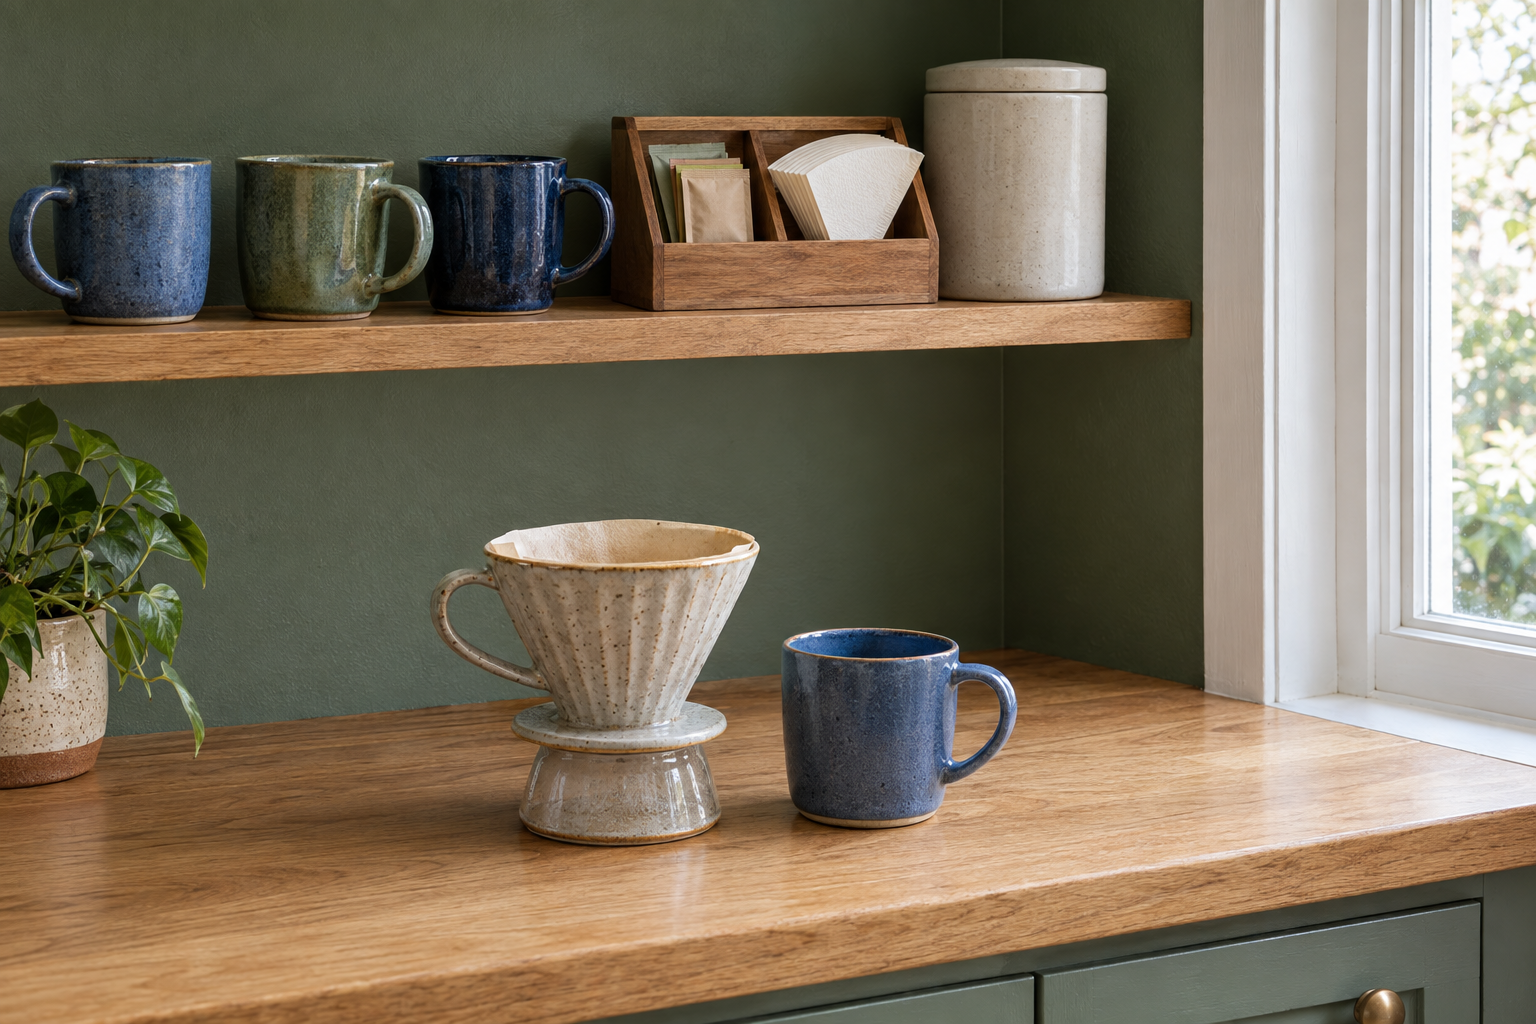
When one person drinks coffee and another prefers tea, let the supplies share a shelf. Keep tea packets in one small box, coffee supplies beside it and the mugs you both use at the front. Each person should be able to find their things without unloading the other half.
For households using a manual coffee brewer, one suitable kettle may serve both routines. Follow its instructions, keep its working space clear and allow for the different preparation steps. You don’t need to display several machines simply because the shelf holds several kinds of drinks.
Set out two mugs to check the available serving space. There should be somewhere to place a hot cup while you reach for tea, without balancing it at an edge. Keep spoons and any washable accessories together and put backups away.
Choose one shared detail for the look: a striped tray, a blue mug collection or the wood of the existing shelf. Leave room for the drinks people make. The useful arrangement will look more personal as your favorite cups return to it each morning.
Choose the arrangement you can keep using
| Your kitchen constraint | Start here | Test before buying |
|---|---|---|
| Very little open counter | A cupboard shelf or pack-away brewer | Reach and cleanup routine |
| Supplies scattered across the room | A small daily tray | Easy lifting and counter wiping |
| A spare furniture piece nearby | Sideboard supply storage | Door clearance and walking route |
| Coffee and tea drinkers sharing space | One divided supply shelf | A landing spot for both mugs |
Use the arrangement for several ordinary mornings before adding accessories. Refill the water, wash the parts and prepare dinner around it. Move whatever gets in the way. Buy a tray, box or shelf helper only once you know which problem it will fix.